Adding a Basement to a 100+ Year old Farmhouse
We built our basement underneath our house while it was suspended on jacks. Yes, we know we’re crazy.

In its original location, our house sat on a basement that was used as a storage and utility space. It was unfinished with just enough headroom for me to stand up while Seth had to stoop uncomfortably. Honestly, I don’t even know what made us first think about adding a basement under the house with livable space. I do know that the way the front door and entryway are configured necessitated something being between the slab and the front door. But Seth and I thought we’d just have a crawlspace.
Maybe it was the fact that we already had to budget to build basement walls four feet high, what could we do with the space if we just built a basement? Like I said earlier, the house was given to us if we could move it. So we had to get a bank loan for the move and the renovation, but we were starting off with some instant equity. What would our house be worth when we rolled the construction loan into a mortgage if we had an extra 8oo square feet of livable space? Enough to allow us to take out the money to add the basement?
What I do know is that our house mover is probably as crazy as we are, because while he did deliberate considerably he ended up helping us hoist the house up to build the basement walls underneath it. In order for that to happen, the house had to be lifted up over eight feet off the slab using cribbing. If I remember correctly, that took about a day and a half after the house move to set up.

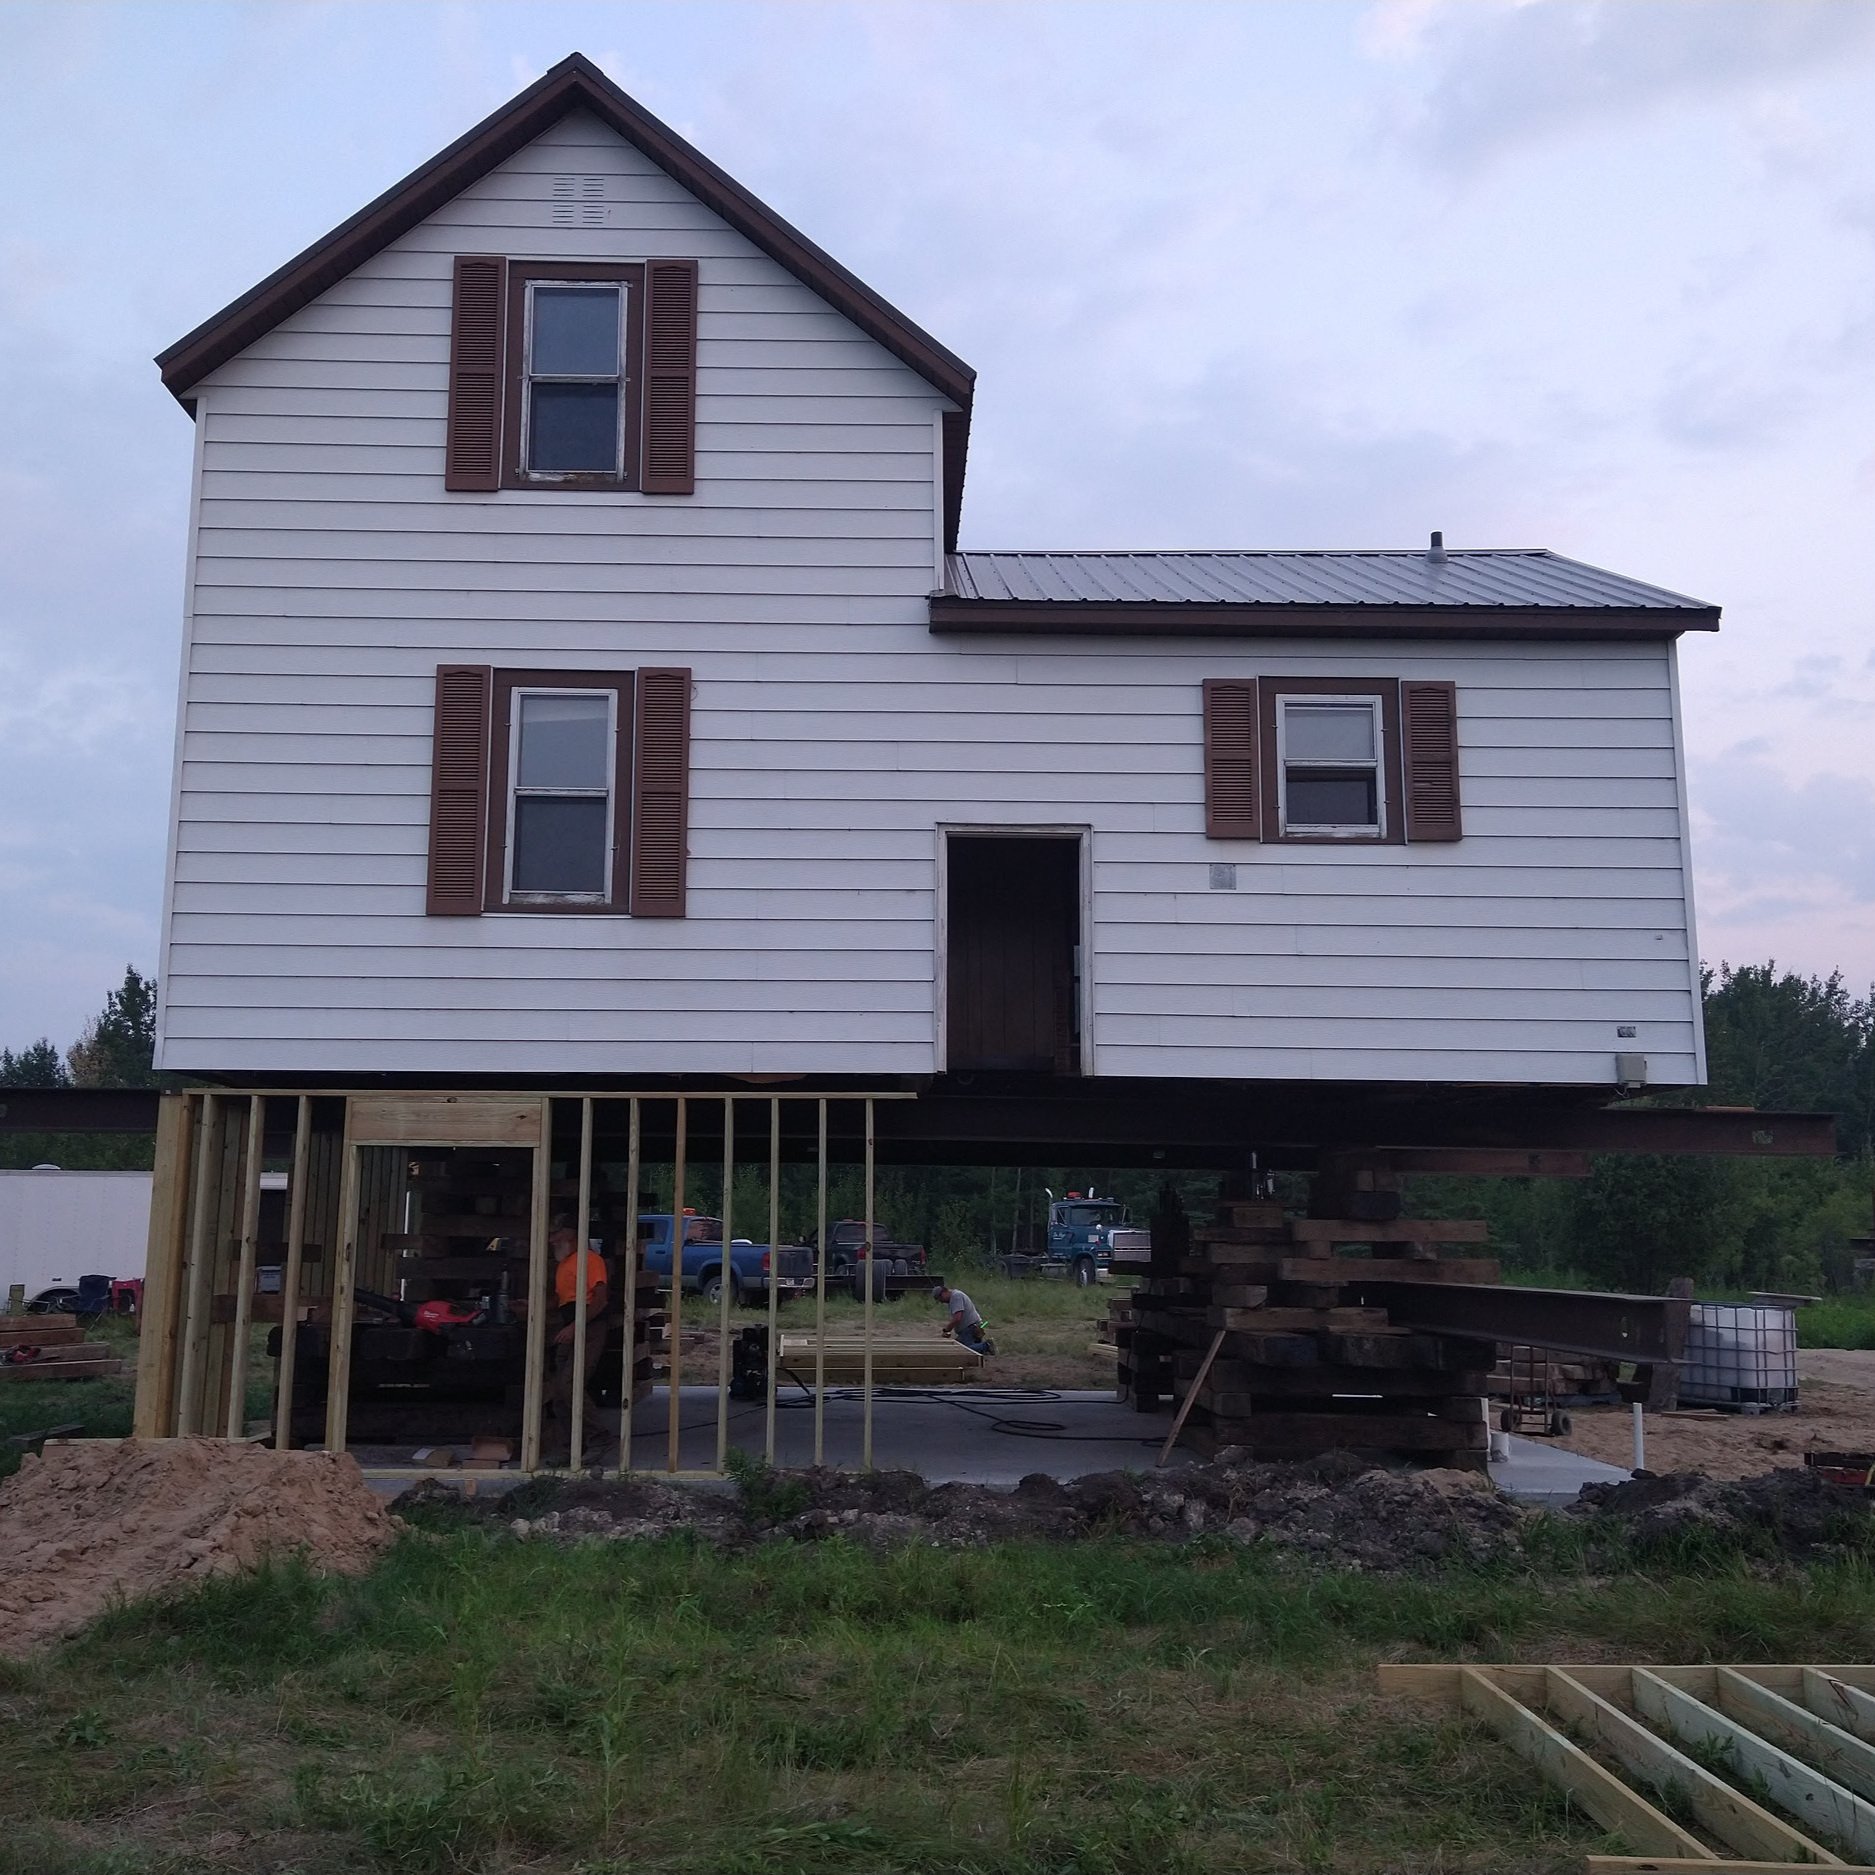
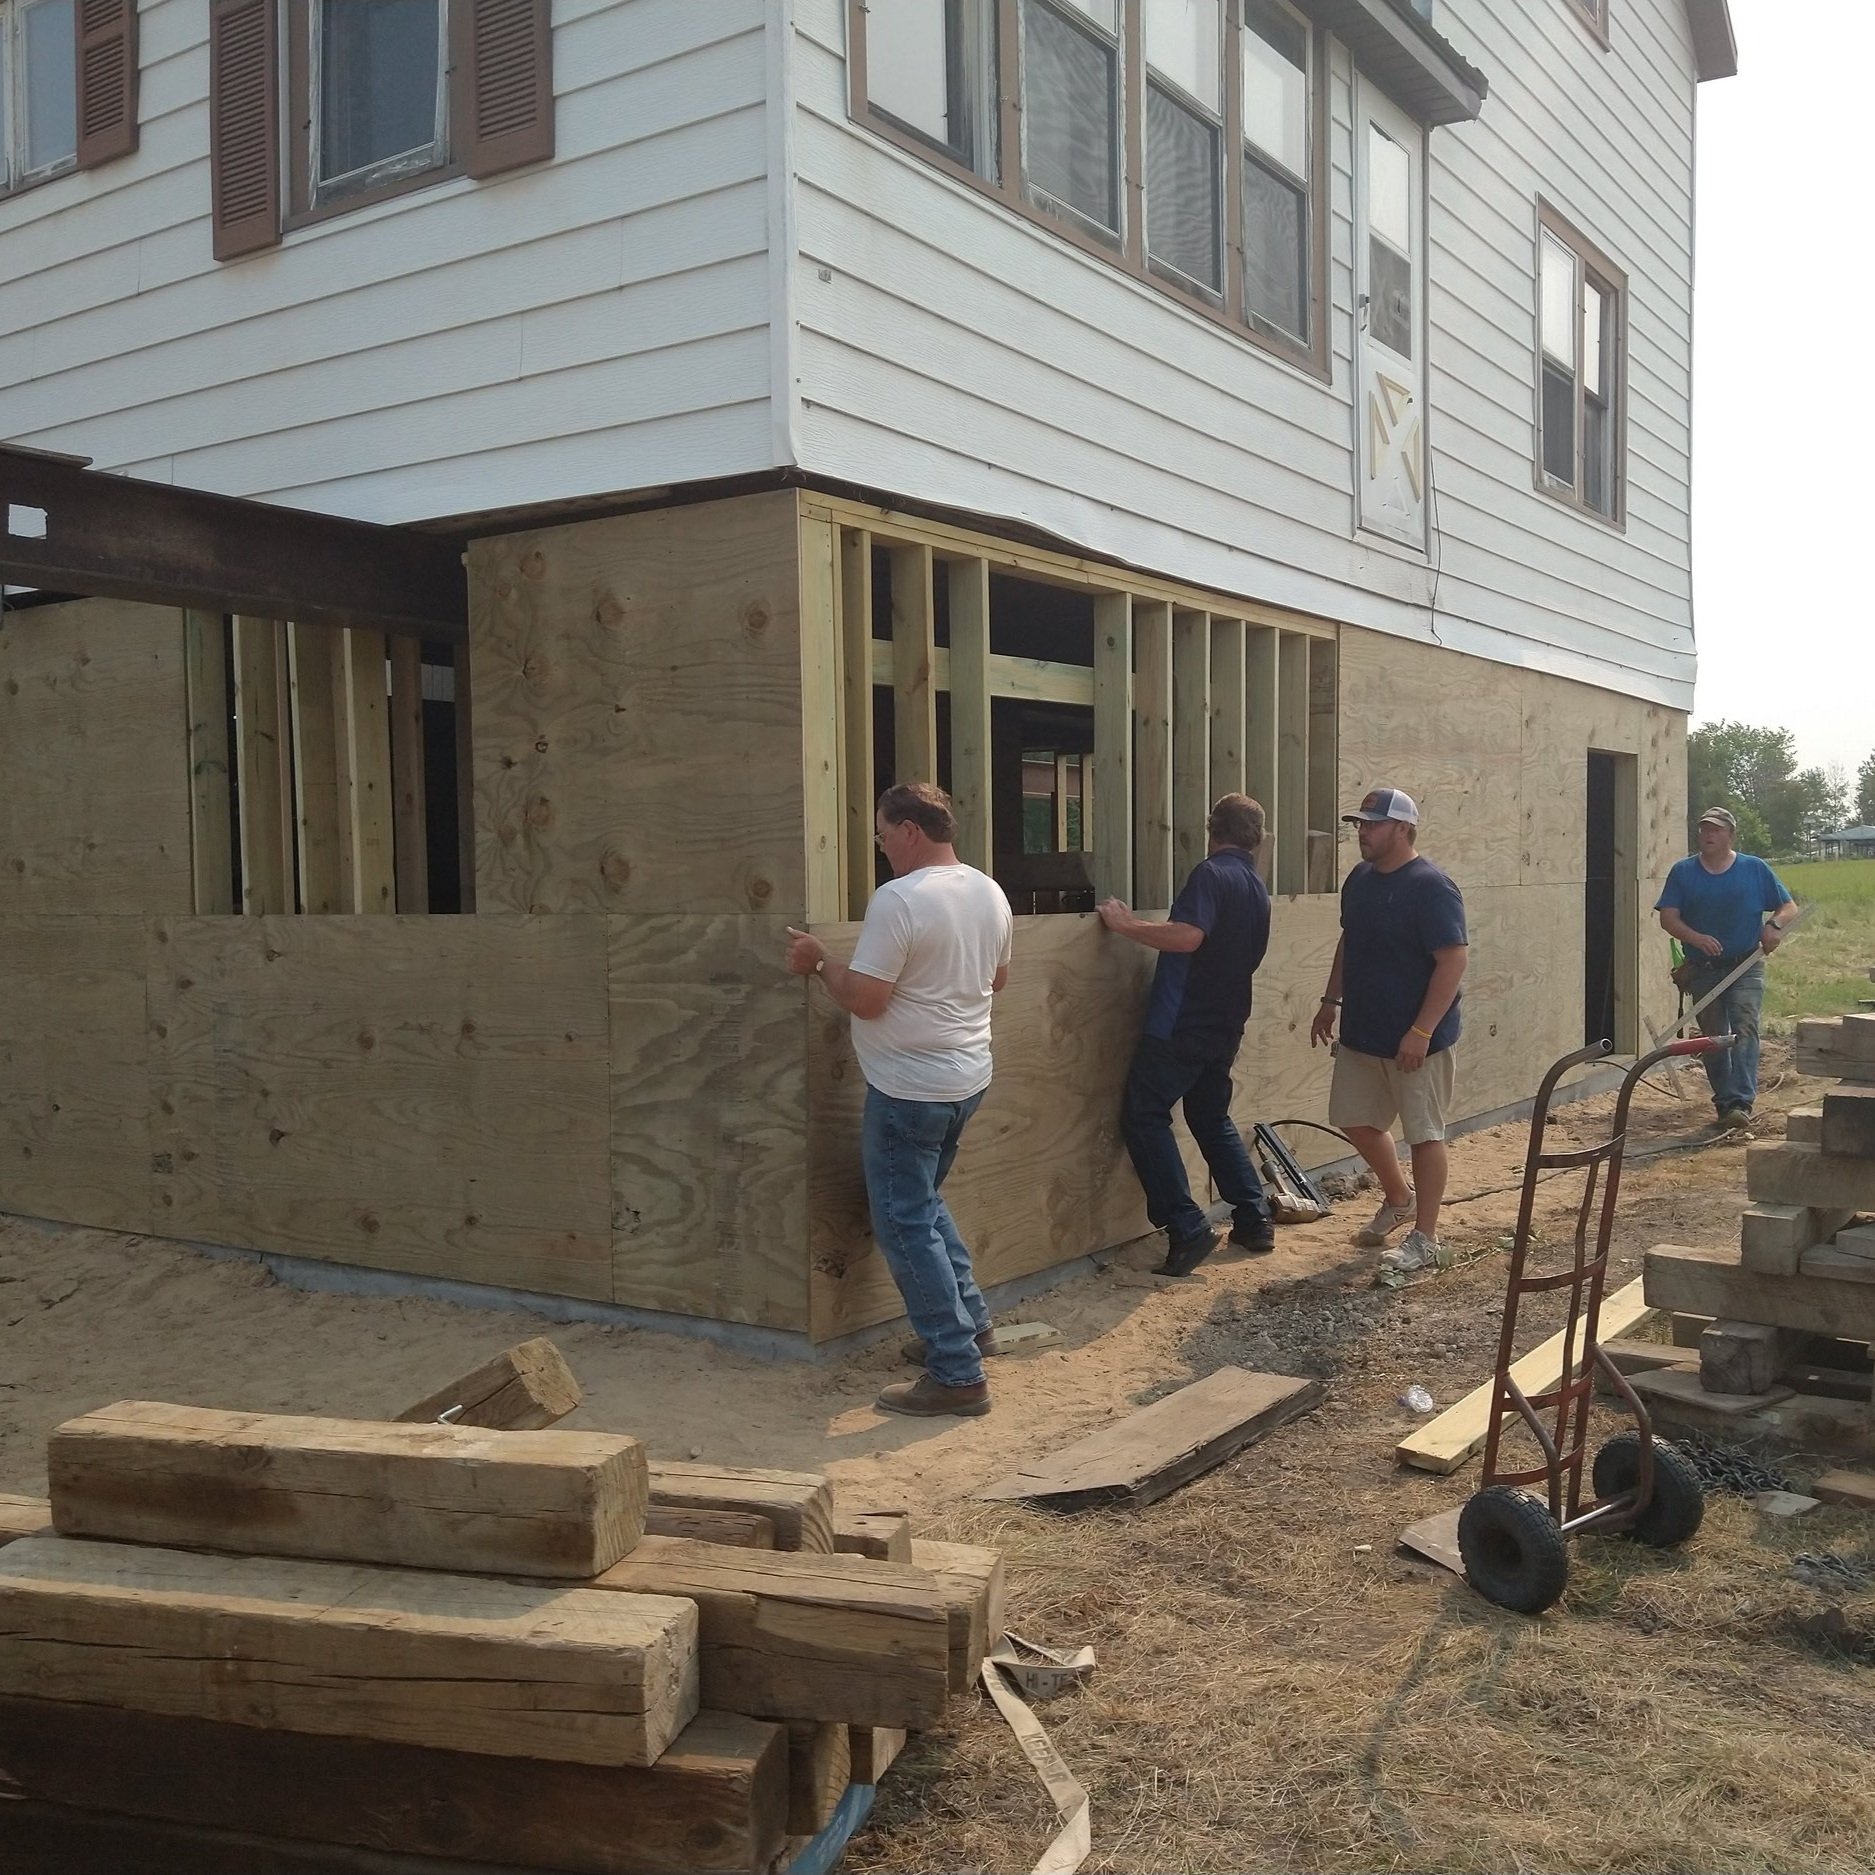
Seth was in Colorado when the house was moved, but before he left he and my dad built the stud walls for the basement in moveable sections. Because my parents were in town, I was able to help on the evening we put the walls up. Even though we had access to equipment like a skid steer and a backhoe, most of the basement stud walls were built the good-old-fashioned-house-raising way: through brute strength.
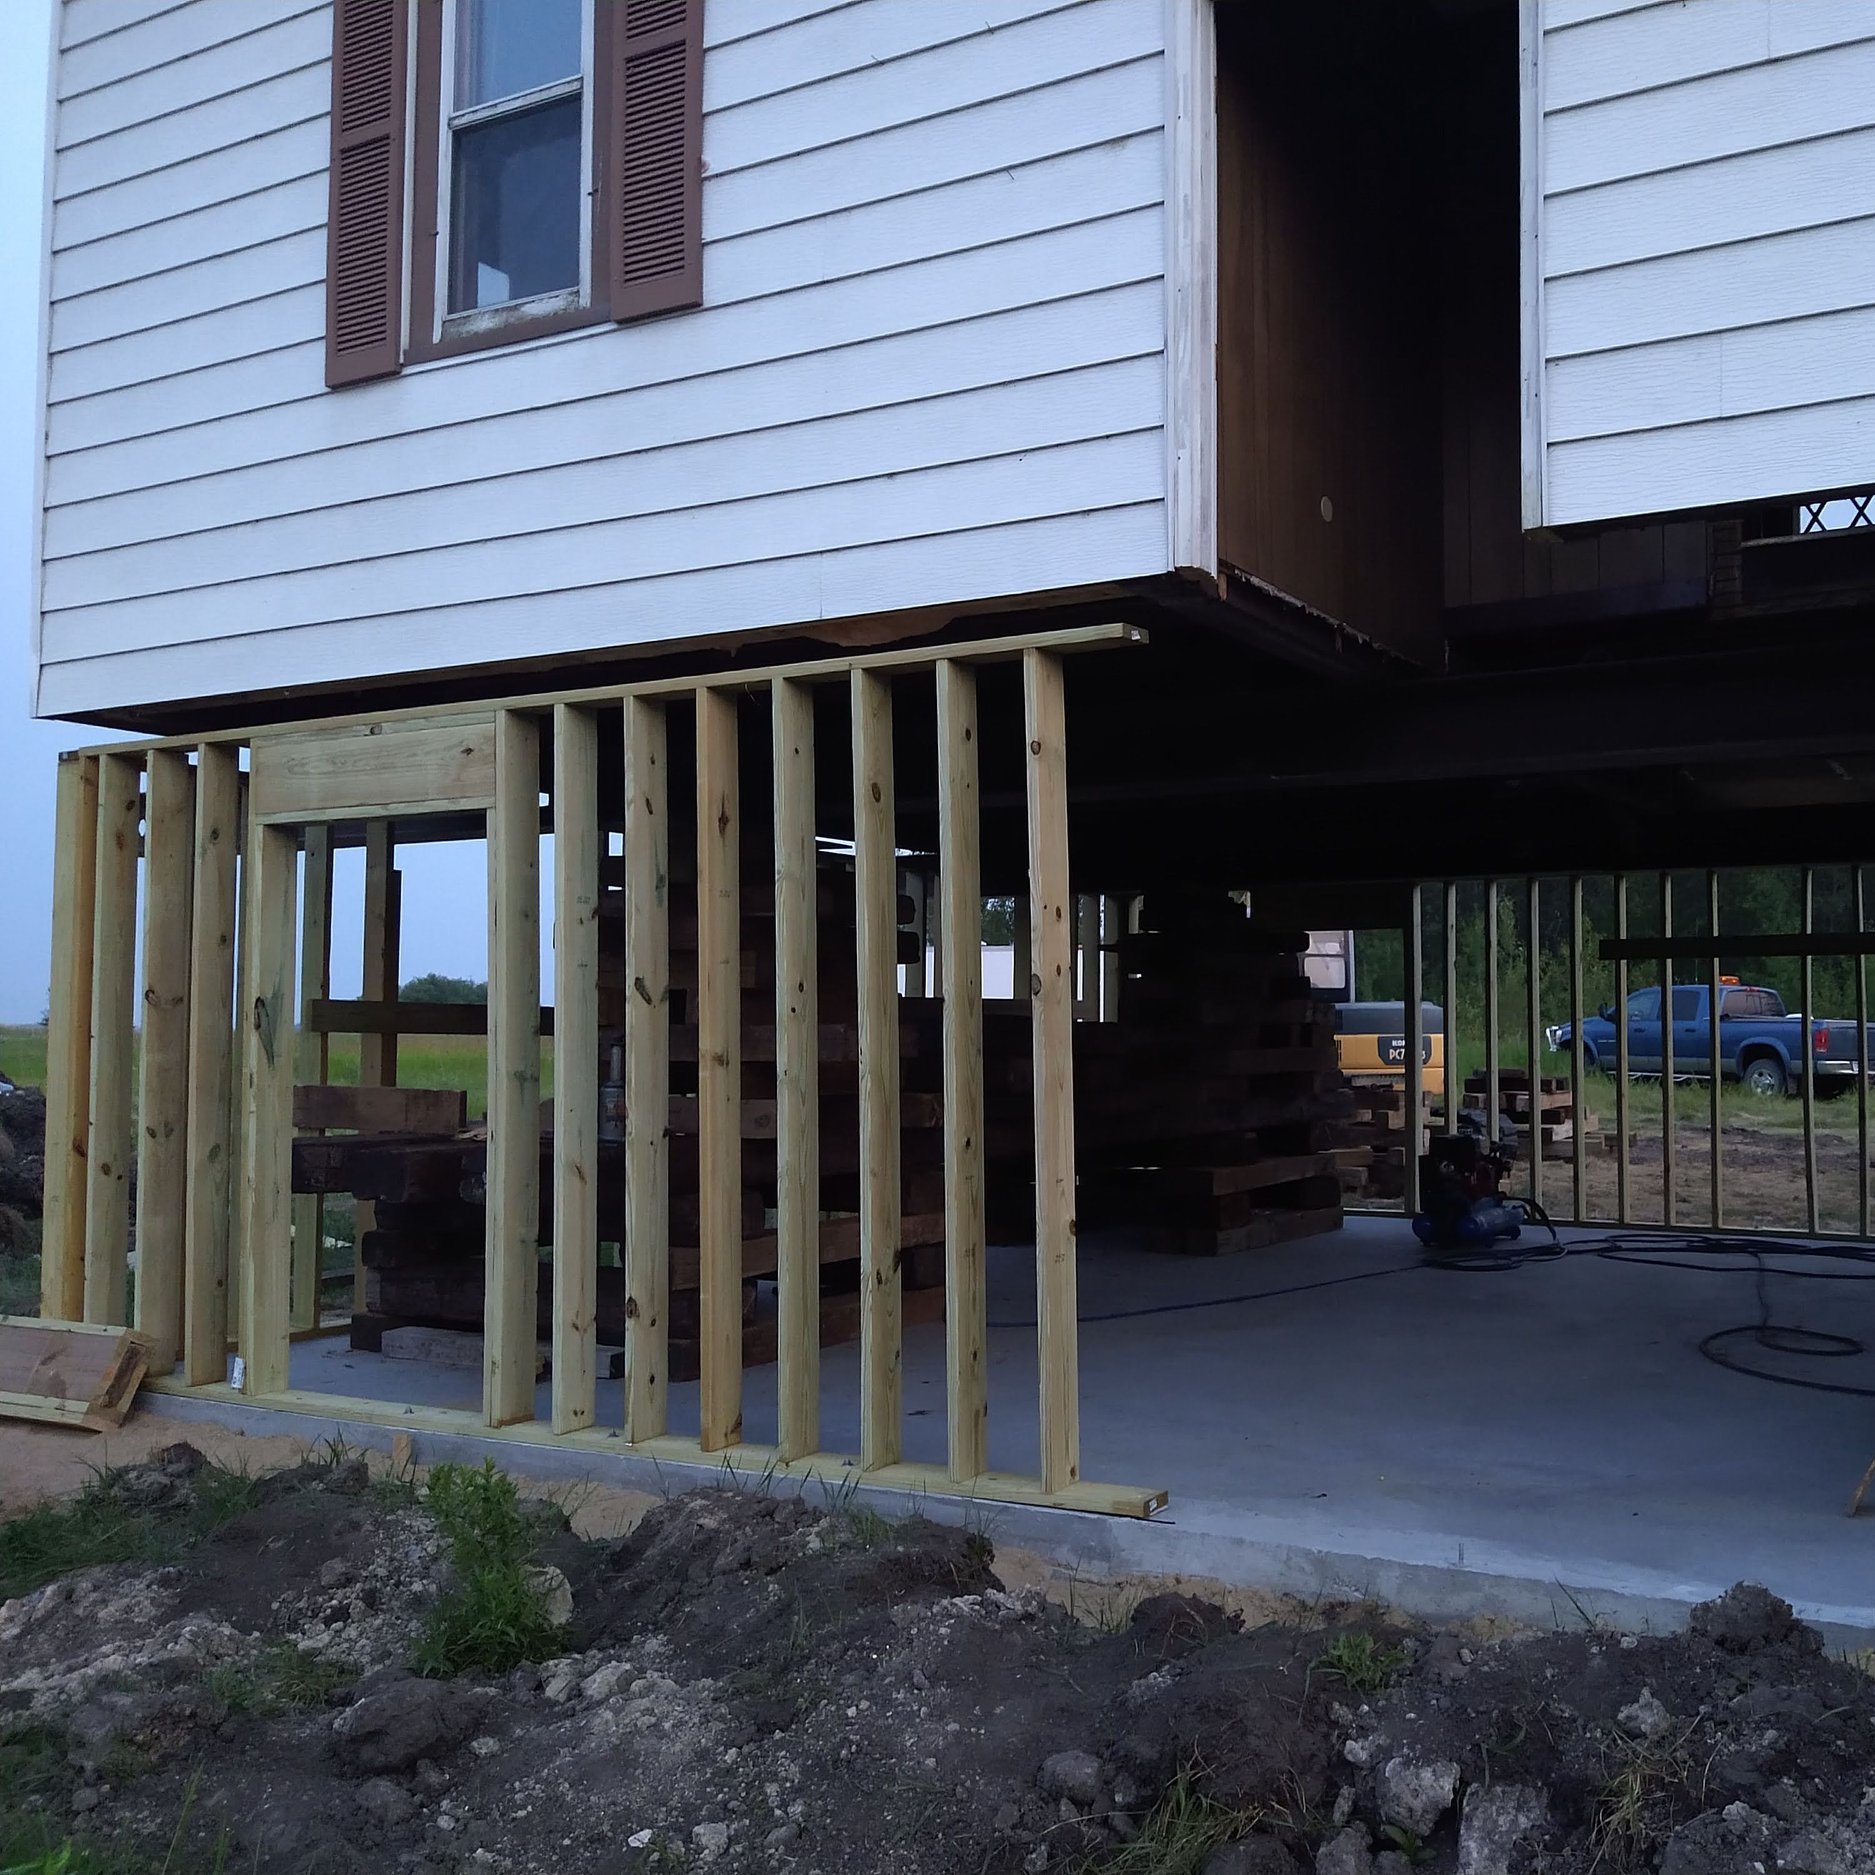
I never felt unsafe walking around under the house while it was up on cribbing. In fact, it was just really cool. The only time I was nervous about being crushed was when I was holding a section of wall too heavy for me. It was a fairly dry summer, but a few days before the house move it rained and the stud walls soaked up some water. But a crew of four of us managed to get all the stud walls up in one afternoon and evening.
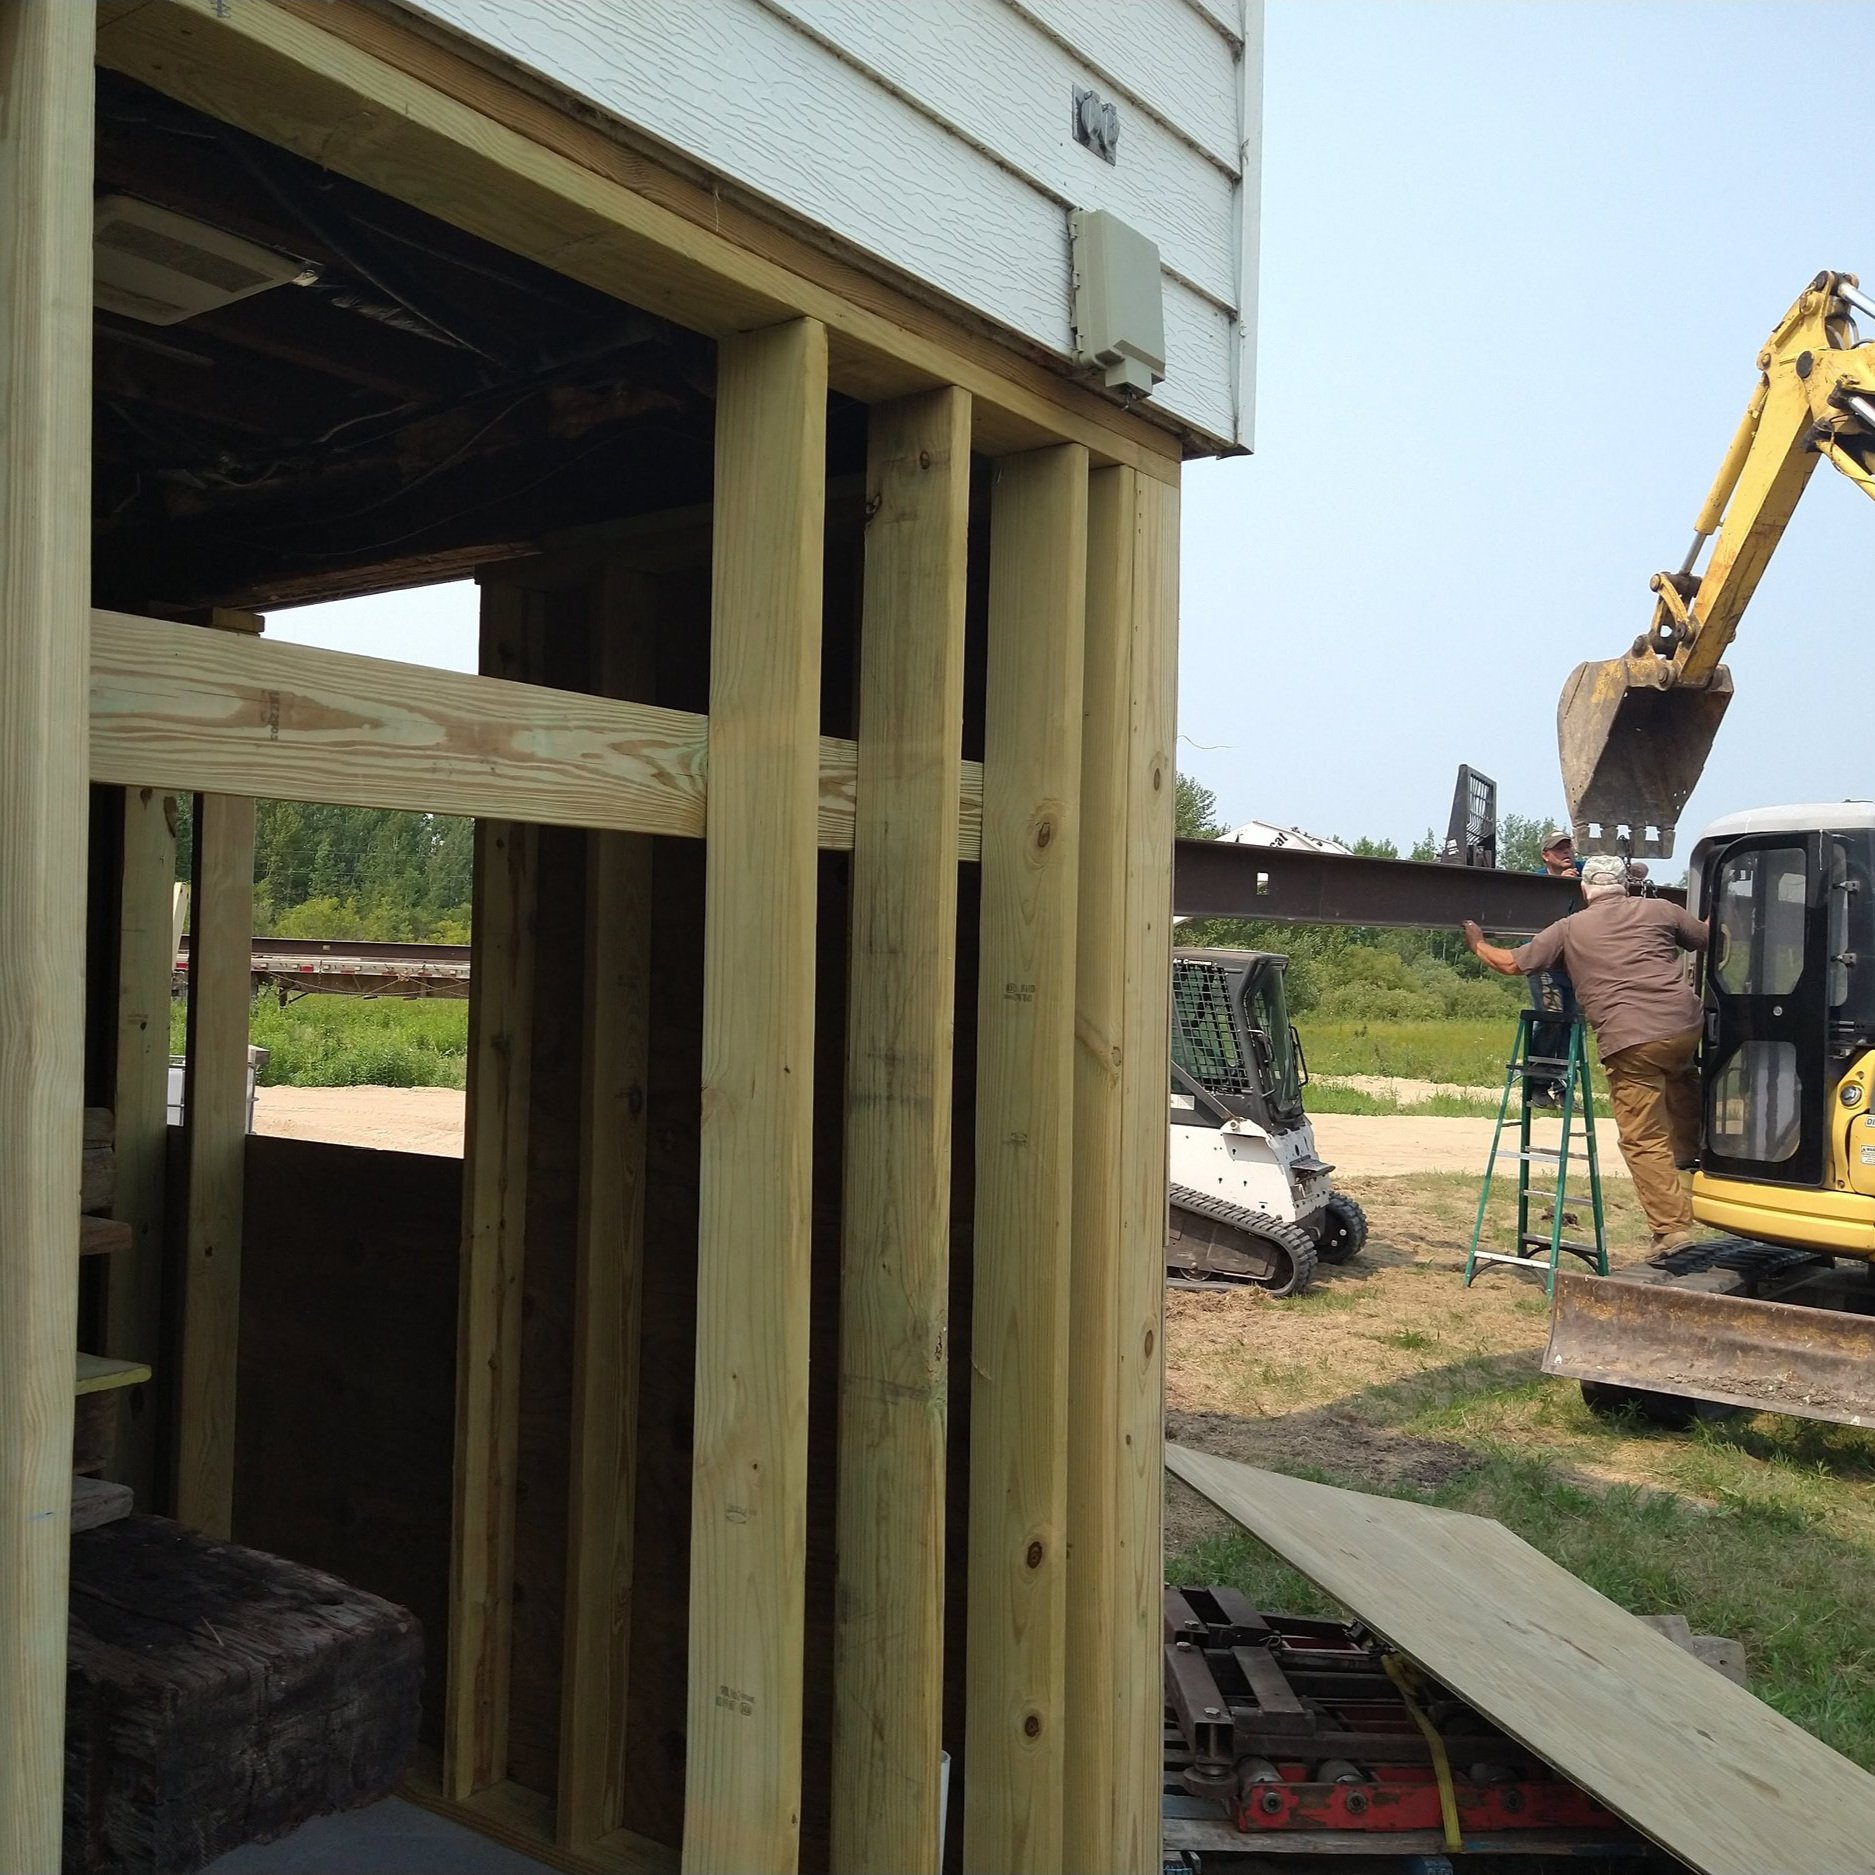
That doesn’t mean we didn’t run into any problems, though. When Seth and my dad measured for the slab, they measured the exterior of the house instead of the beams that the house sits on. As you can see from the first picture, there are bolts set in the slab every three feet to anchor the stud walls. So, with the walls built to the slab and the slab slightly off from the house, our walls didn’t line up perfectly. Which meant making a few cuts to the walls, besides where they had to fit around the beams.

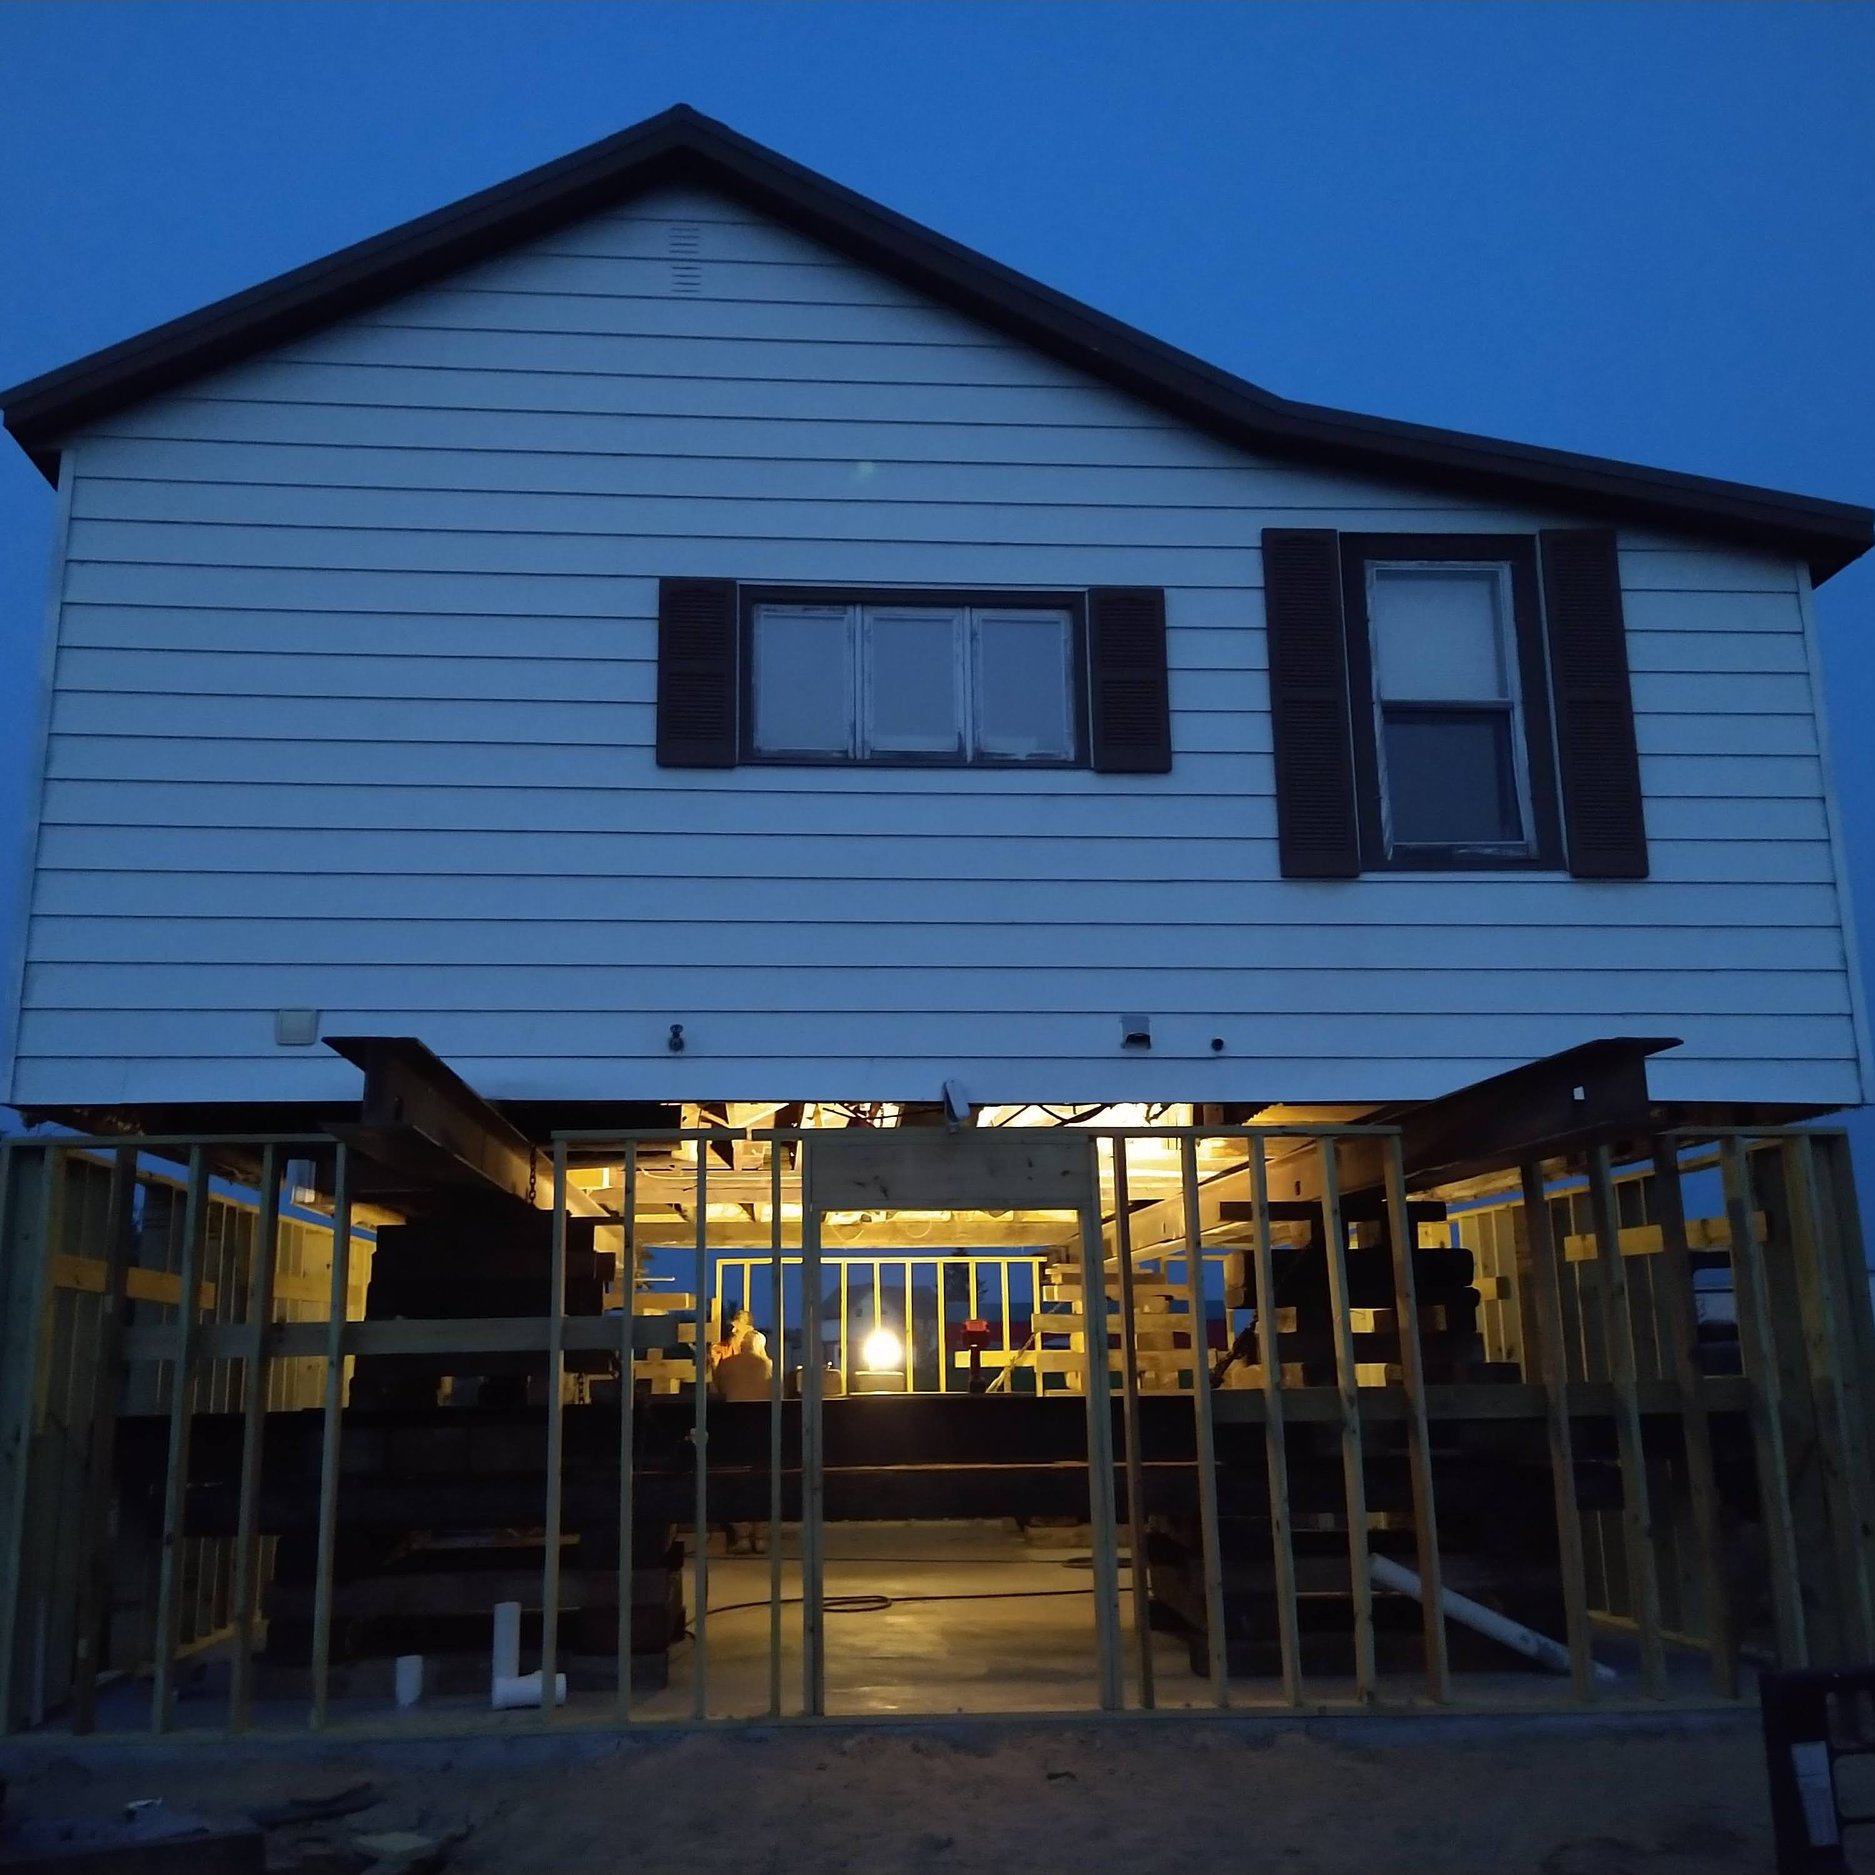
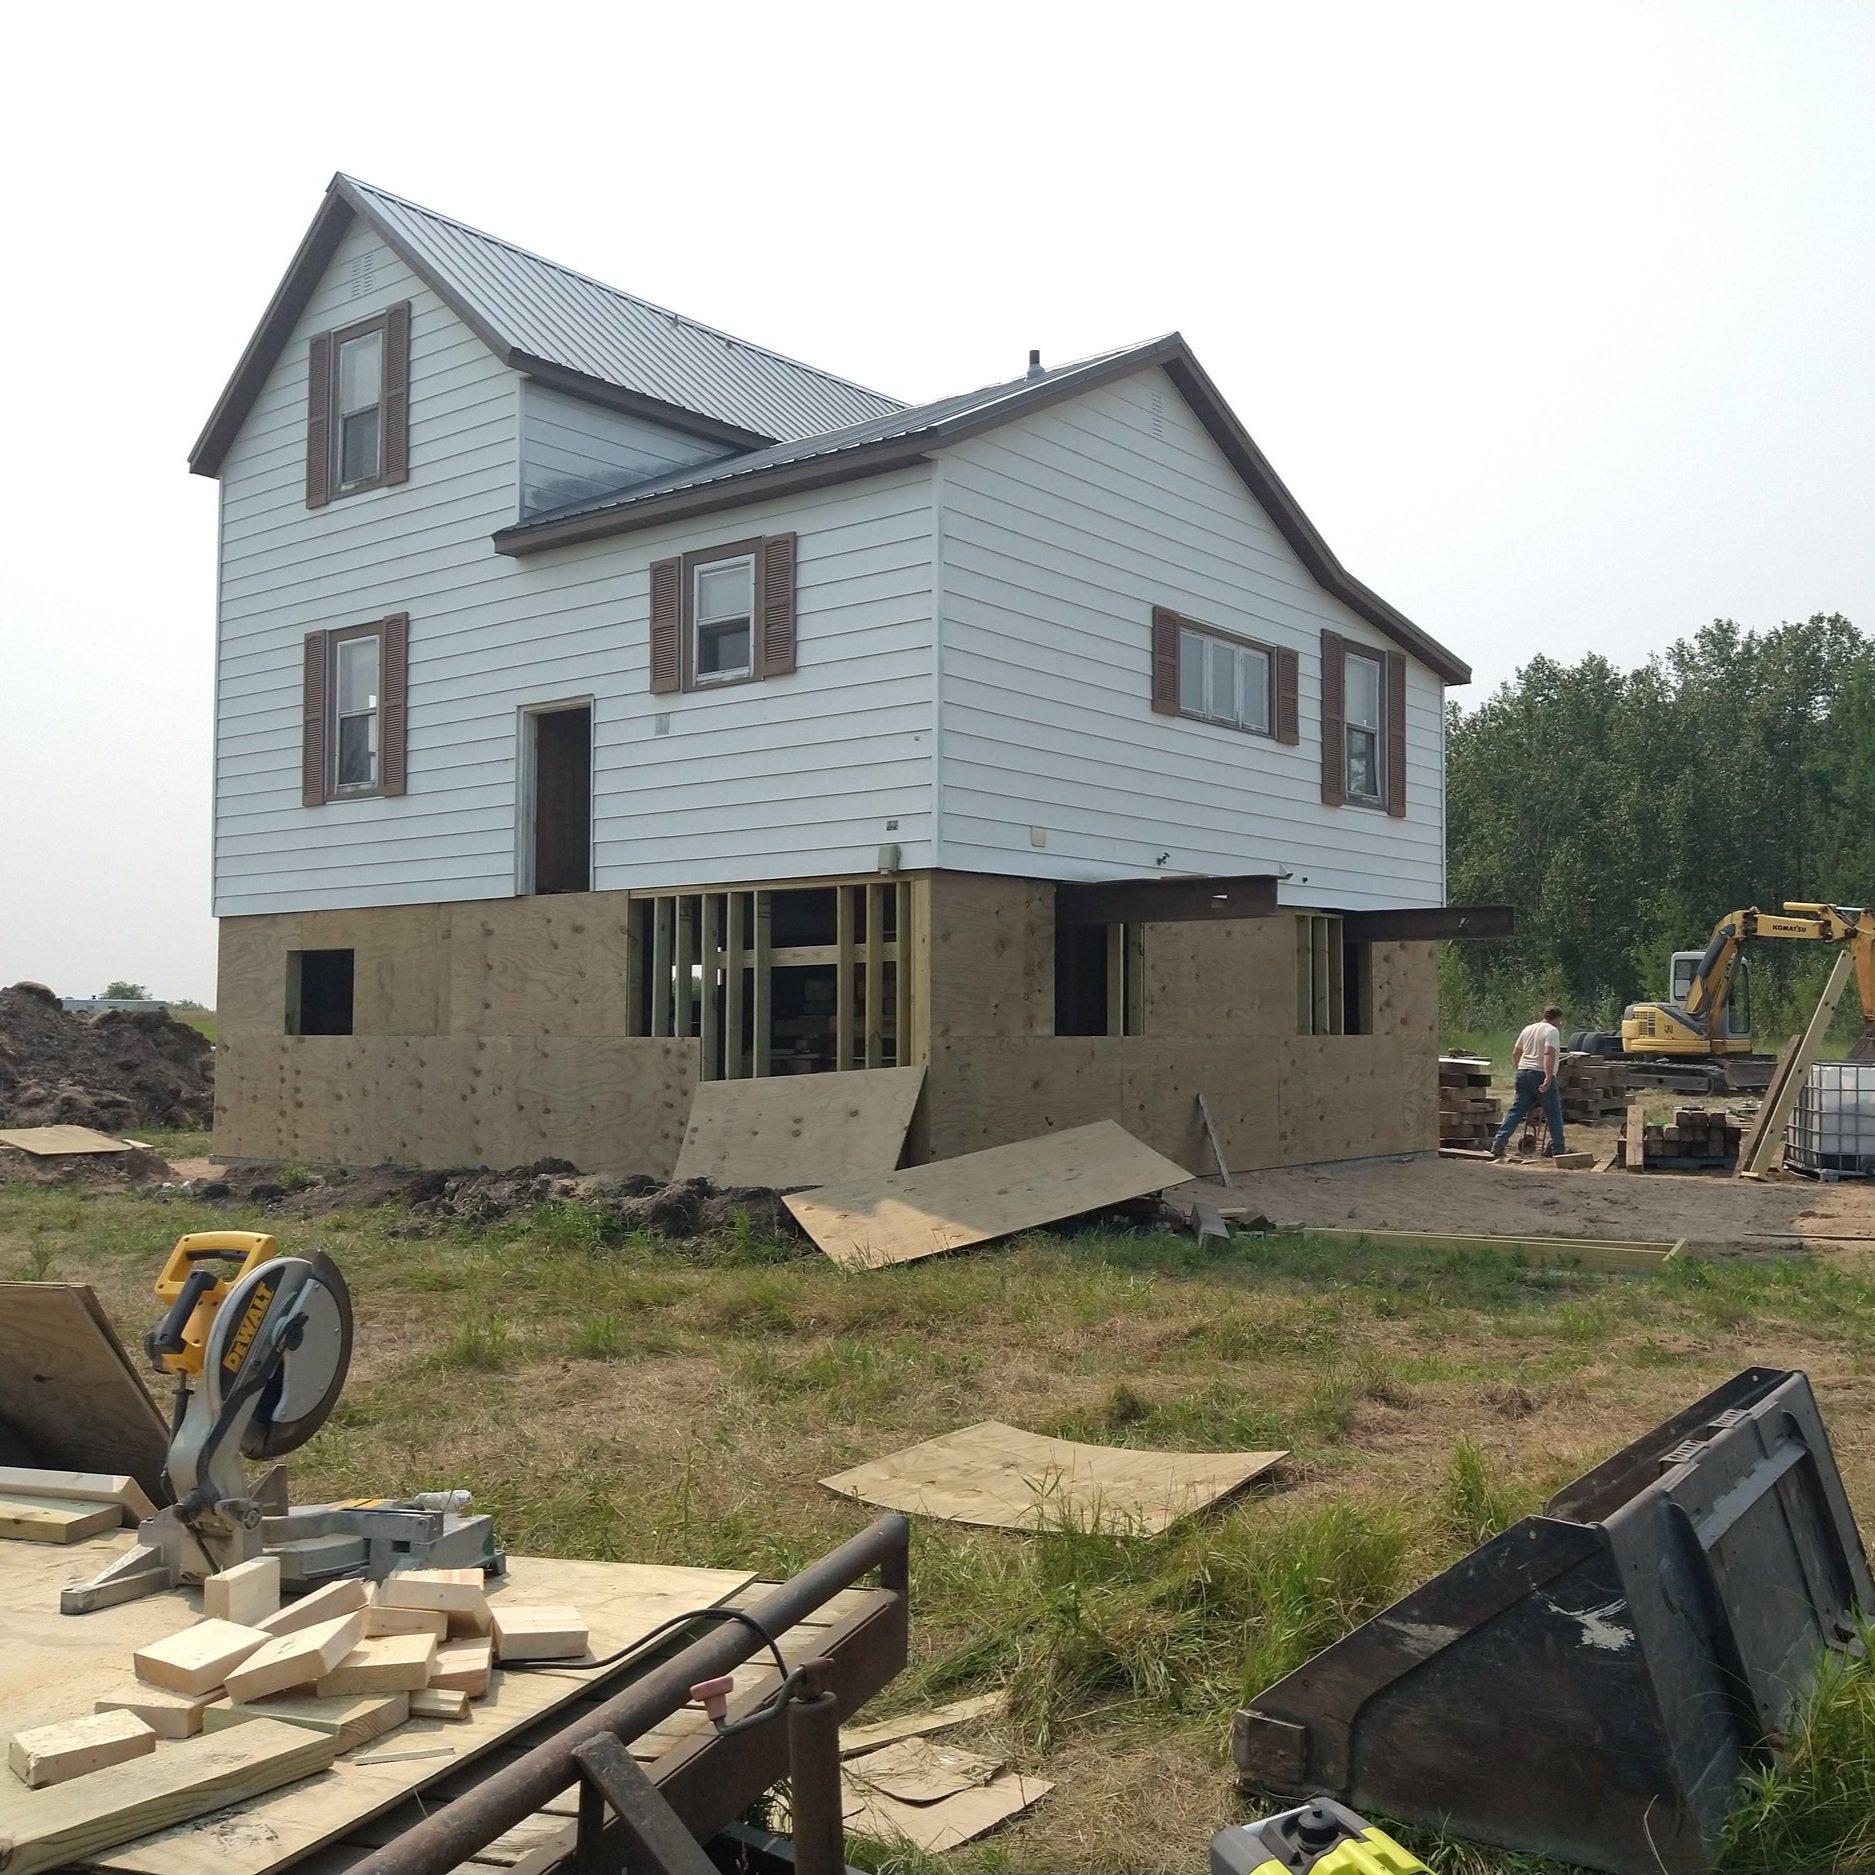
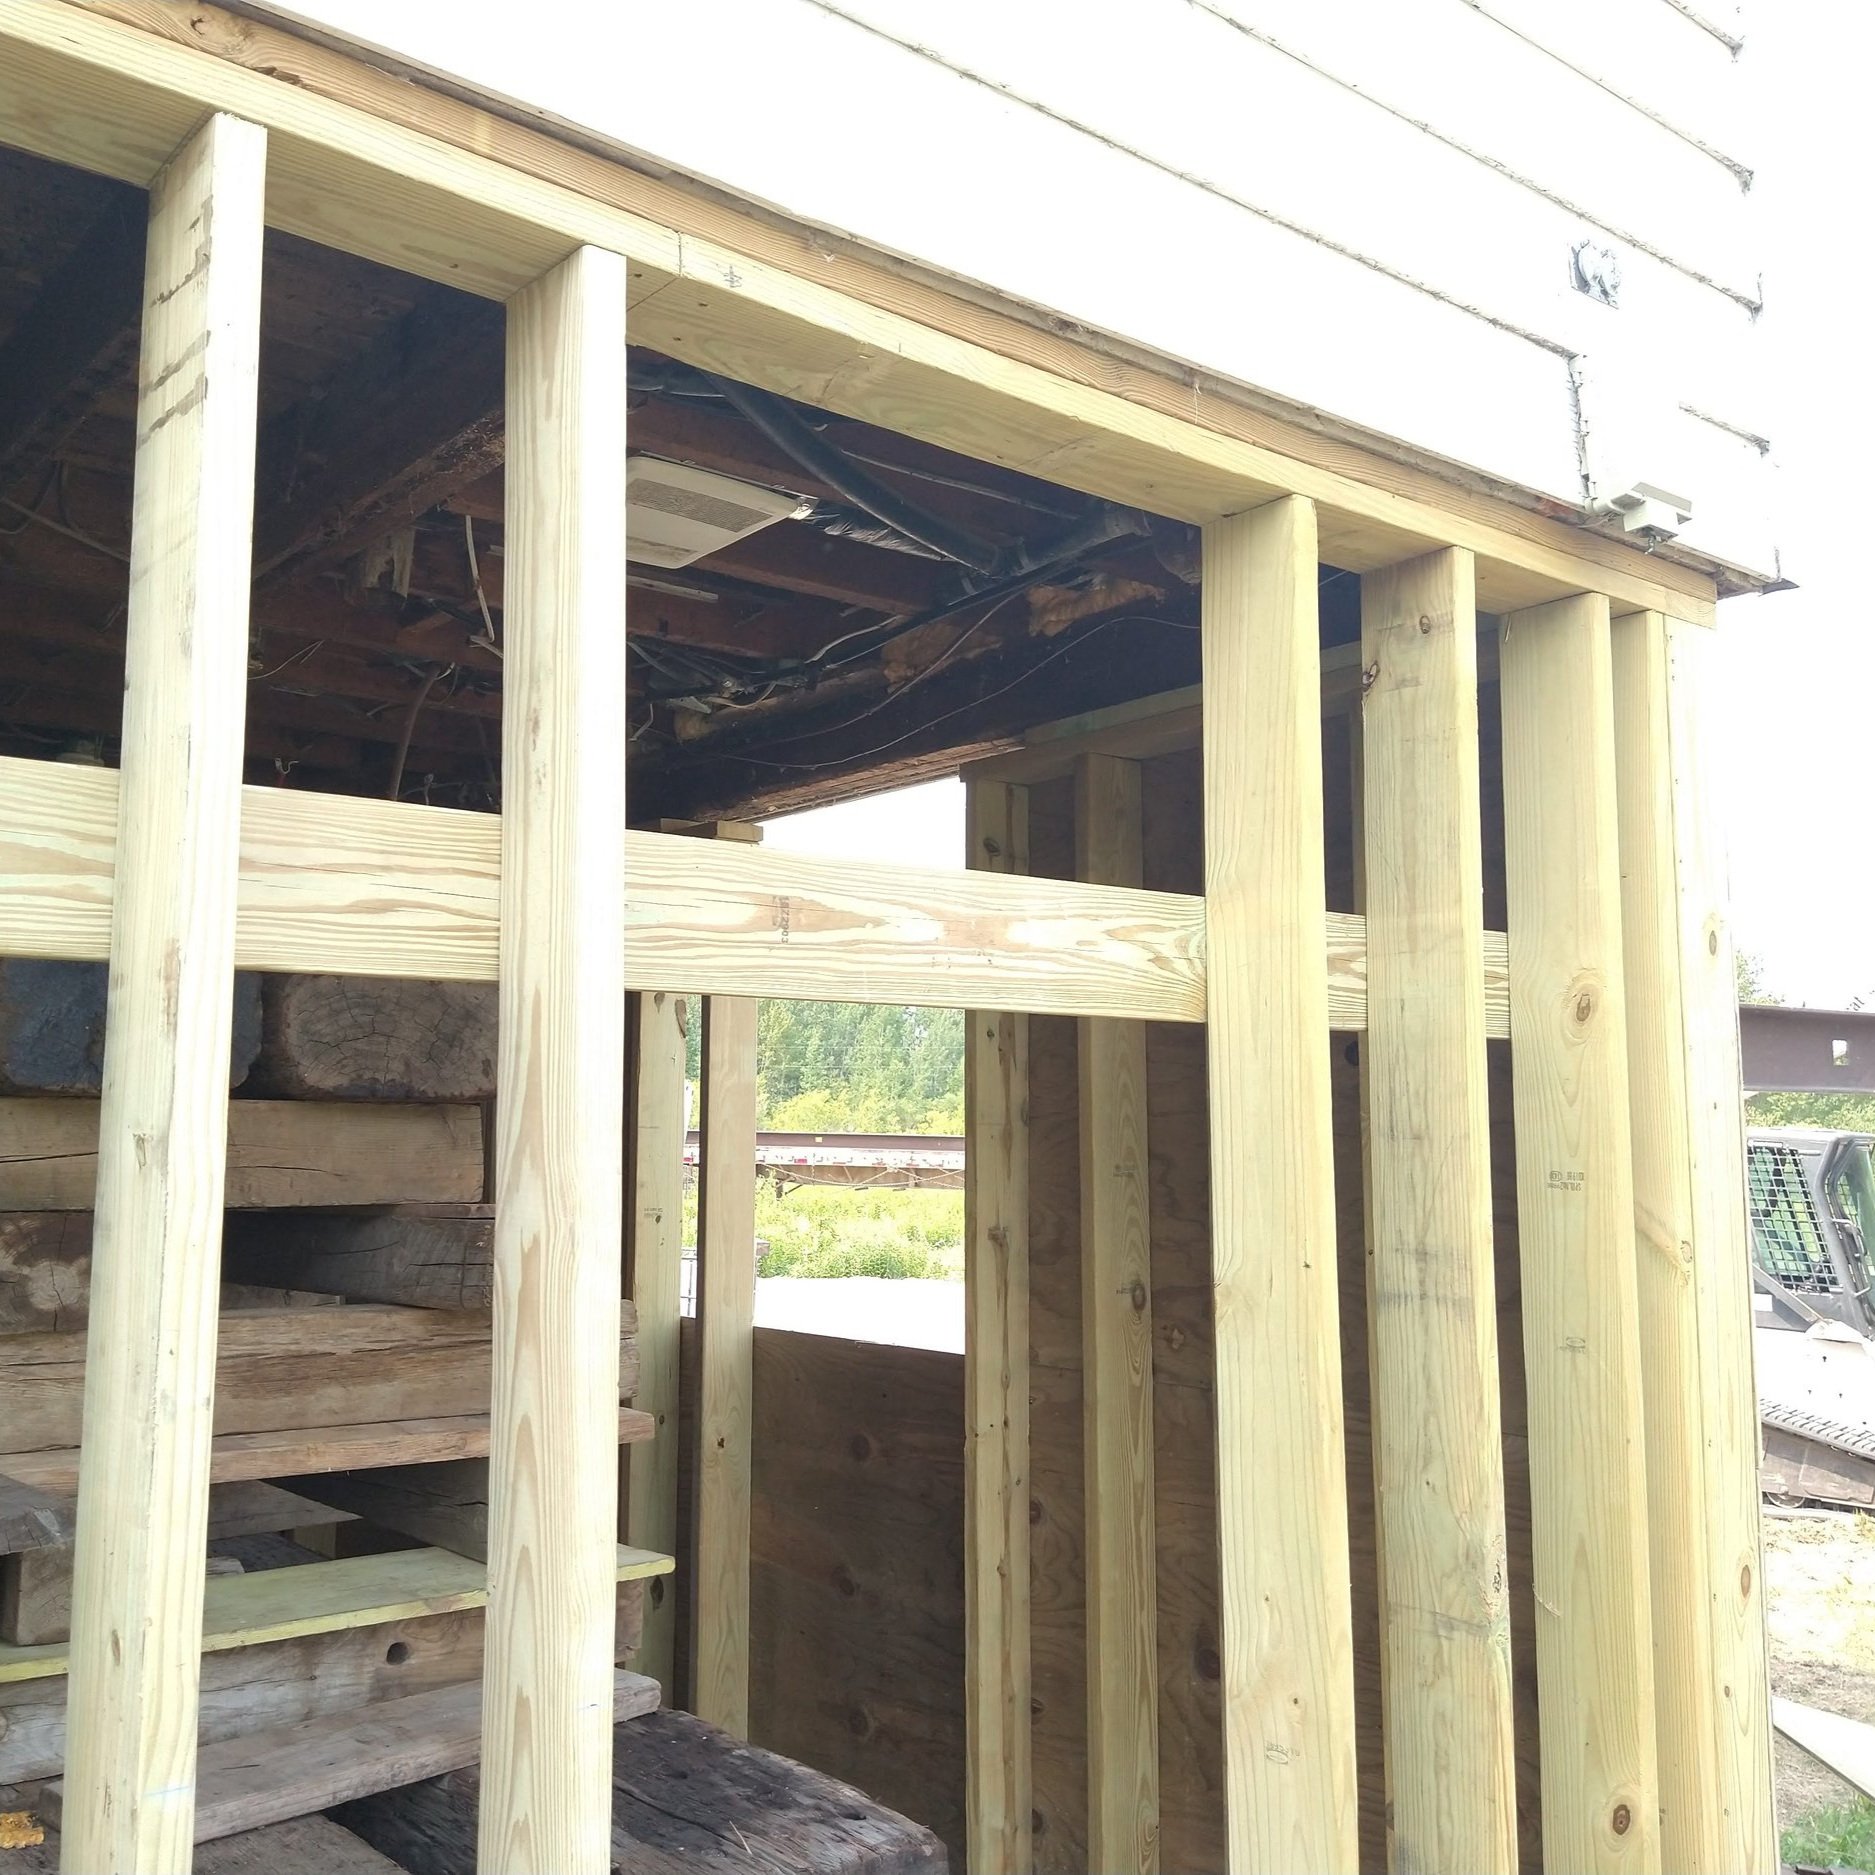
The next morning, my dad, grandpa, uncle, and great-uncle put the plywood sheathing up. As you can see, the I-beams are still running under the house, supporting it. In order for the basement walls to support the house, they needed the sheathing to help distribute weight and brace the walls. We had to build some interior walls as well to be load bearing, and it worked to follow the utility room and bathroom already planned into the floor plan. We followed the layout of the main level with the bathrooms both in the north-west corner and the utility room directly under my office.
If you didn’t get to see the pictures of the interior of the house before we gutted it, here’s our “before” tour. These blog posts are a little out of order, as we didn’t begin demo until after the house was on the basement. The next house post will be about the process of buttoning the house for a Minnesota winter. It has taken us longer than we expected to wrap this project up, but it seems that for every hour of progress there are several hours of research and trial and error behind the scenes.
That wasn’t necessarily the case with the basement, though. Our house mover walked us through the majority of the process, and we had the assistance of multiple uncles in the construction industry to help with the slab plumbing, building the stud walls, and sheathing the house. We are so grateful for everyone who has helped so far, and I feel like help or assisted just falls so short to describe the work these individuals have put in. In most cases, we wouldn’t have been able to accomplish these projects without them.
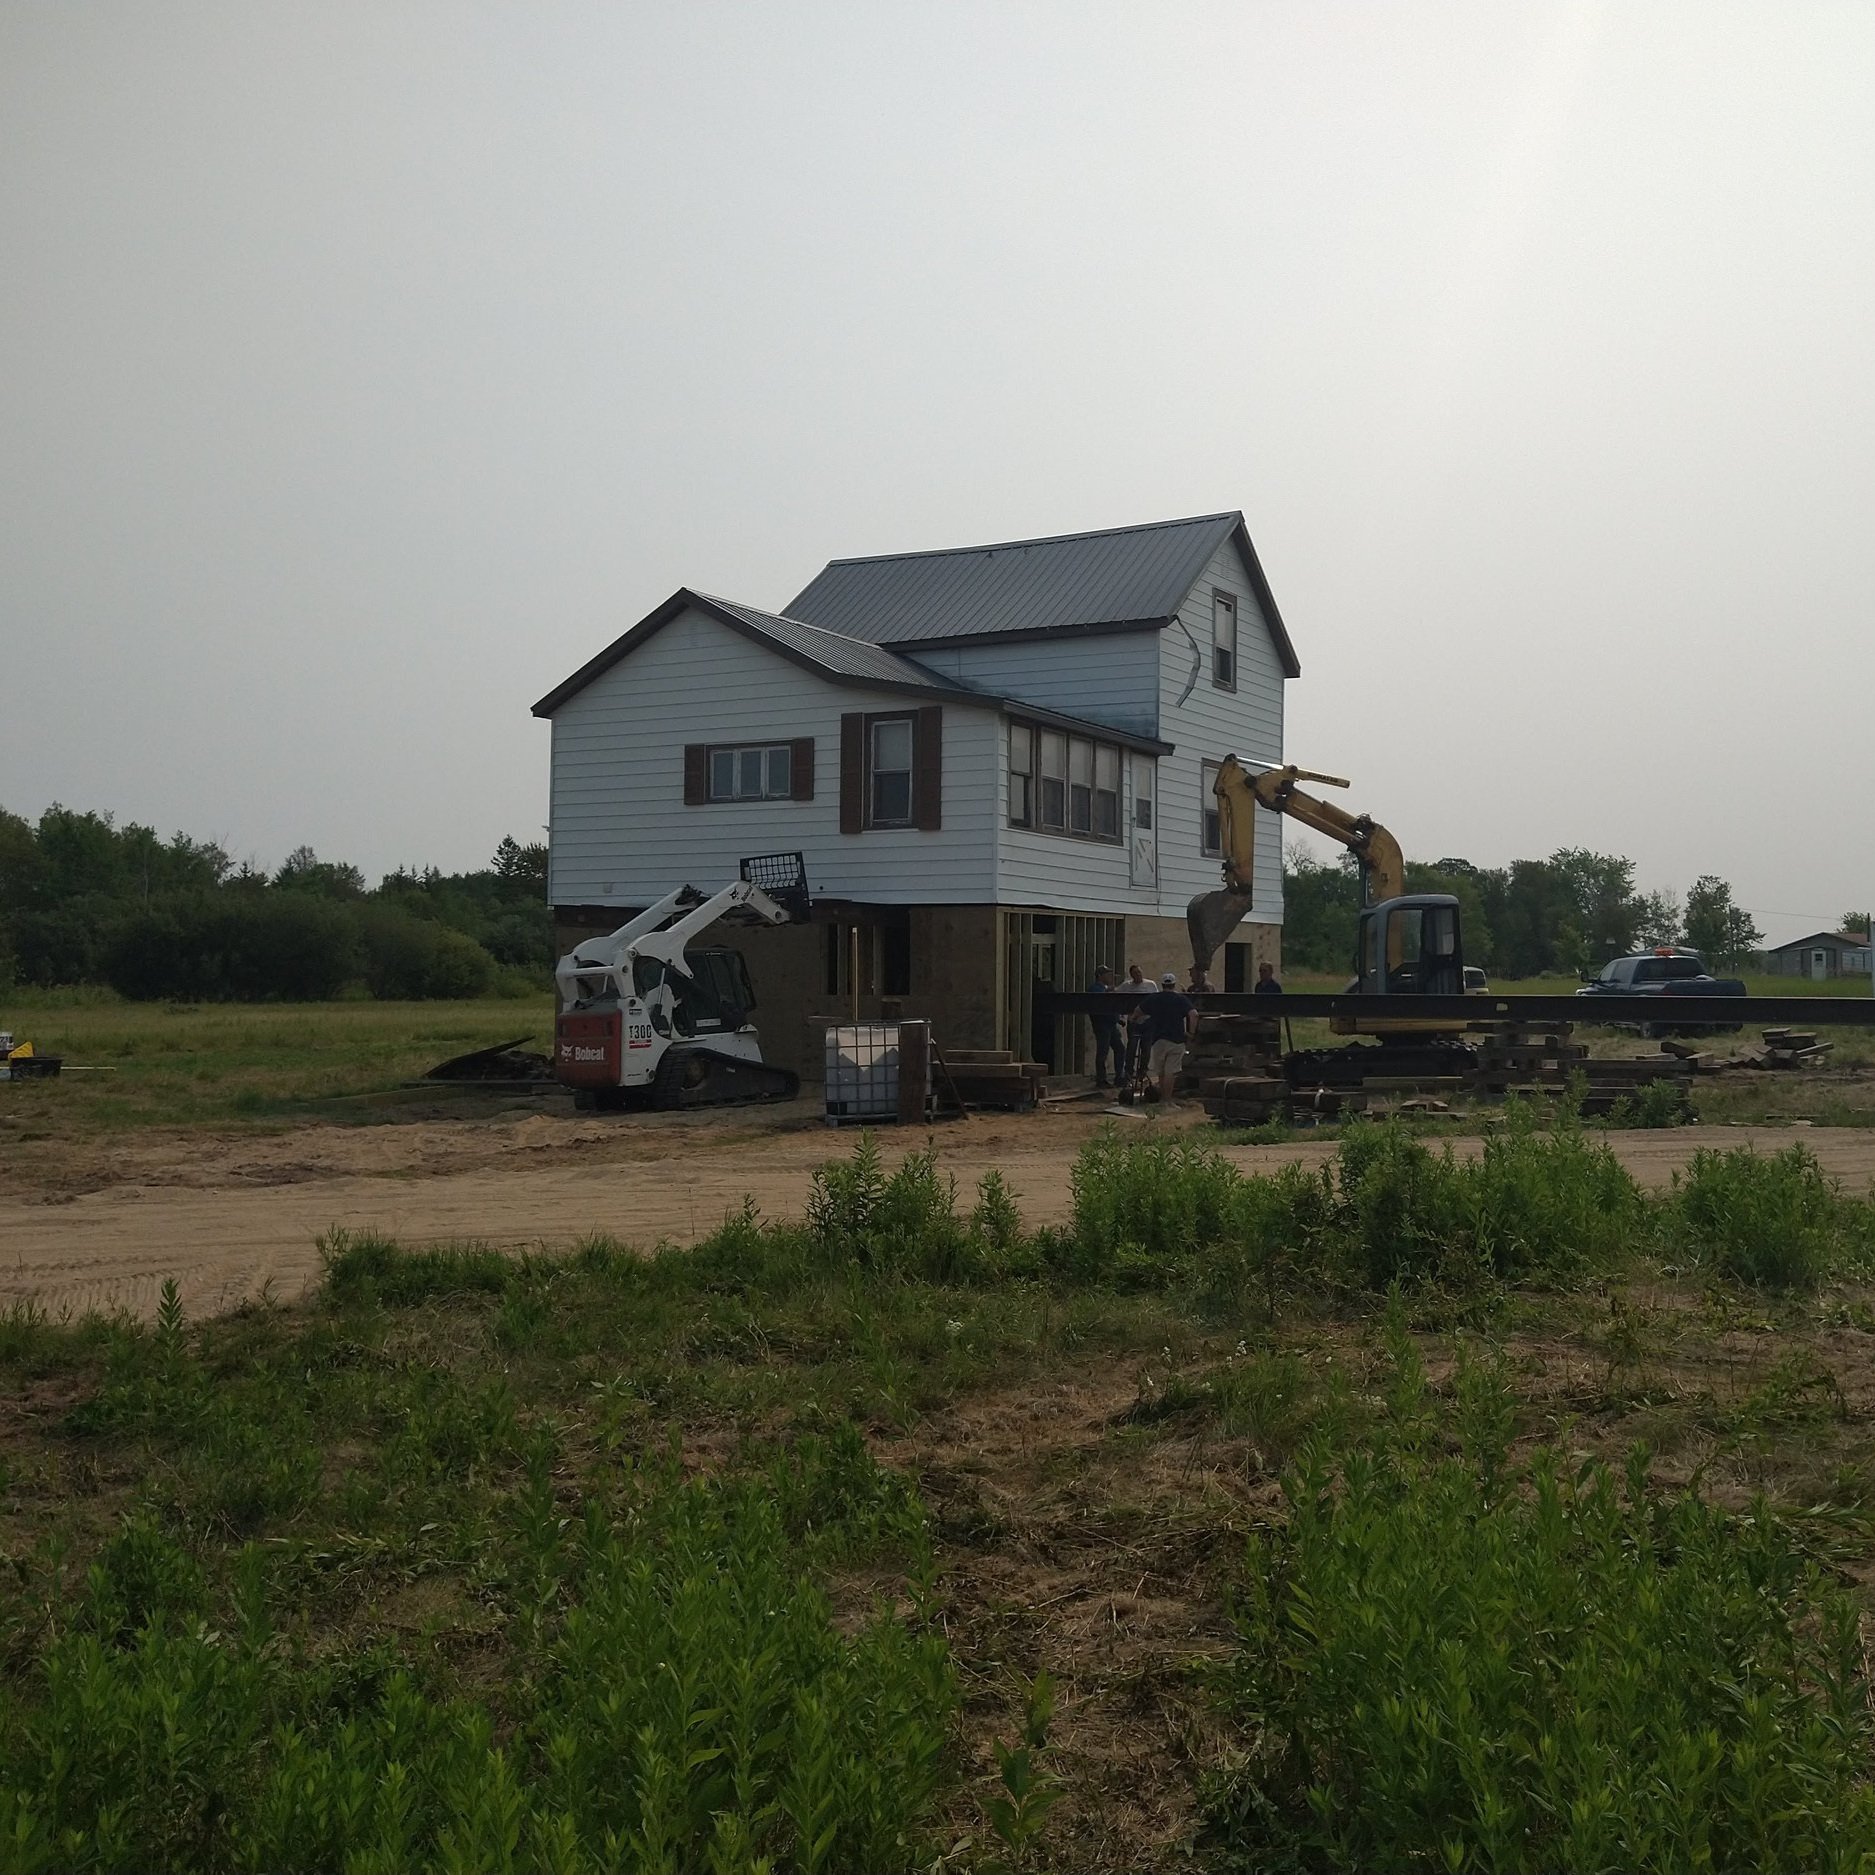

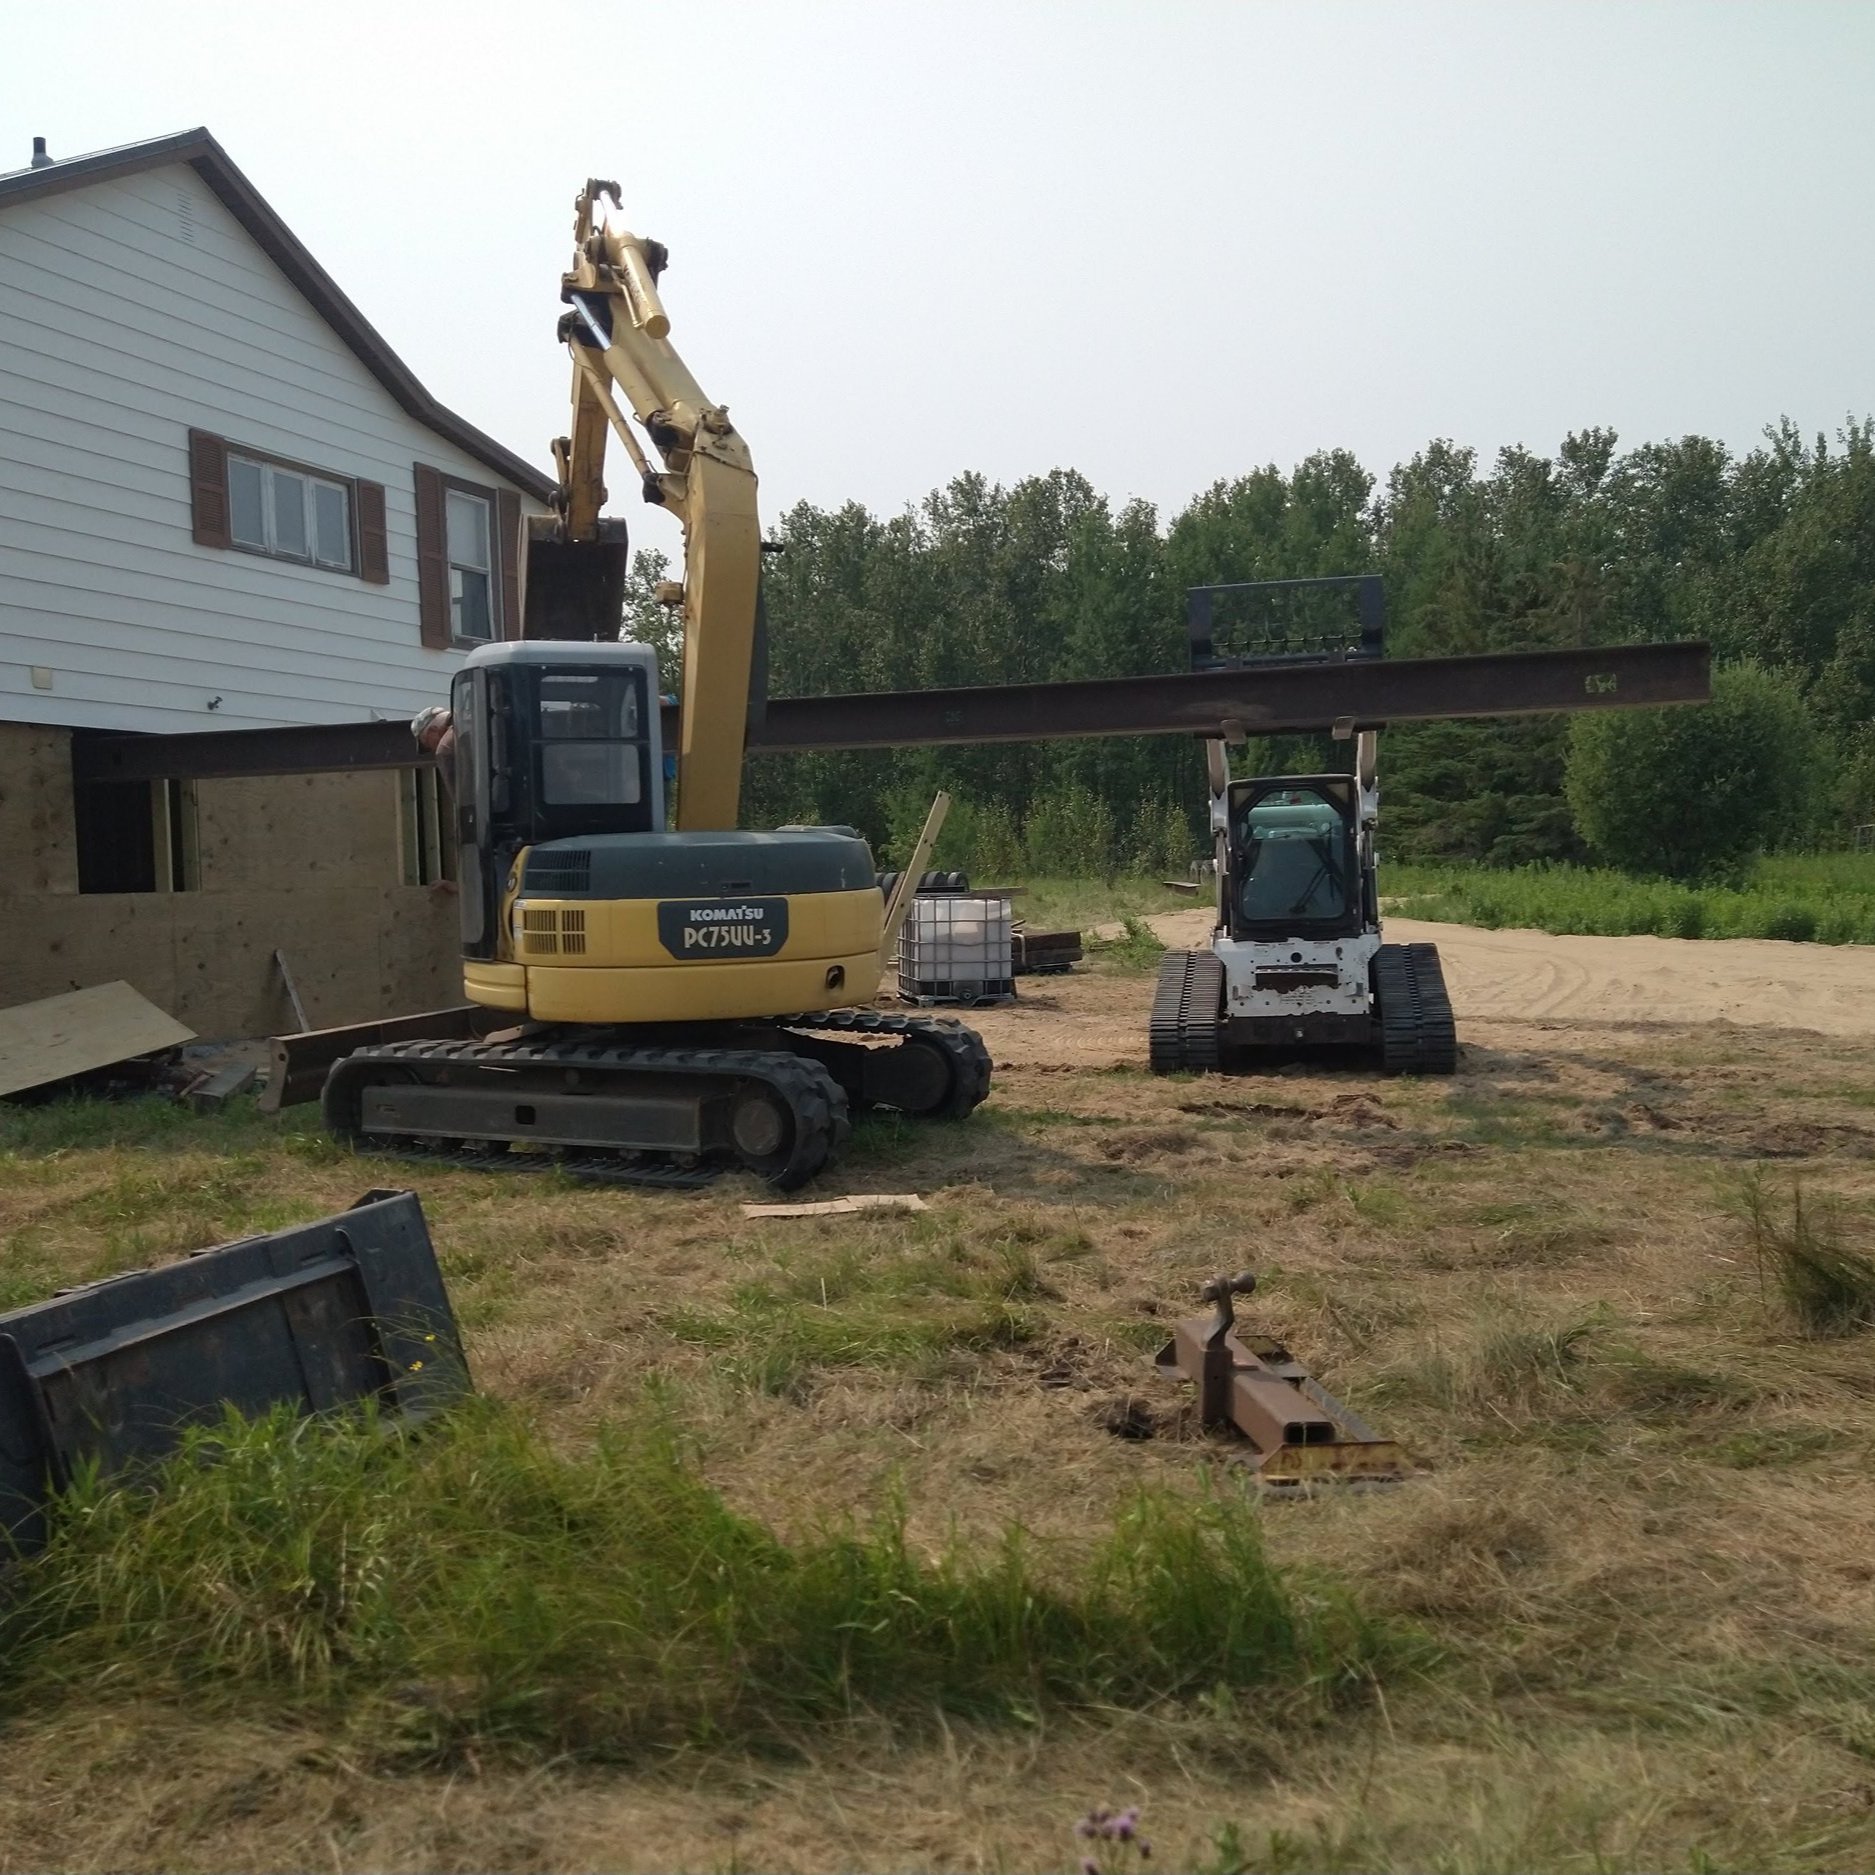
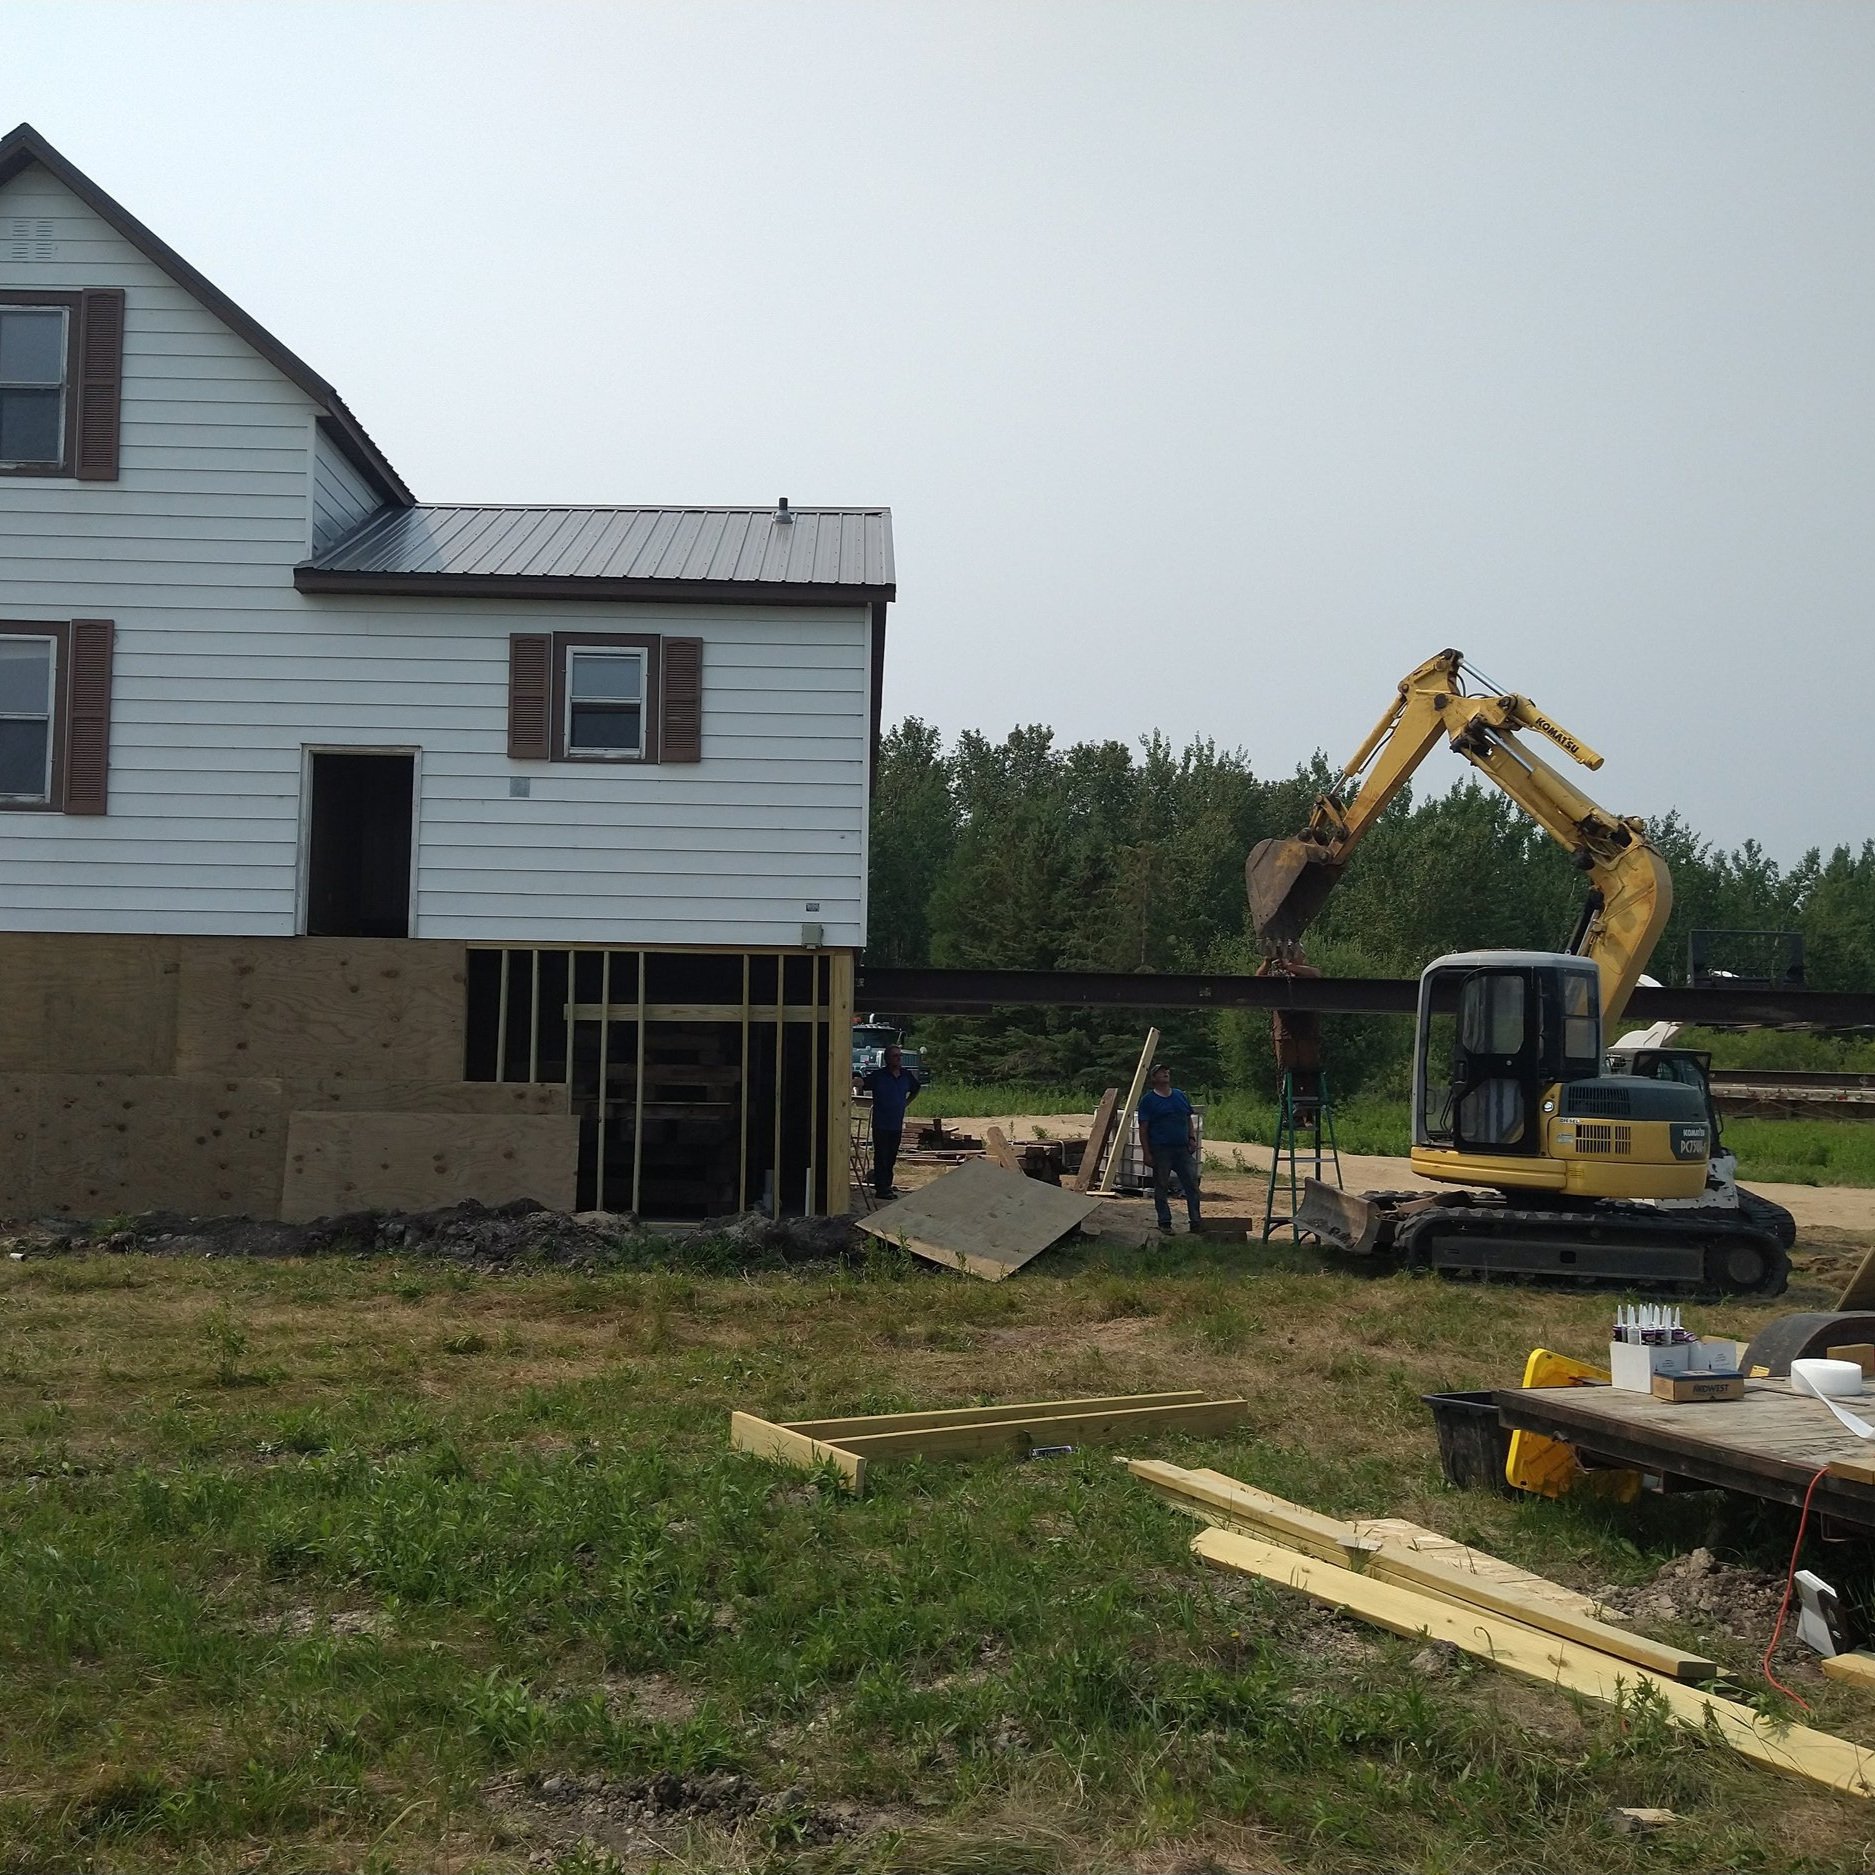
Here are some pictures of the I-beams being taken out of the basement. I do have videos of this, and I finally got around to setting up a YouTube channel for Hartsfield Homestead. No videos up yet, but if you subscribe you’ll be notified as soon as I start uploading them! Baby steps, right?
It didn’t take long after the beams were taken out for the cribbing and equipment to be taken down and cleared out. In just a matter of days our house had arrived on our land and was set up on the slab. Getting to show Seth around when he got back was so exciting. It was such a big change, you know? Bam! House.

This process was incredible to get to be a part of, as more than just a homeowner. I hope you enjoyed reading about our crazy couple days of lifting a house up so we could build a basement underneath it. Hopefully the kids keep up their routine of napping at the same time, because nap time is when I work on the blog. Balancing motherhood, writing, and ministry can be a lot to juggle at times, but I really enjoy getting to re-live these different parts of our journey when I get the chance to put these blog posts up. Anyway, enjoy your Thursday and stay warm out there!