Ah, Ship-lap
When we first started demo on our house in the fall of 2021, we found ship-lap hidden away under layer after layer of wallpaper. You can watch the discovery here on our YouTube channel!
I may earn a small commission on affiliate links.
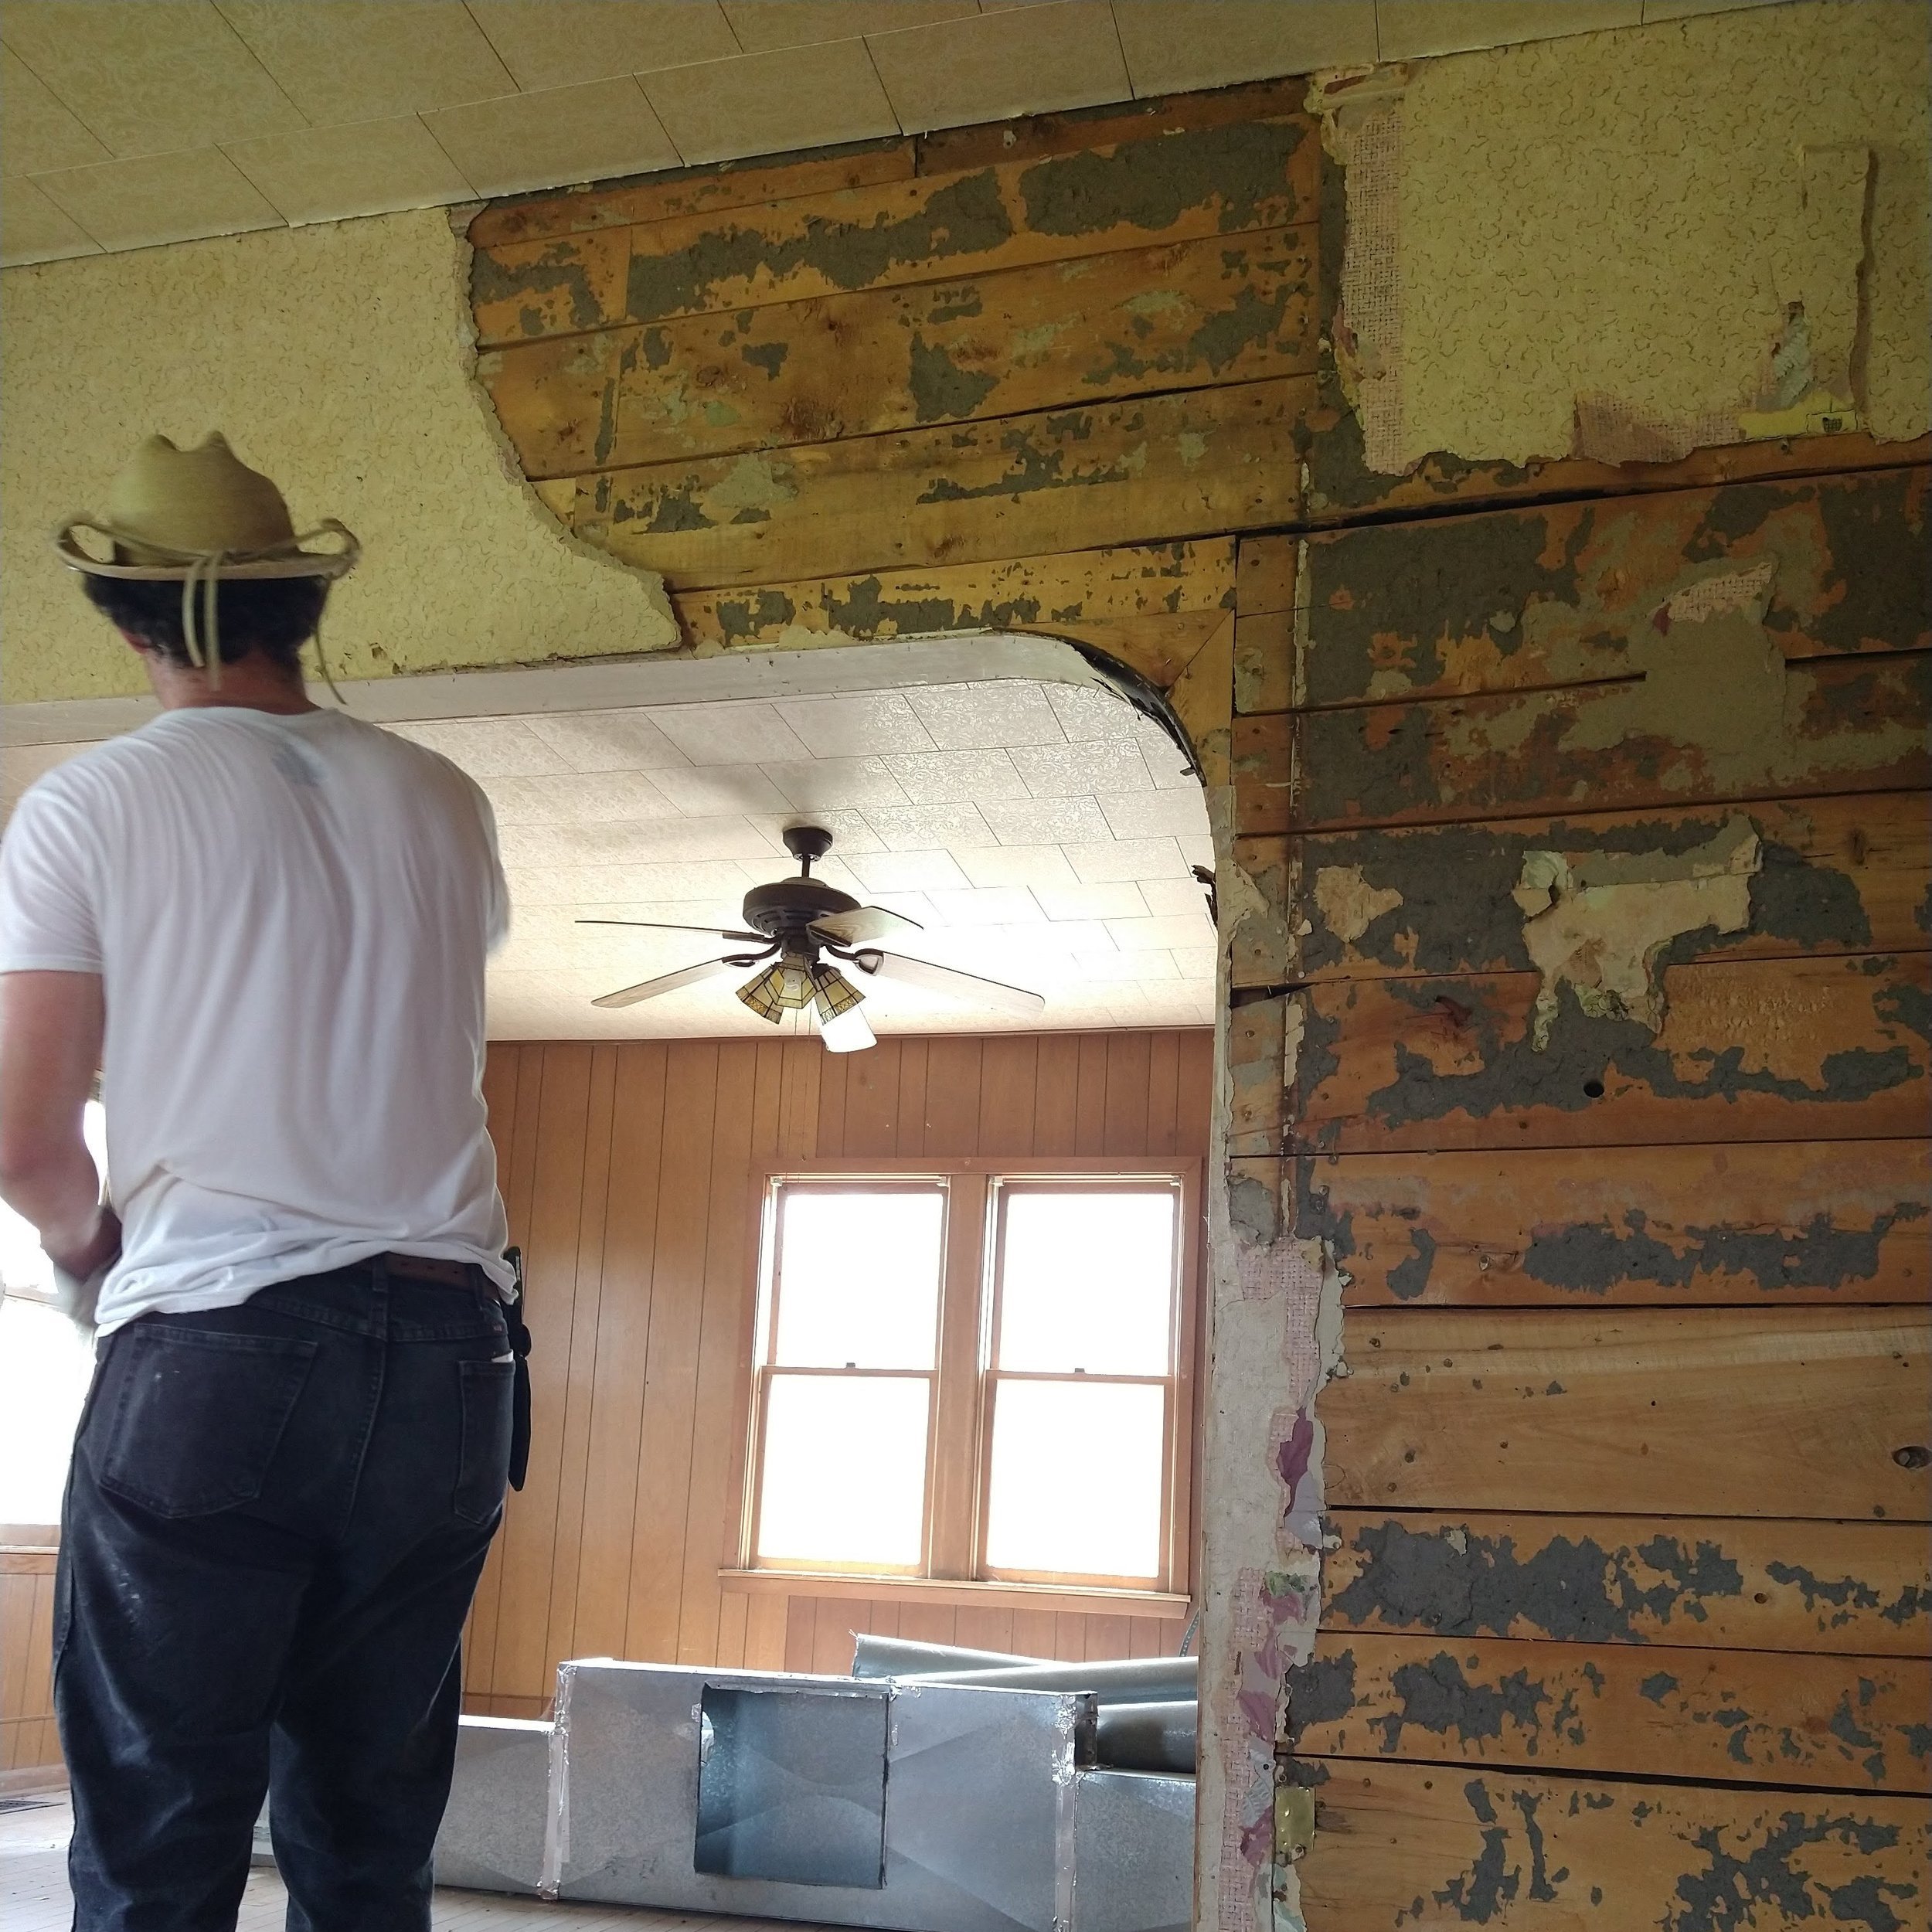
If we had built a house ourselves, we would have opted for a wood interior. With the price of materials after the pandemic, however, that was outside of our budget. So this was just one more thing that made us appreciate the gift that our farmhouse was. We had no idea what it would take to finish the ship-lap to be that perfect combination of rustic and elegant that we were shooting for. Seth and I were obliviously optimistic about the whole renovation, frankly, but especially the ship-lap.
Below is the living room post-deconstruction. Well, almost. Seth cut the door out on the right side that you can see and we did take the fan out as well. By the time we were done taking the paneling and wallpaper off, our walls were in rough shape. As you can see. I think that in order to put up wallpaper, cardboard was glued to the ship-lap. But this could also have been to help prevent drafts. Either way, it was a pain to get off our walls.

We thought that we had to be super gentle to the ship-lap, which meant that Seth bought a higher grit sandpaper that did absolutely nothing. It took us from September of 2021 to April 2022 to figure out how to take all the cardboard off the walls and prep them to be sealed.
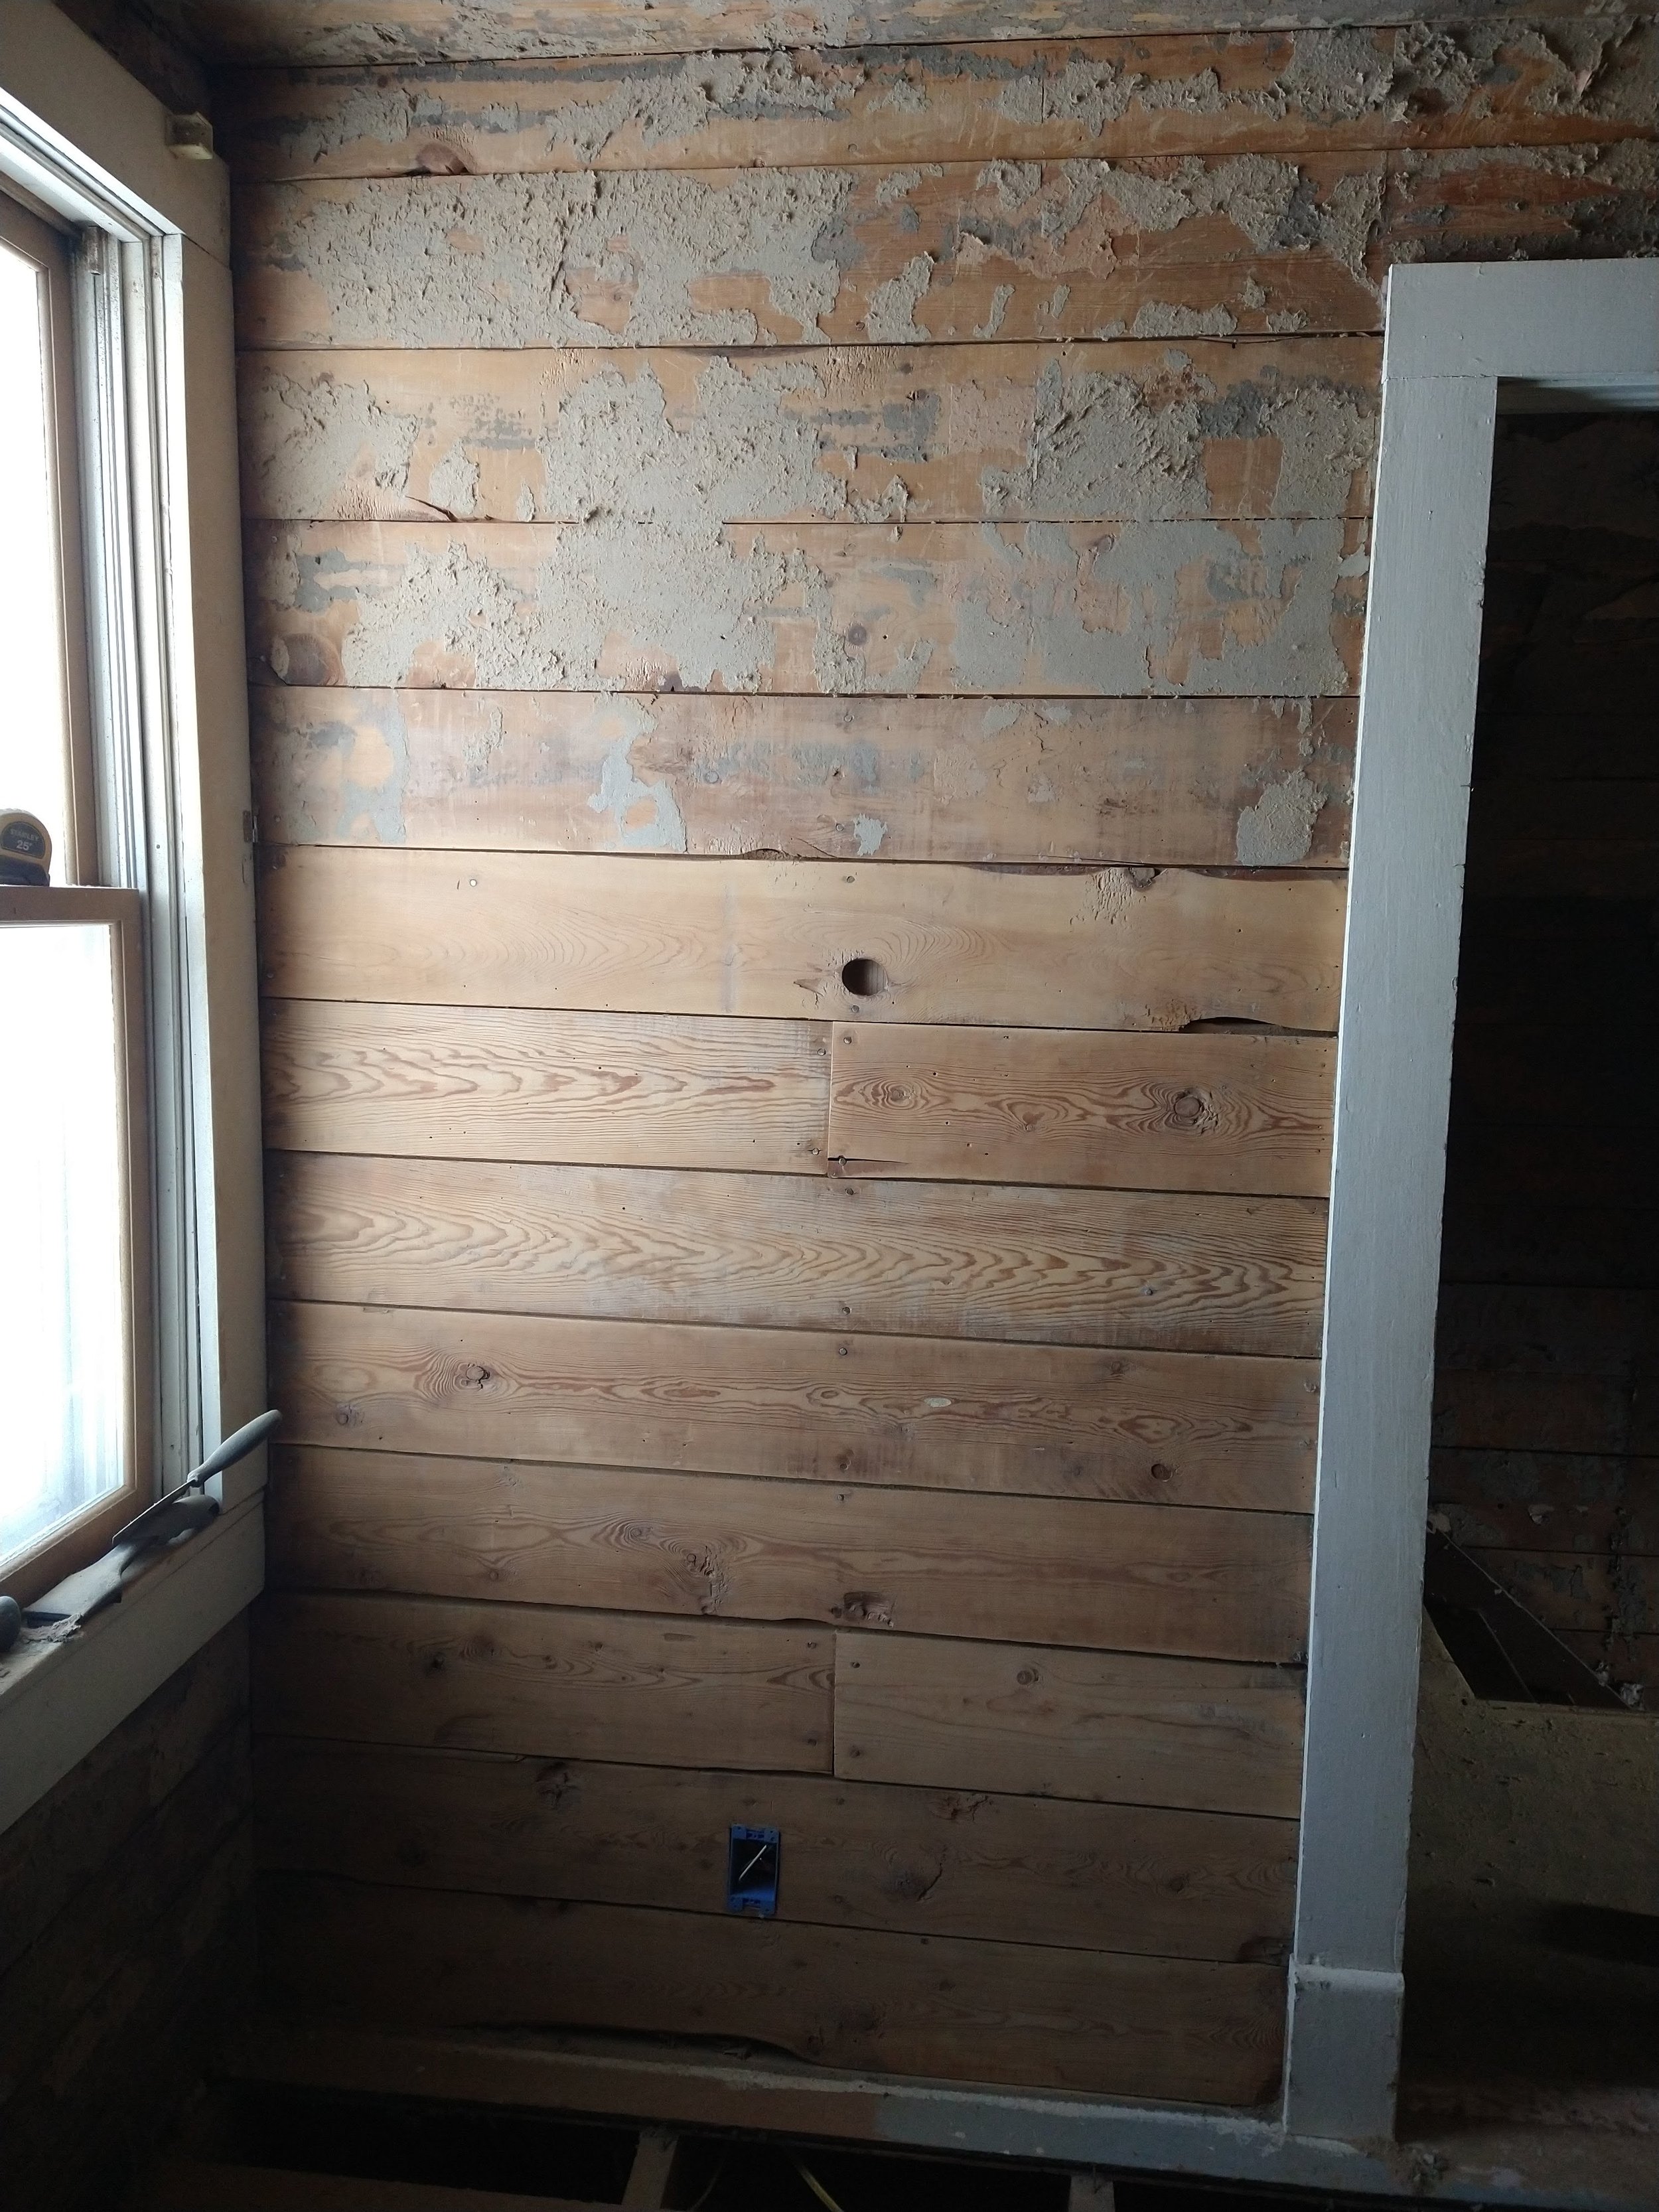
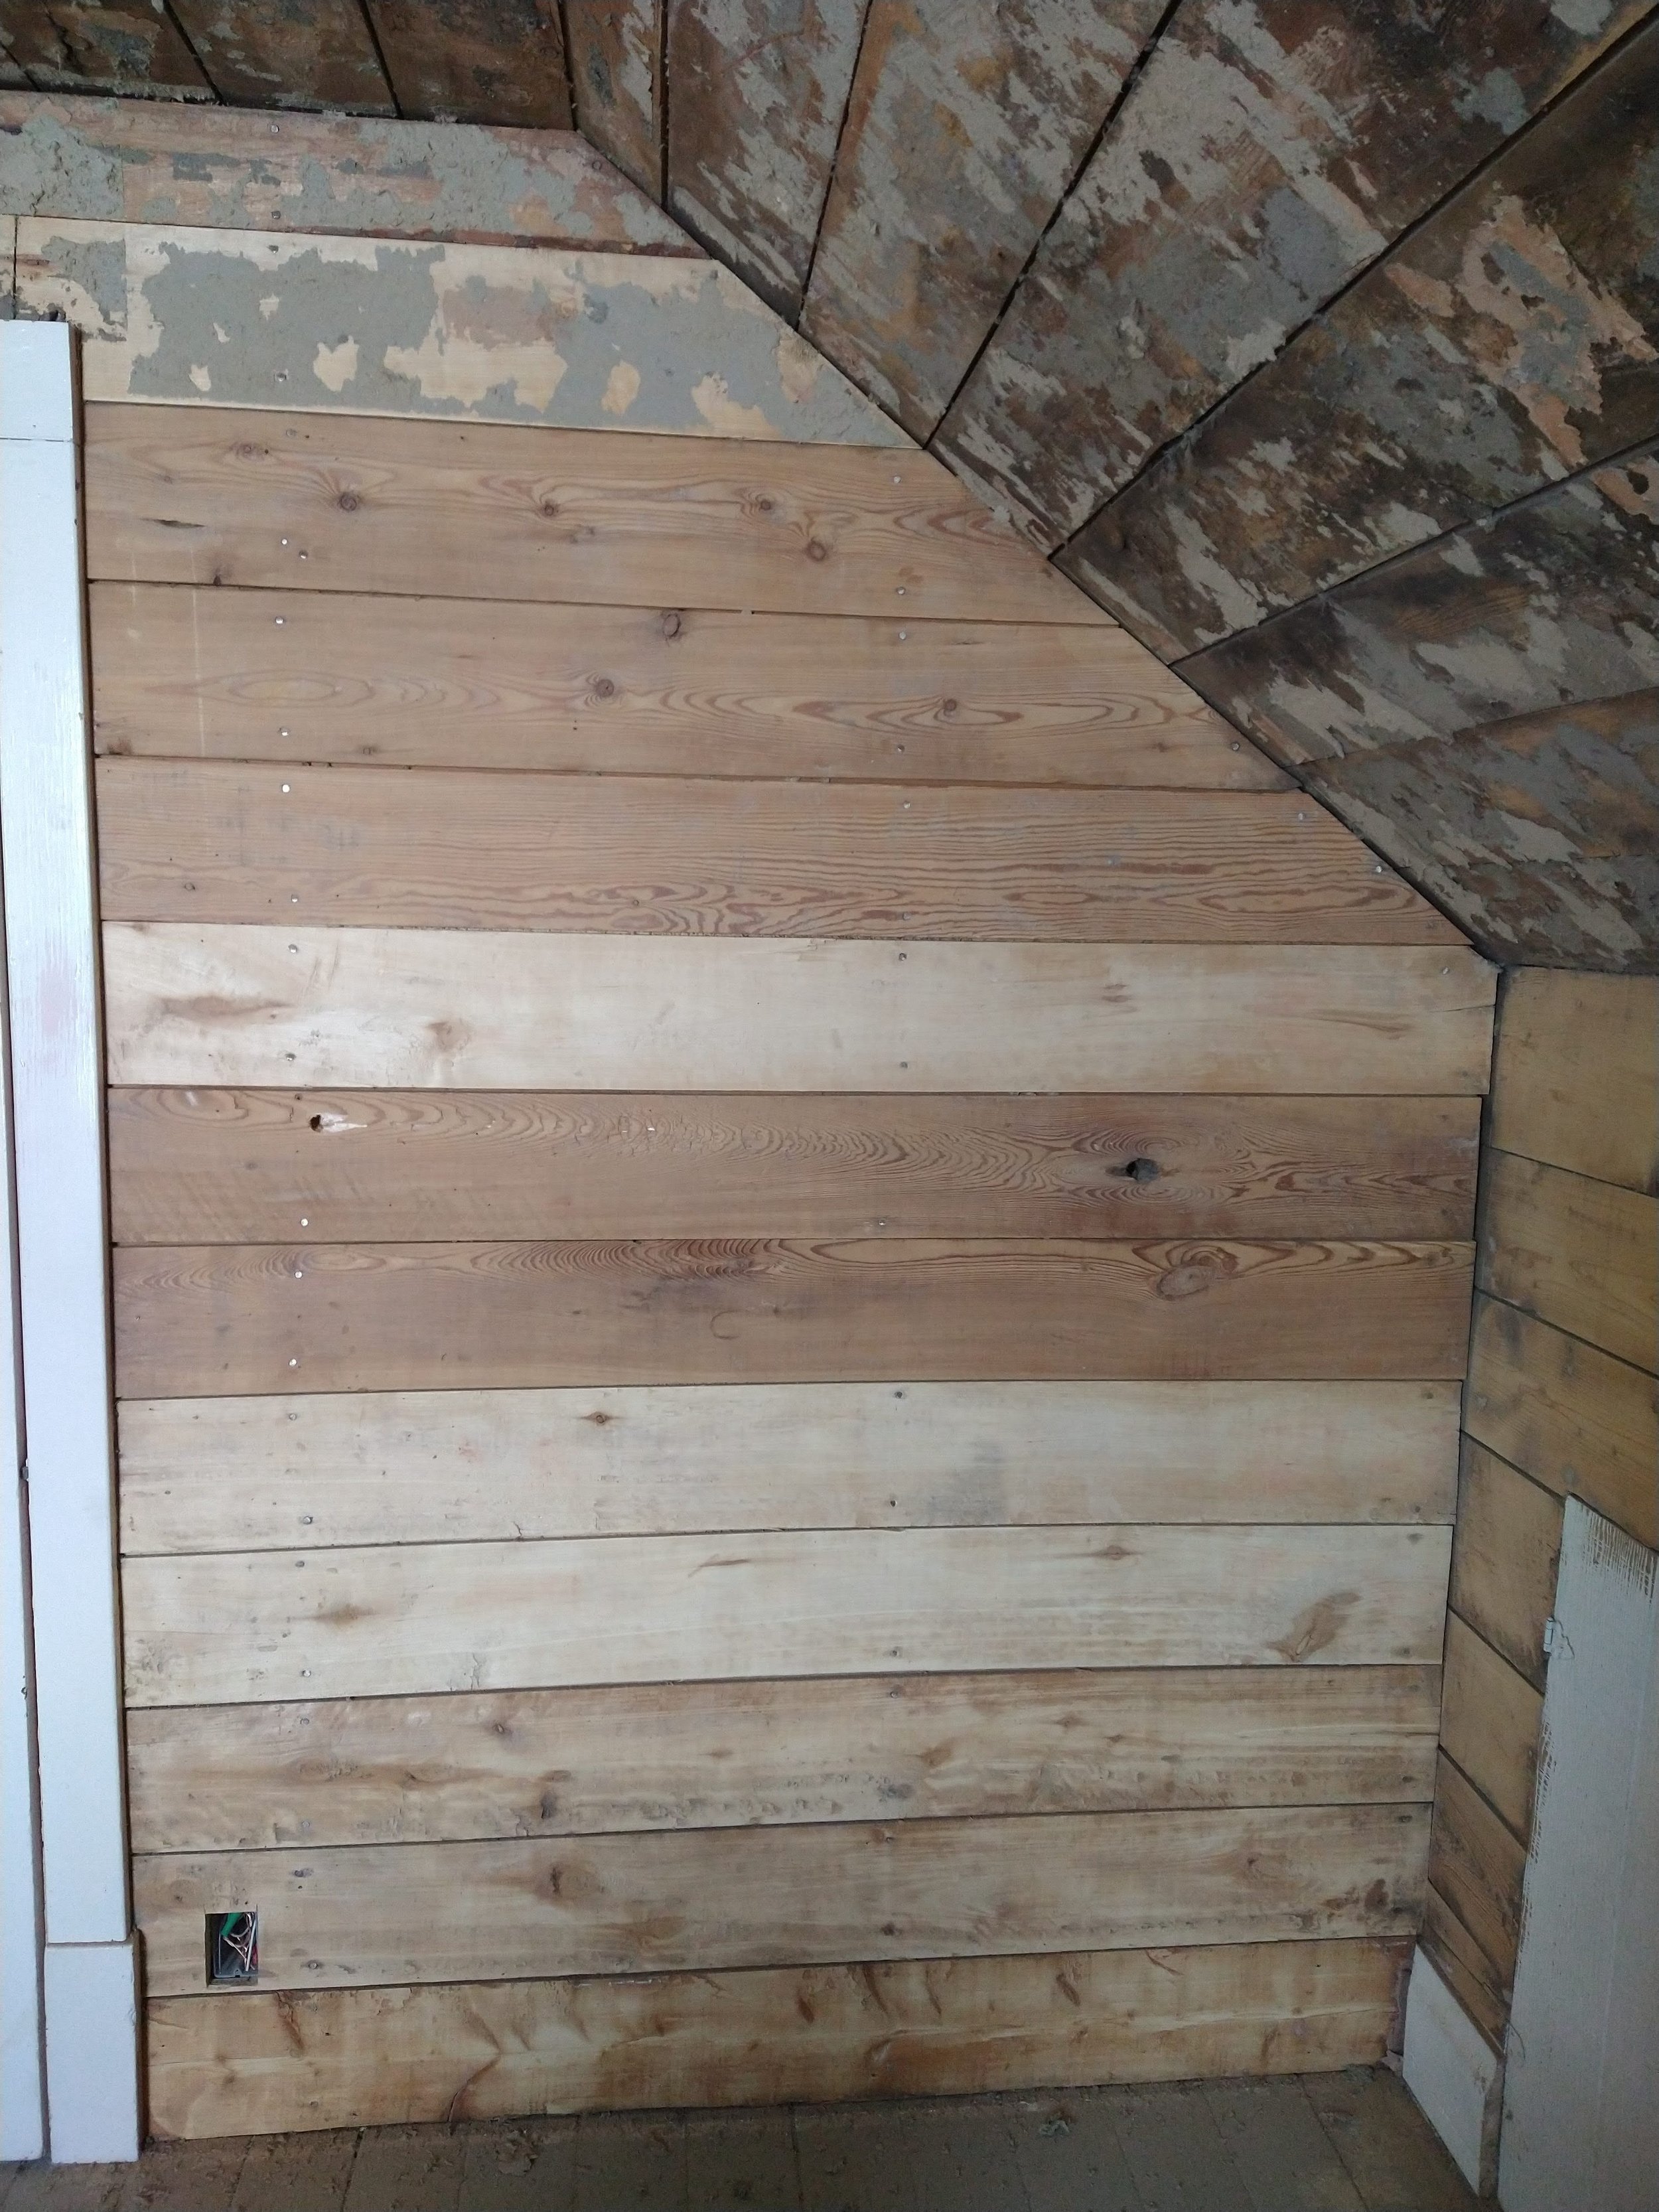
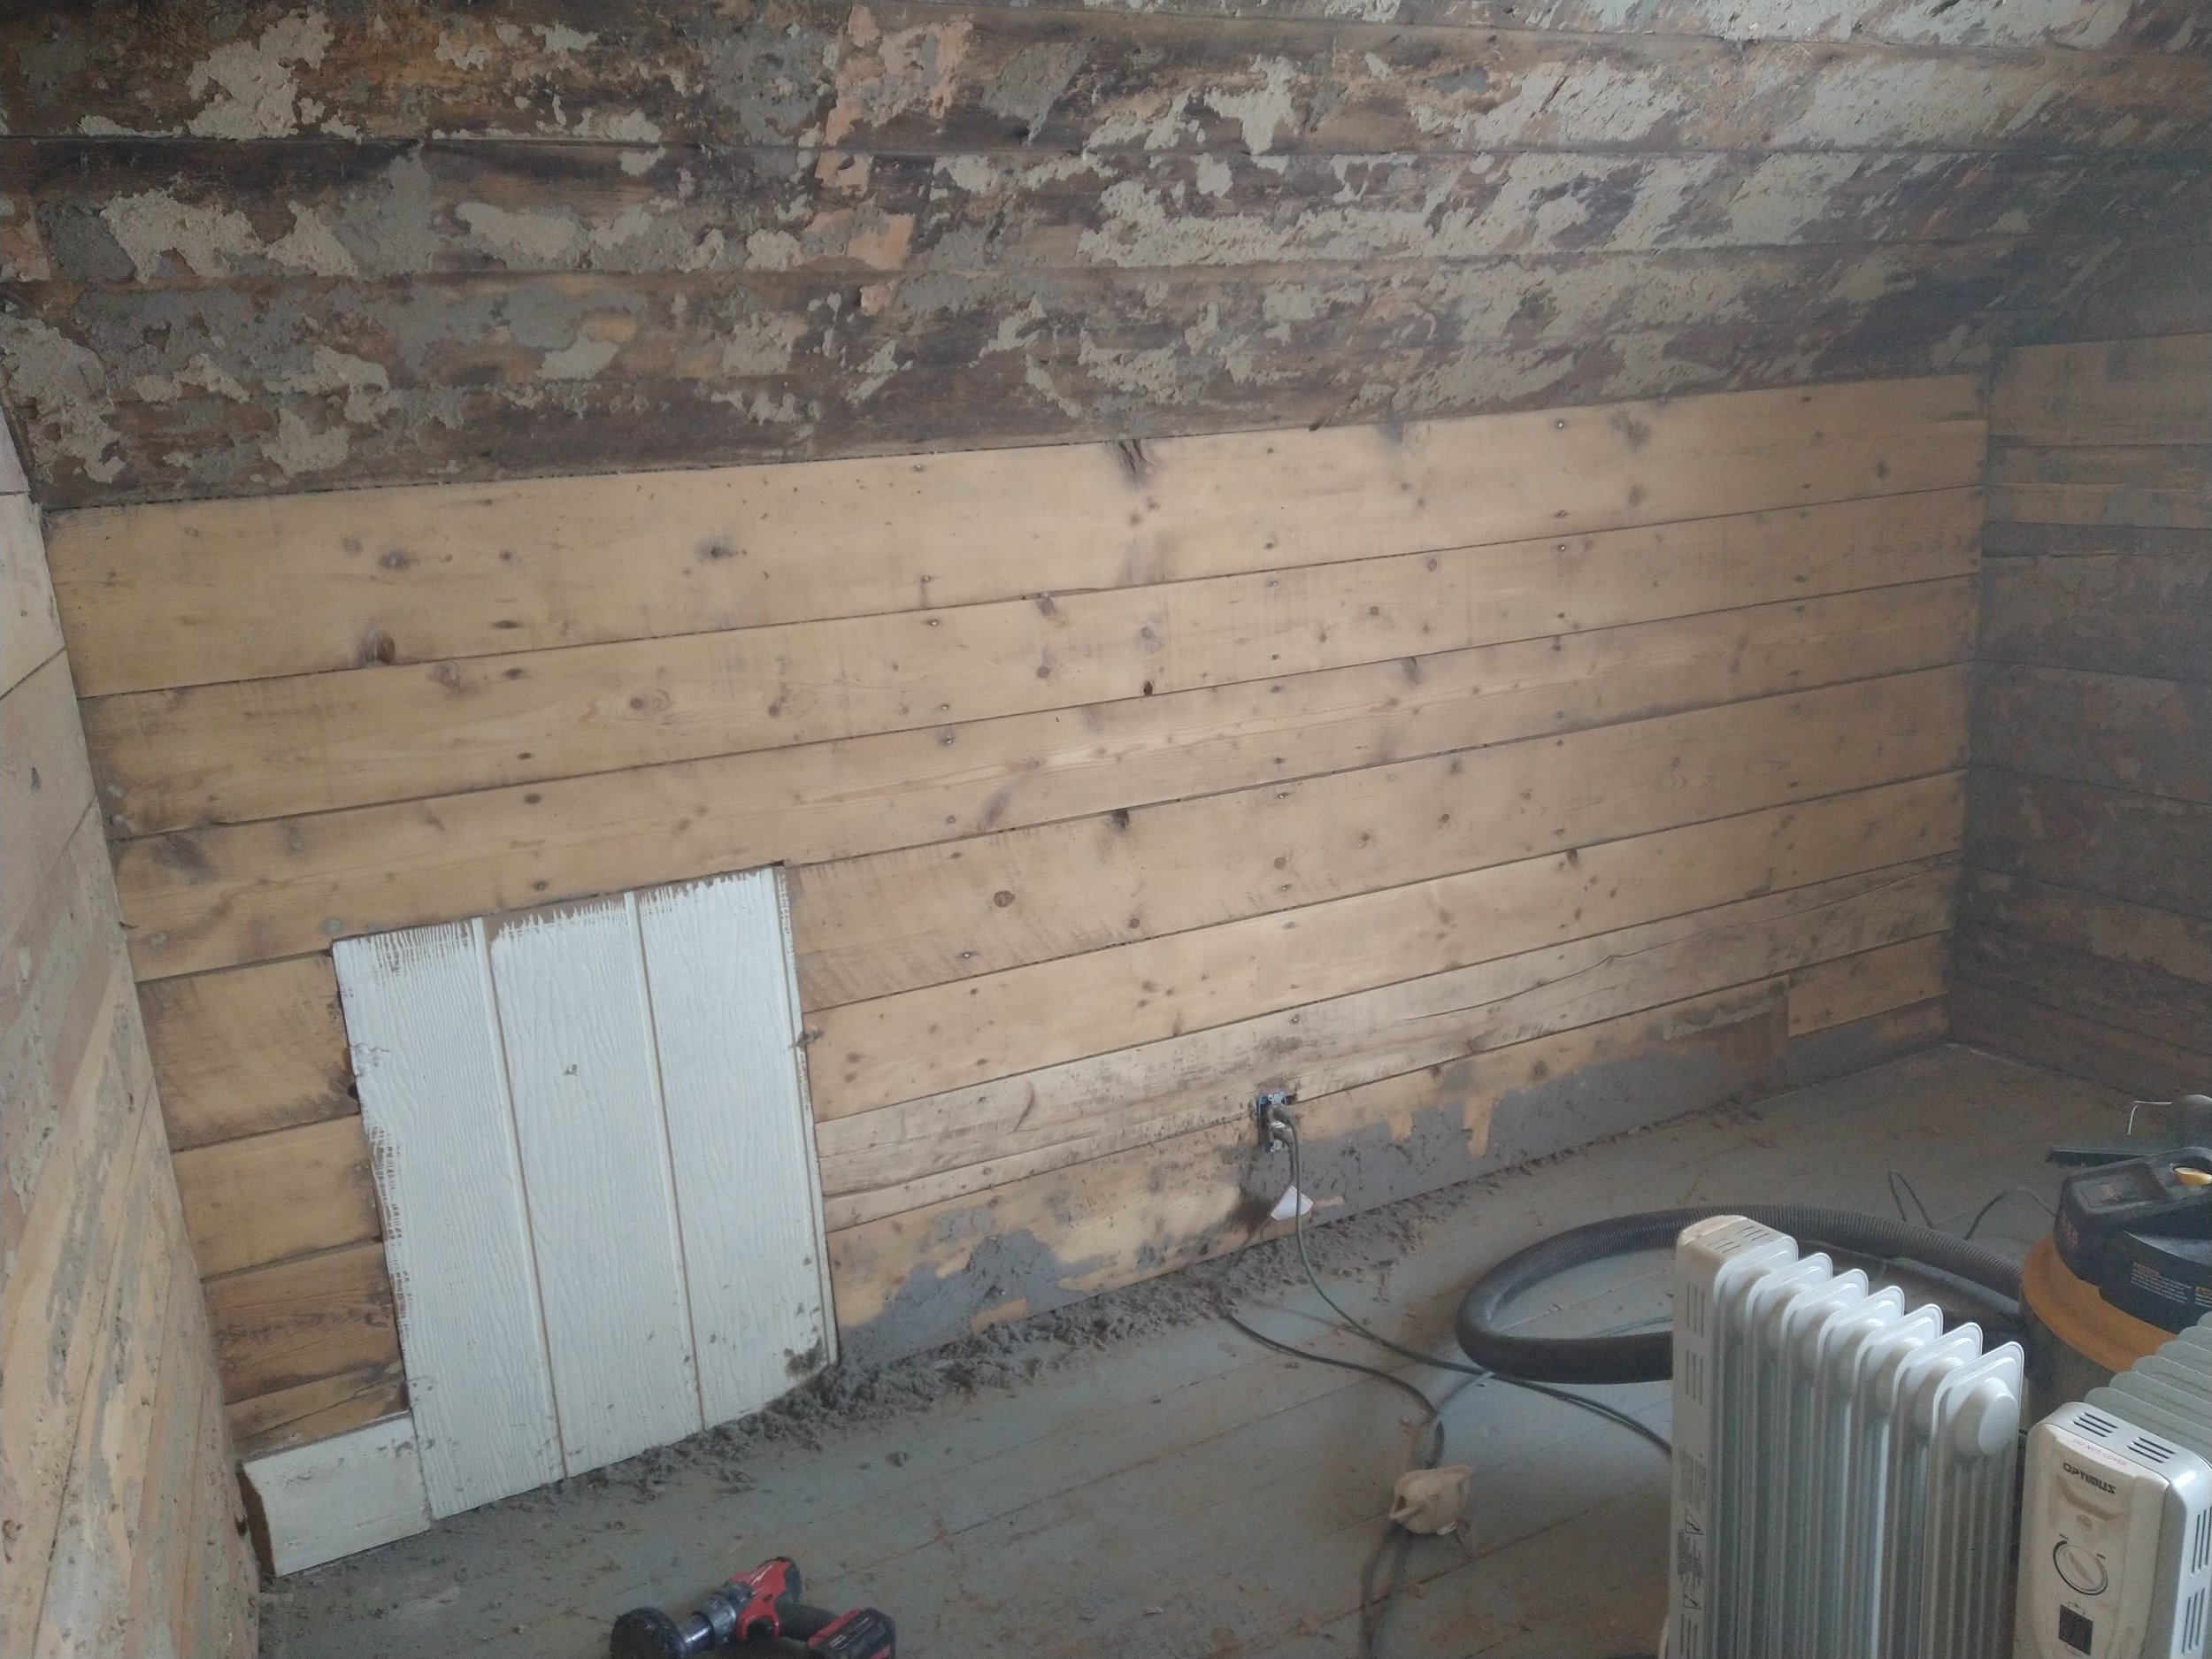
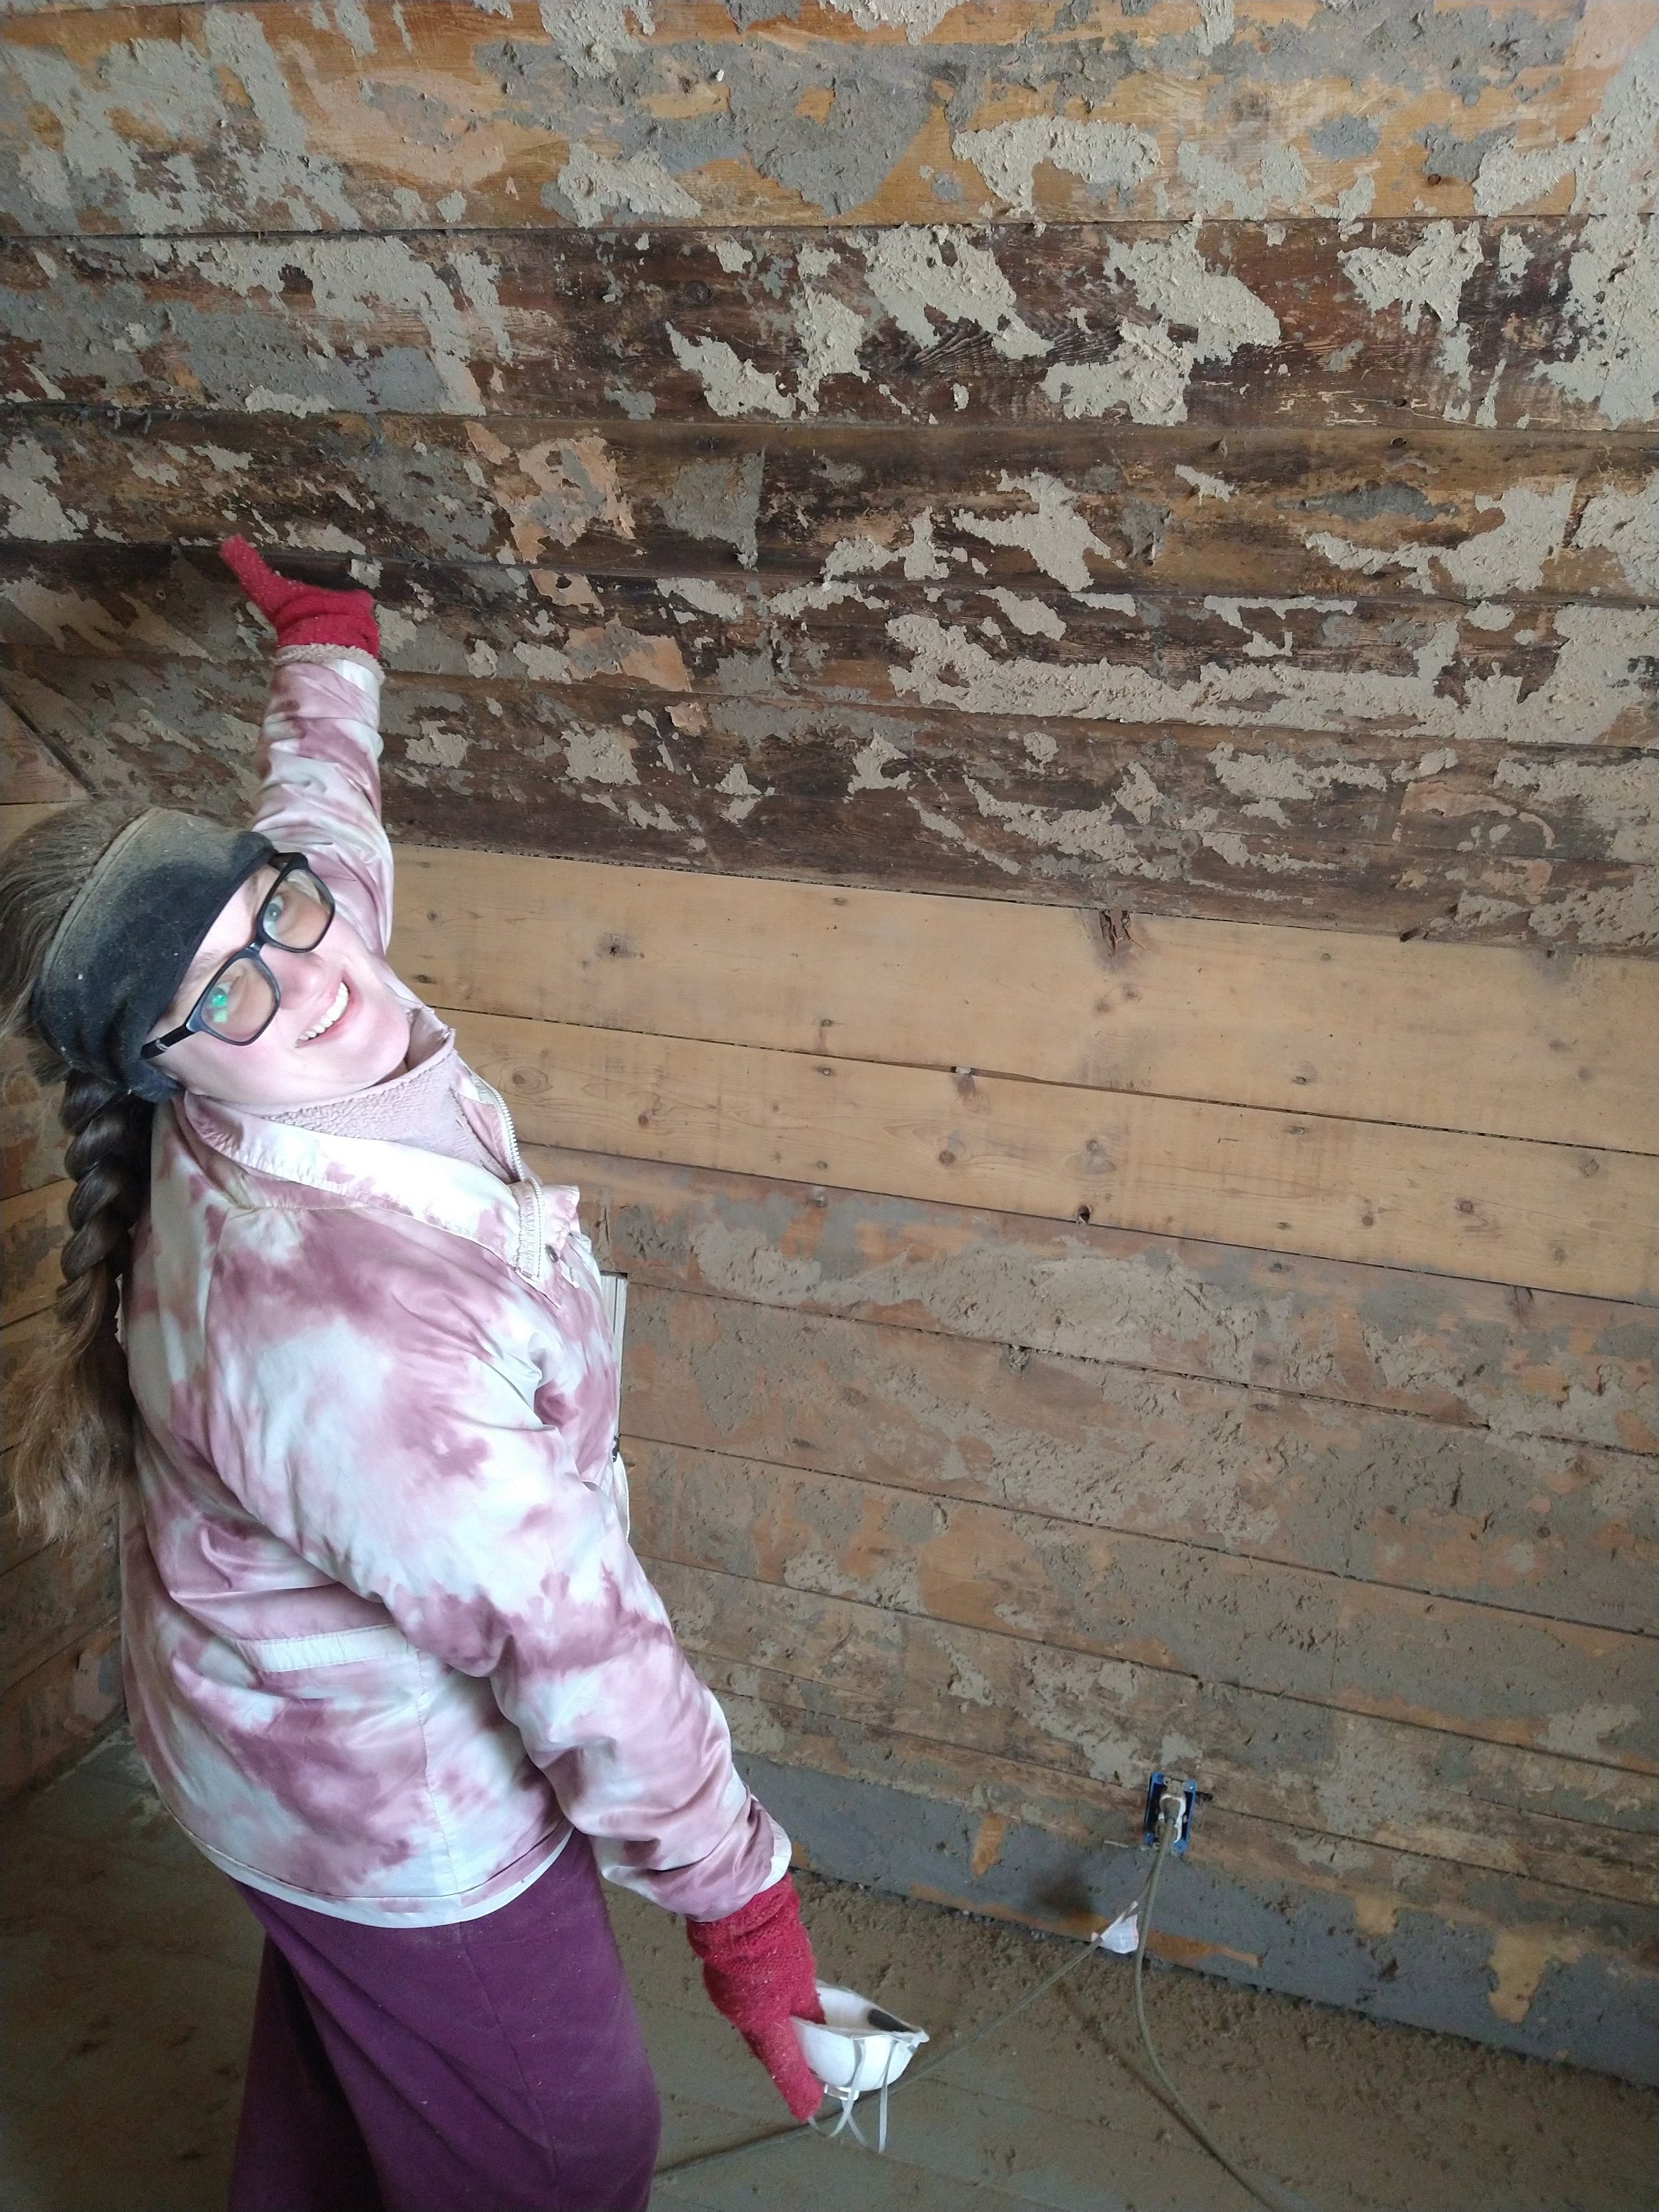
I started by using a paint scraper to get the big patches that I couldn’t just peel off with my hands. In the living rooms I could peel off huge four by eight foot chunks and not leave too much behind. In the bedrooms upstairs I was lucky if I could get a couple square inches in one go. To say it was frustrating is an understatement. The slideshow below shows the north bedroom, which gave me the most grief. It was the smallest room, so I decided to start there to build my confidence and momentum as I moved on to the south bedroom and eventually the downstairs. It ended up being the most difficult room in the house, so it’s just as well that I began in there.
After various scrapers proved ineffective, I moved on to wire brushes and eventually a wire cleaning attachment for a drill which did wonders. The only problem there was that it killed the drill battery quickly. That’s when a palm sander with 80 grit sandpaper came into play. I kept telling Seth that I needed something courser, and eventually I talked him into buying 40 grit sandpaper which was perfect. Before I could talk him into that, though, we attempted to use a sandblaster. The idea was that it would gently take off everything with out the glue on the cardboard bogging up sandpaper. It didn’t work, at all. We don’t know what happened there. Eventually, though, we got all the walls cleaned. Then I went back over them with 80 grit to smooth out any gouges that the rougher paper left. I didn’t sand all the character out of the boards. My favorite boards have stains from the nails and sawmarks still visible.
While the original plan was to sand all the shiplap, for the sake of time (and our shoulders) we opted to drywall the ceiling. Below is the south bedroom with drywall painted and walls sealed. We chose a clear seal on the walls and did not initially caulk the ship-lap like we were planning. We didn’t know if the clear caulk would discolor over time or even if caulking was necessary. The clear sealant was the same as what we eventually put on our floors, and while I was worried about the spots showing up, they went away as soon as we applied sealant and now you cant tell that we splattered any at all.
The sealant we used was oil based and our paint is not, so that did cause some problems in November when I was at the house touching up the walls (they needed a second coat!) Because we used a penetrating oil and not a surface seal, we’ll have to re-apply the sealant more often in the next few years and then probably annually in the future. But the way the walls look right after it is applied makes it worth the effort! They just shine in the ample natural light our windows let in. Living in the north woods means that winter evenings are short, but even in the first few evenings of this year’s Advent our house still had plenty of natural light during the day.

Here is the landing on top of our stairs. You can see the difference in the wood throughout the house. This wall is much more muted than either bedroom or the living rooms below. The floor in the hallway/landing are also more blonde than the south bedroom, which has red tones throughout it. I wasn’t sure how I felt about dry-walling the ceilings and the interior walls upstairs, but the bright white contrasts nicely with the warm wood tones and makes it so cozy.
It was a really hard decision not to live in the house right away, and we are excited for coming home one day in the future. But for now, we’re just celebrating the fact that our almost two-year renovation project is over at this point*.

Here is the south living room as we were just starting to put up trim. Although it’s not finished in this picture, it does give a good idea of what the room looks like. We tried to match the trim in the house to what it originally looked like. We based that on the trim in the north bedroom, where we kept all the original trim. In August 2022, we were able to have someone who grew up in this house walk through it and see what we had done so far. It was definitely hard for him to see the changes we had made, he appreciated the care we were taking of this home and the historical elements we were trying to re-incorporate.

*In November 2022, the upstairs interior of the house was done but in December we ran out of propane and some of our water lines froze. It will be spring 2023 before we can get up to finish fixing those.