Our Adventure in Hardwood Flooring
When we were given our house, we already had around 400 square feet of hardwood flooring. We bought it for a tiny house we didn’t end up building.
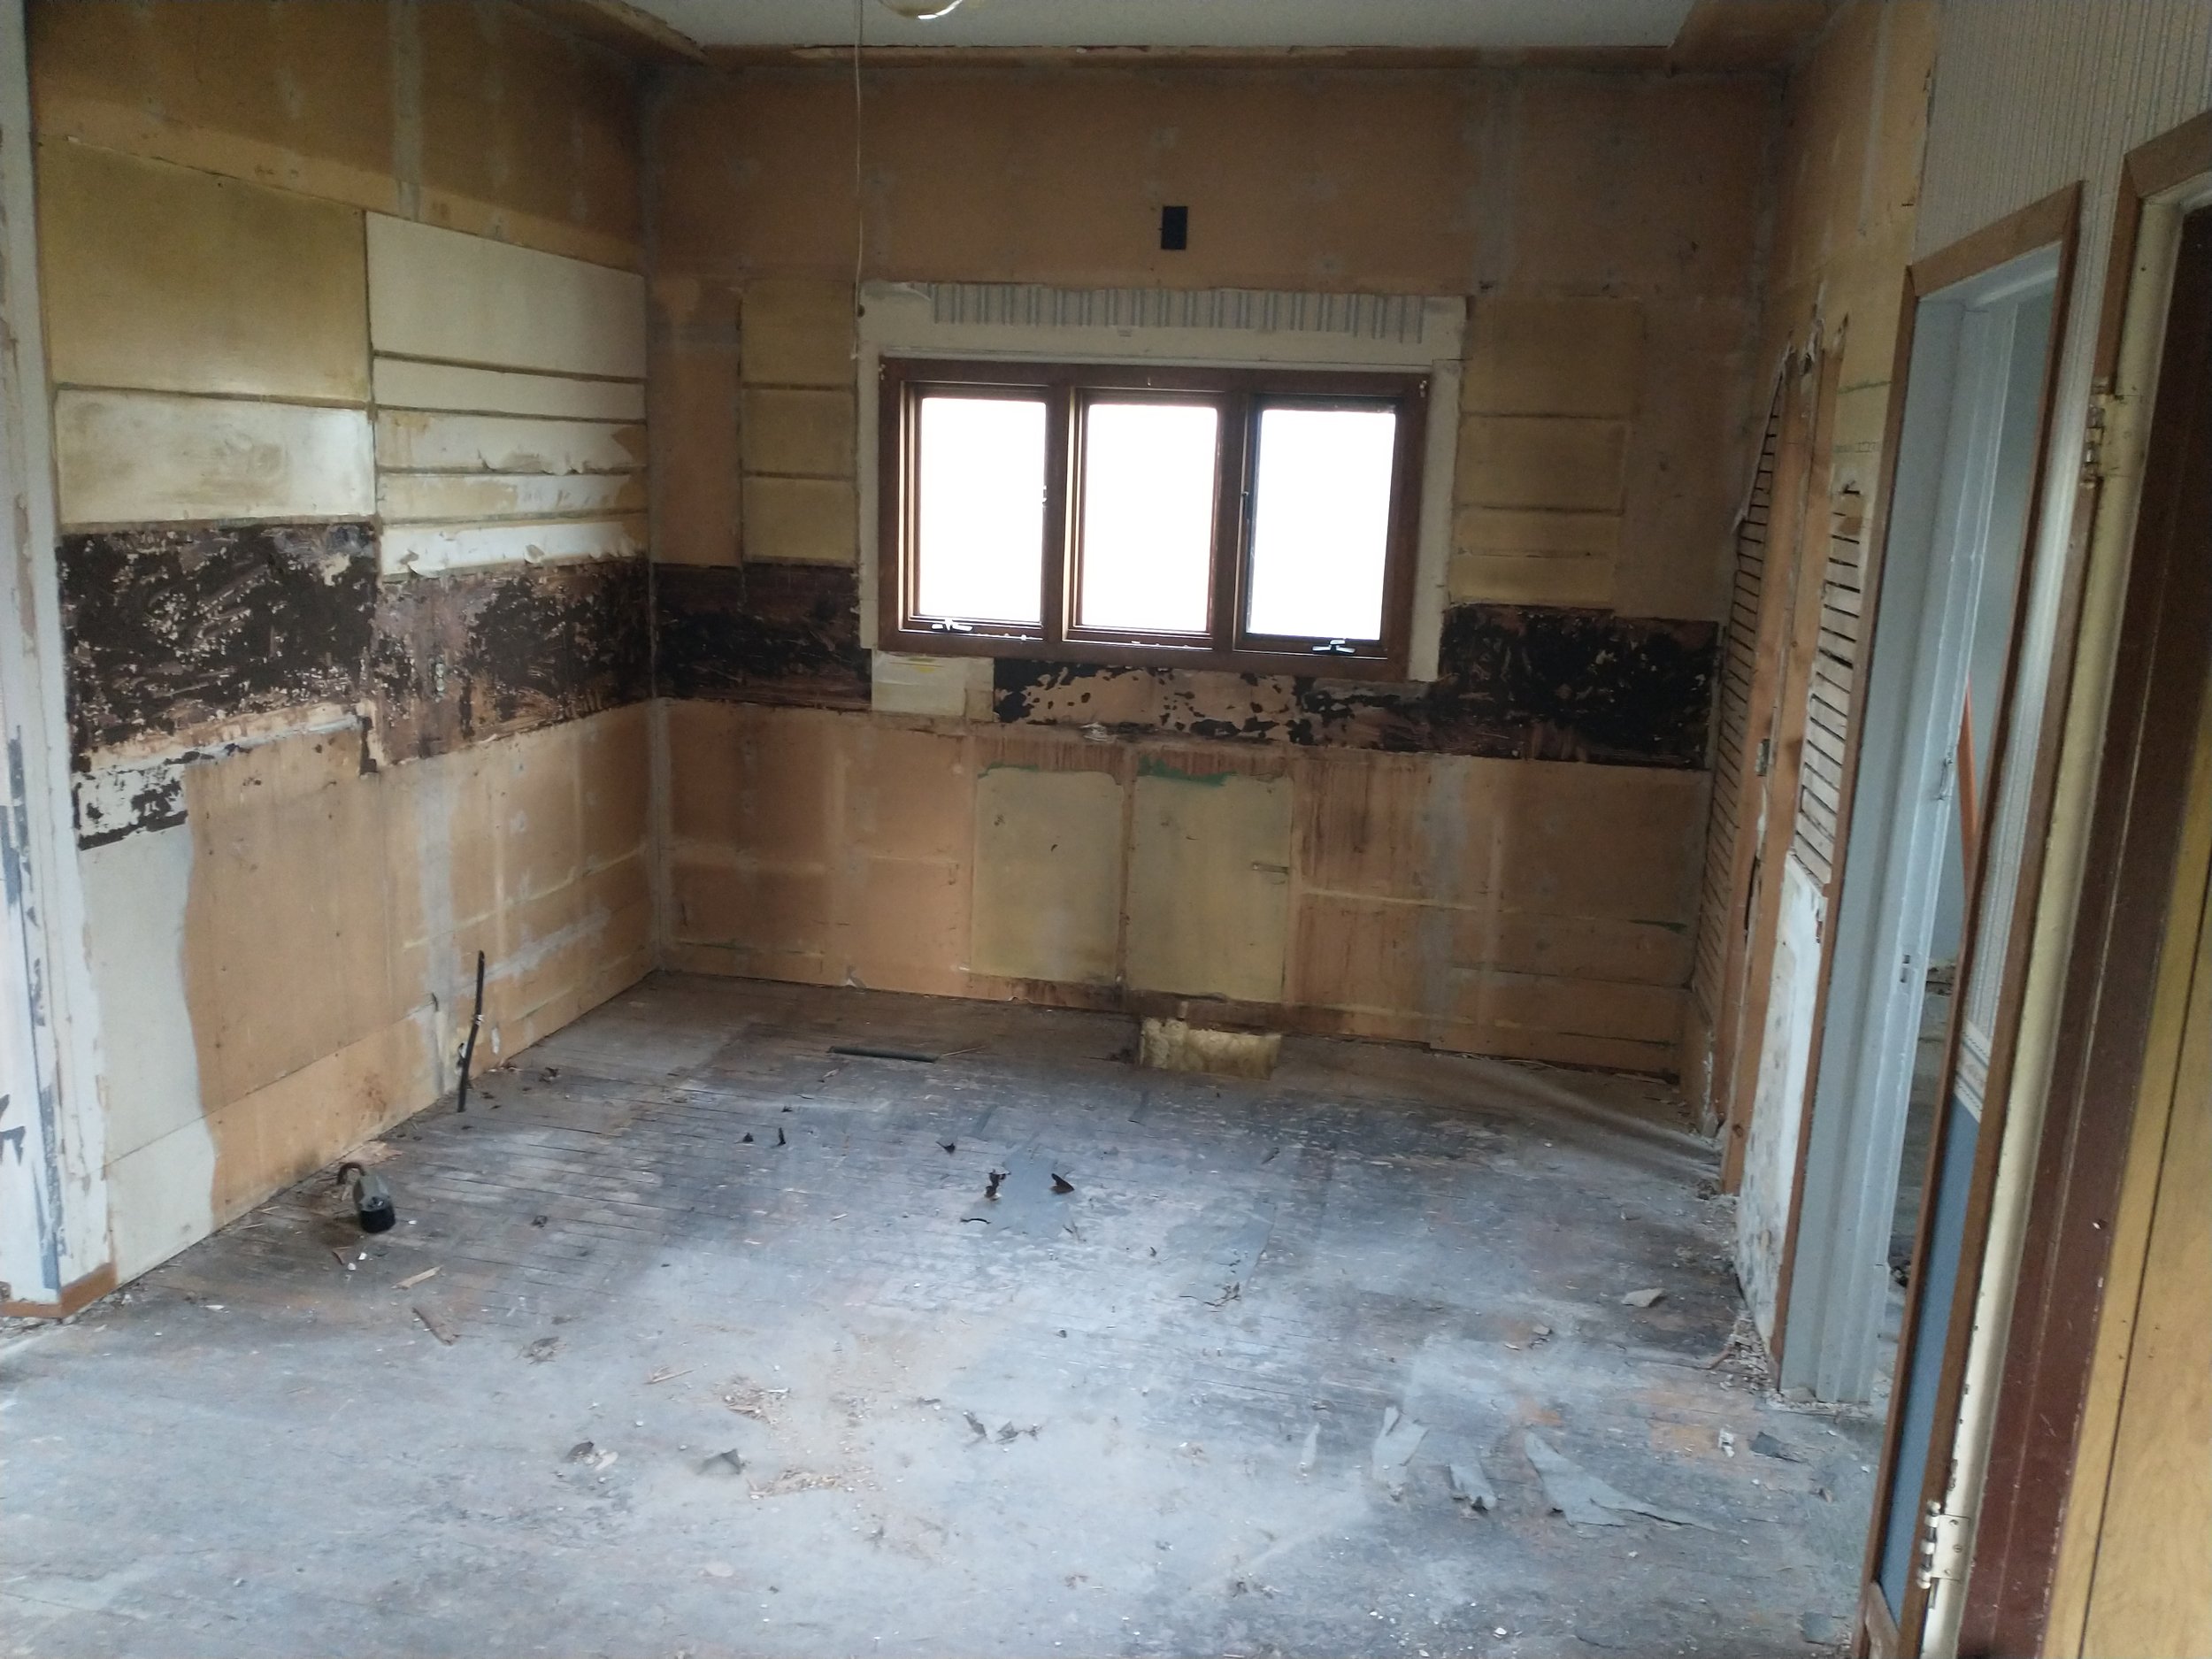
Here’s our kitchen once the linoleum was ripped up. We found that the first floor had hardwood throughout during demolition. We weren’t sure if we’d be able to salvage it, but we knew we were going to try! After we ripped up the carpeting, the bedrooms and landings upstairs needed some new flooring. Before our house found us, we had planned on either building or moving a tiny house onto our land and had purchased hardwood flooring for that. I was excited to use it in the farmhouse. I wanted to use the same materials throughout the project, instead of decorating each room individually.
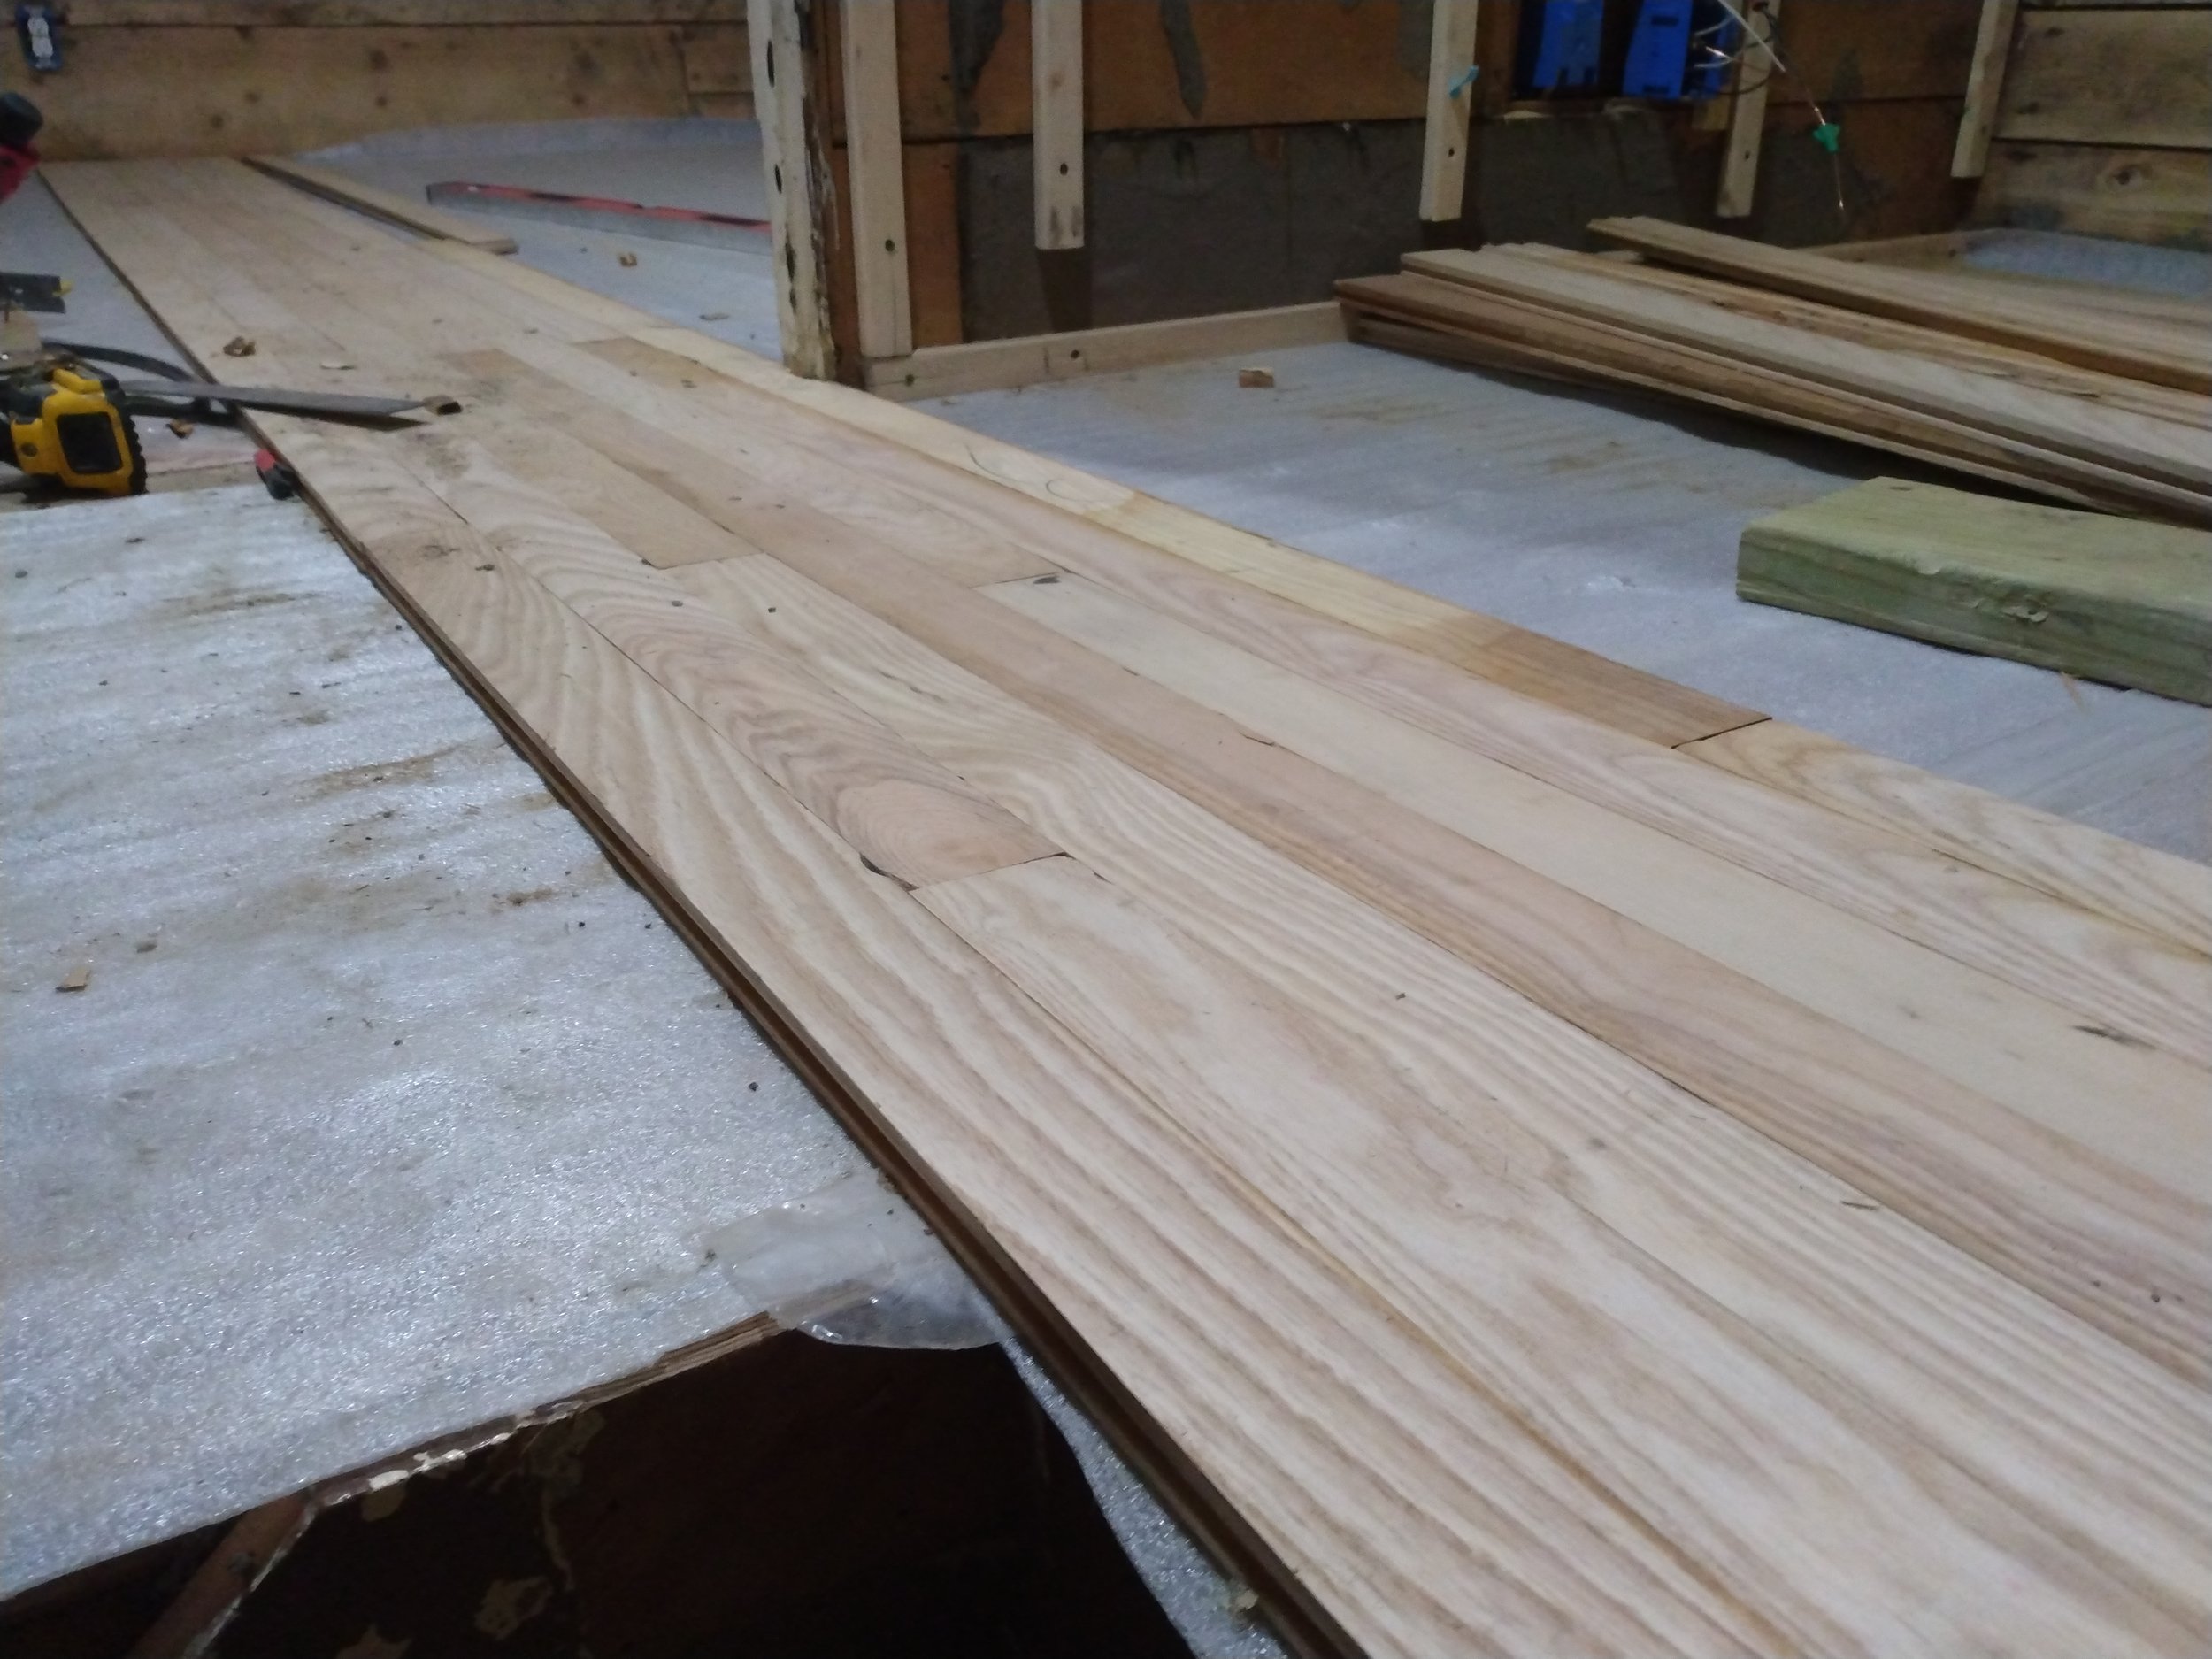
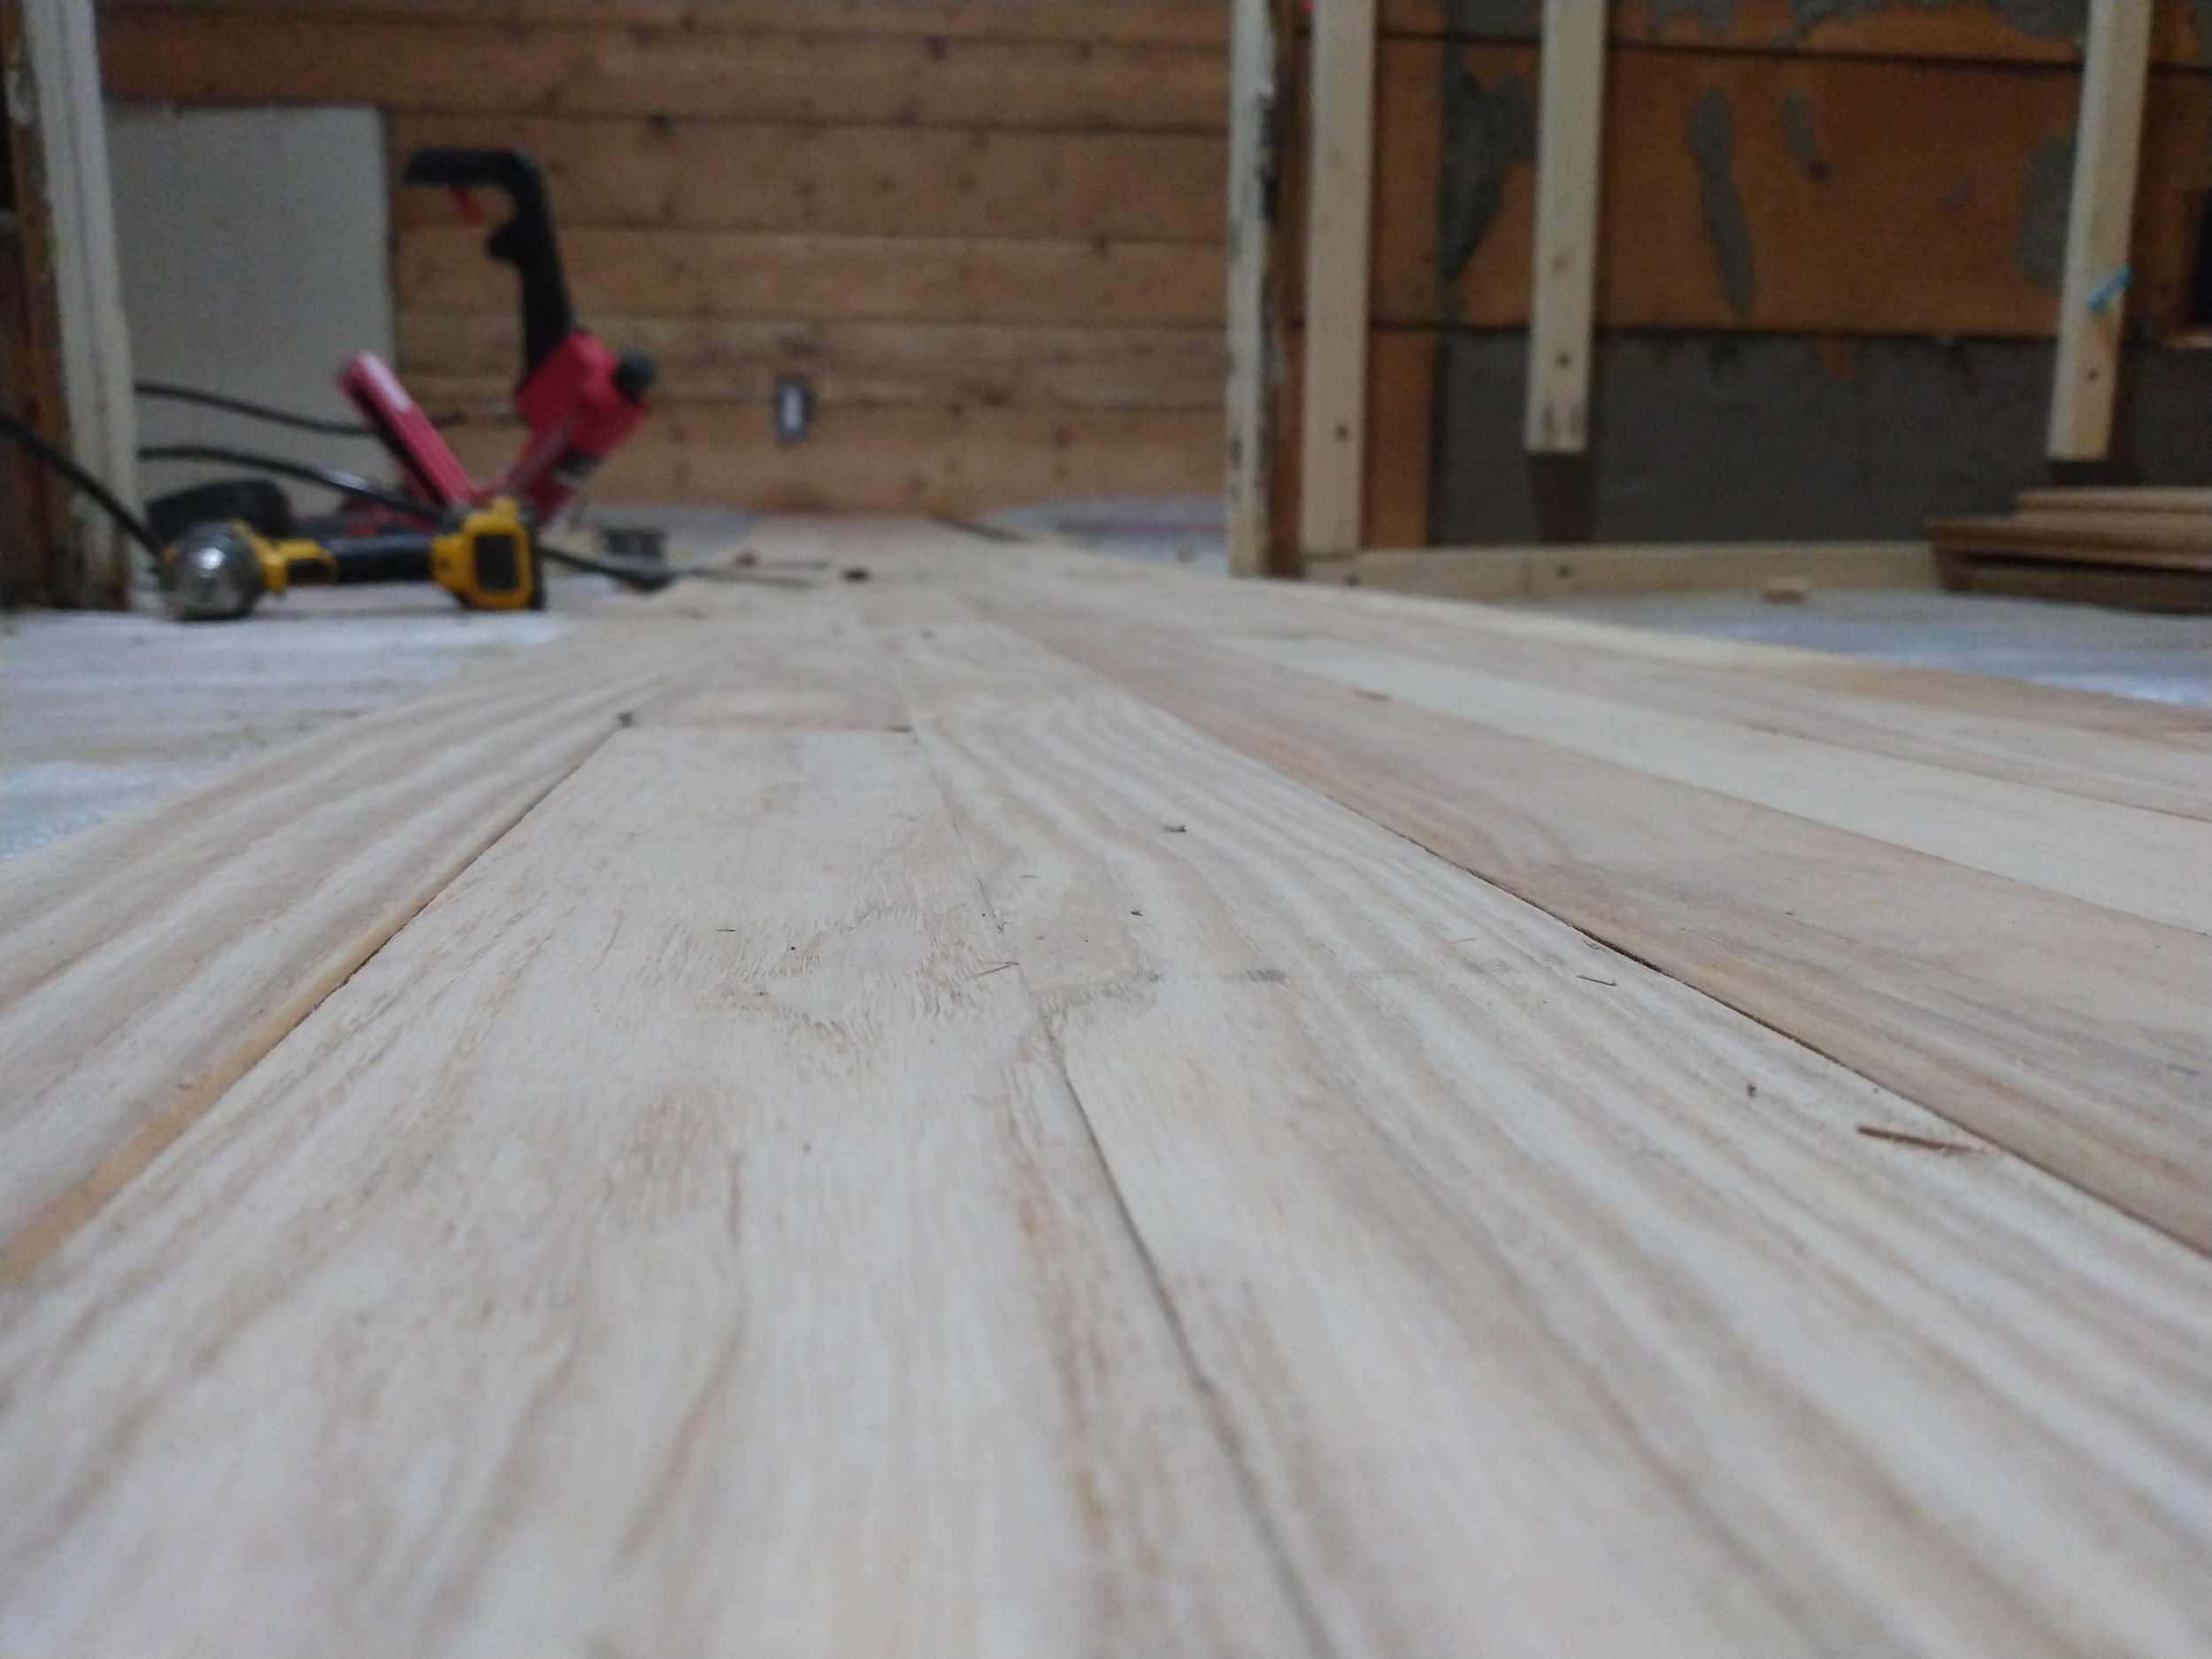
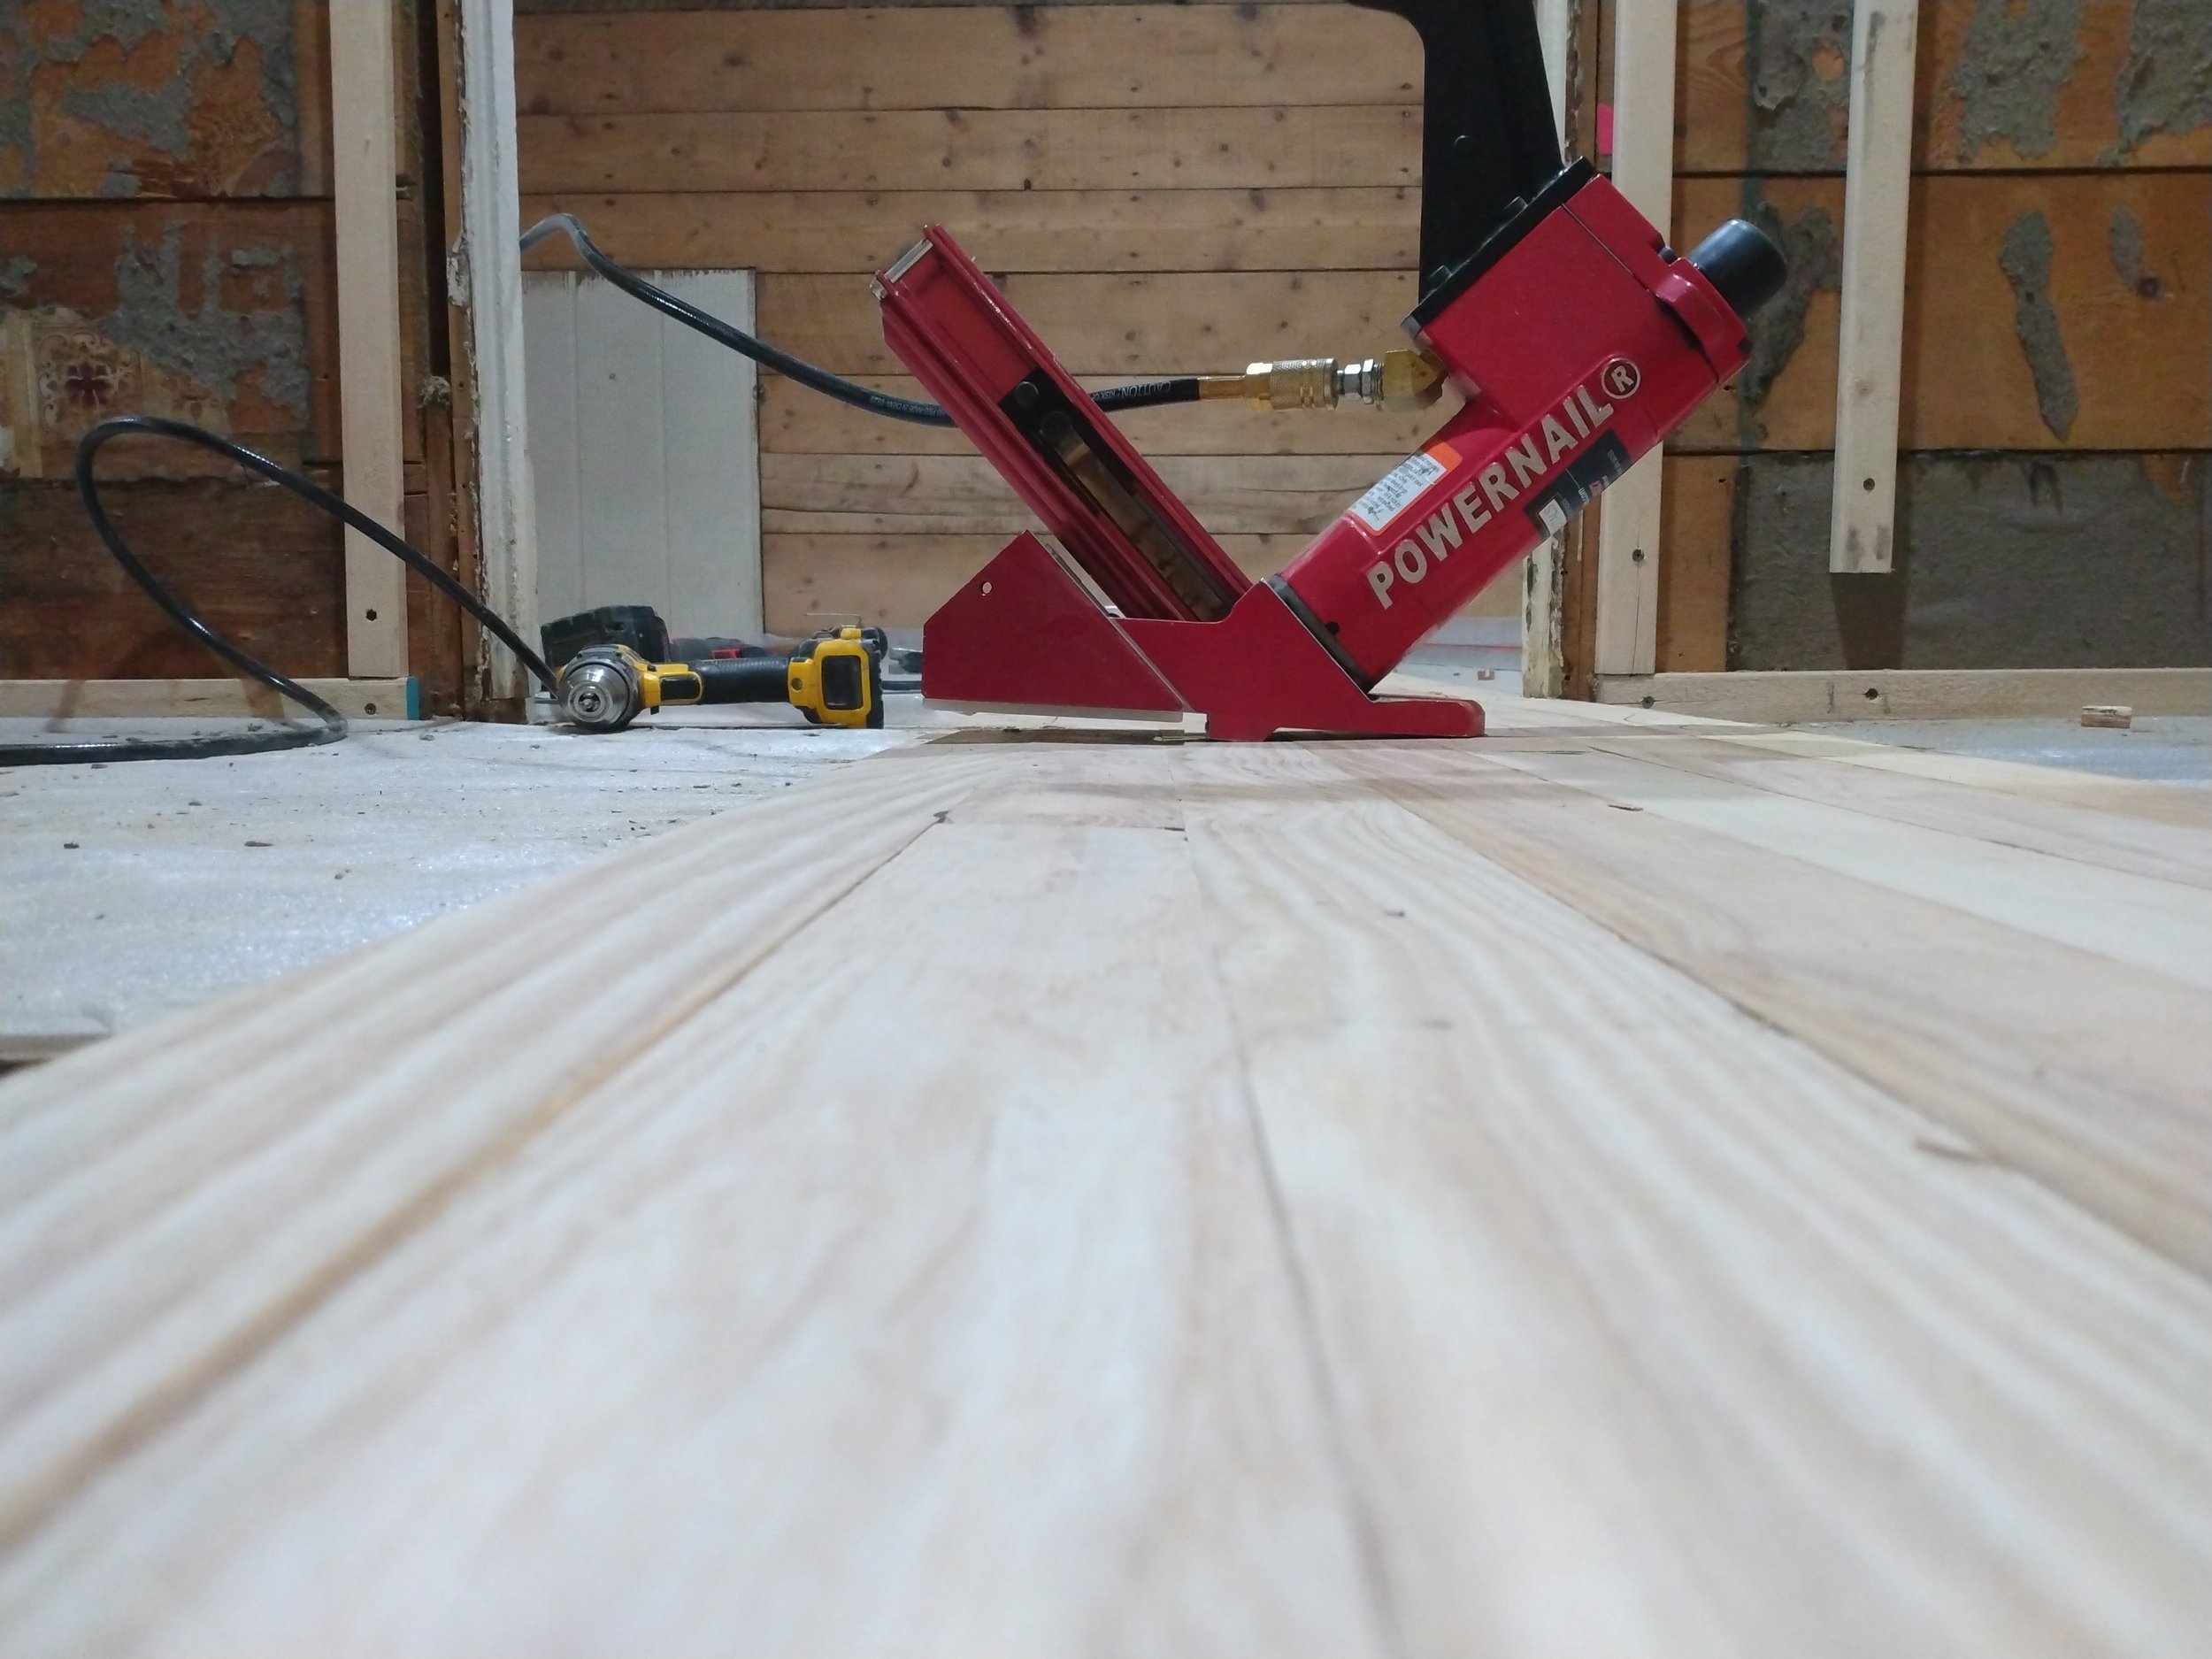
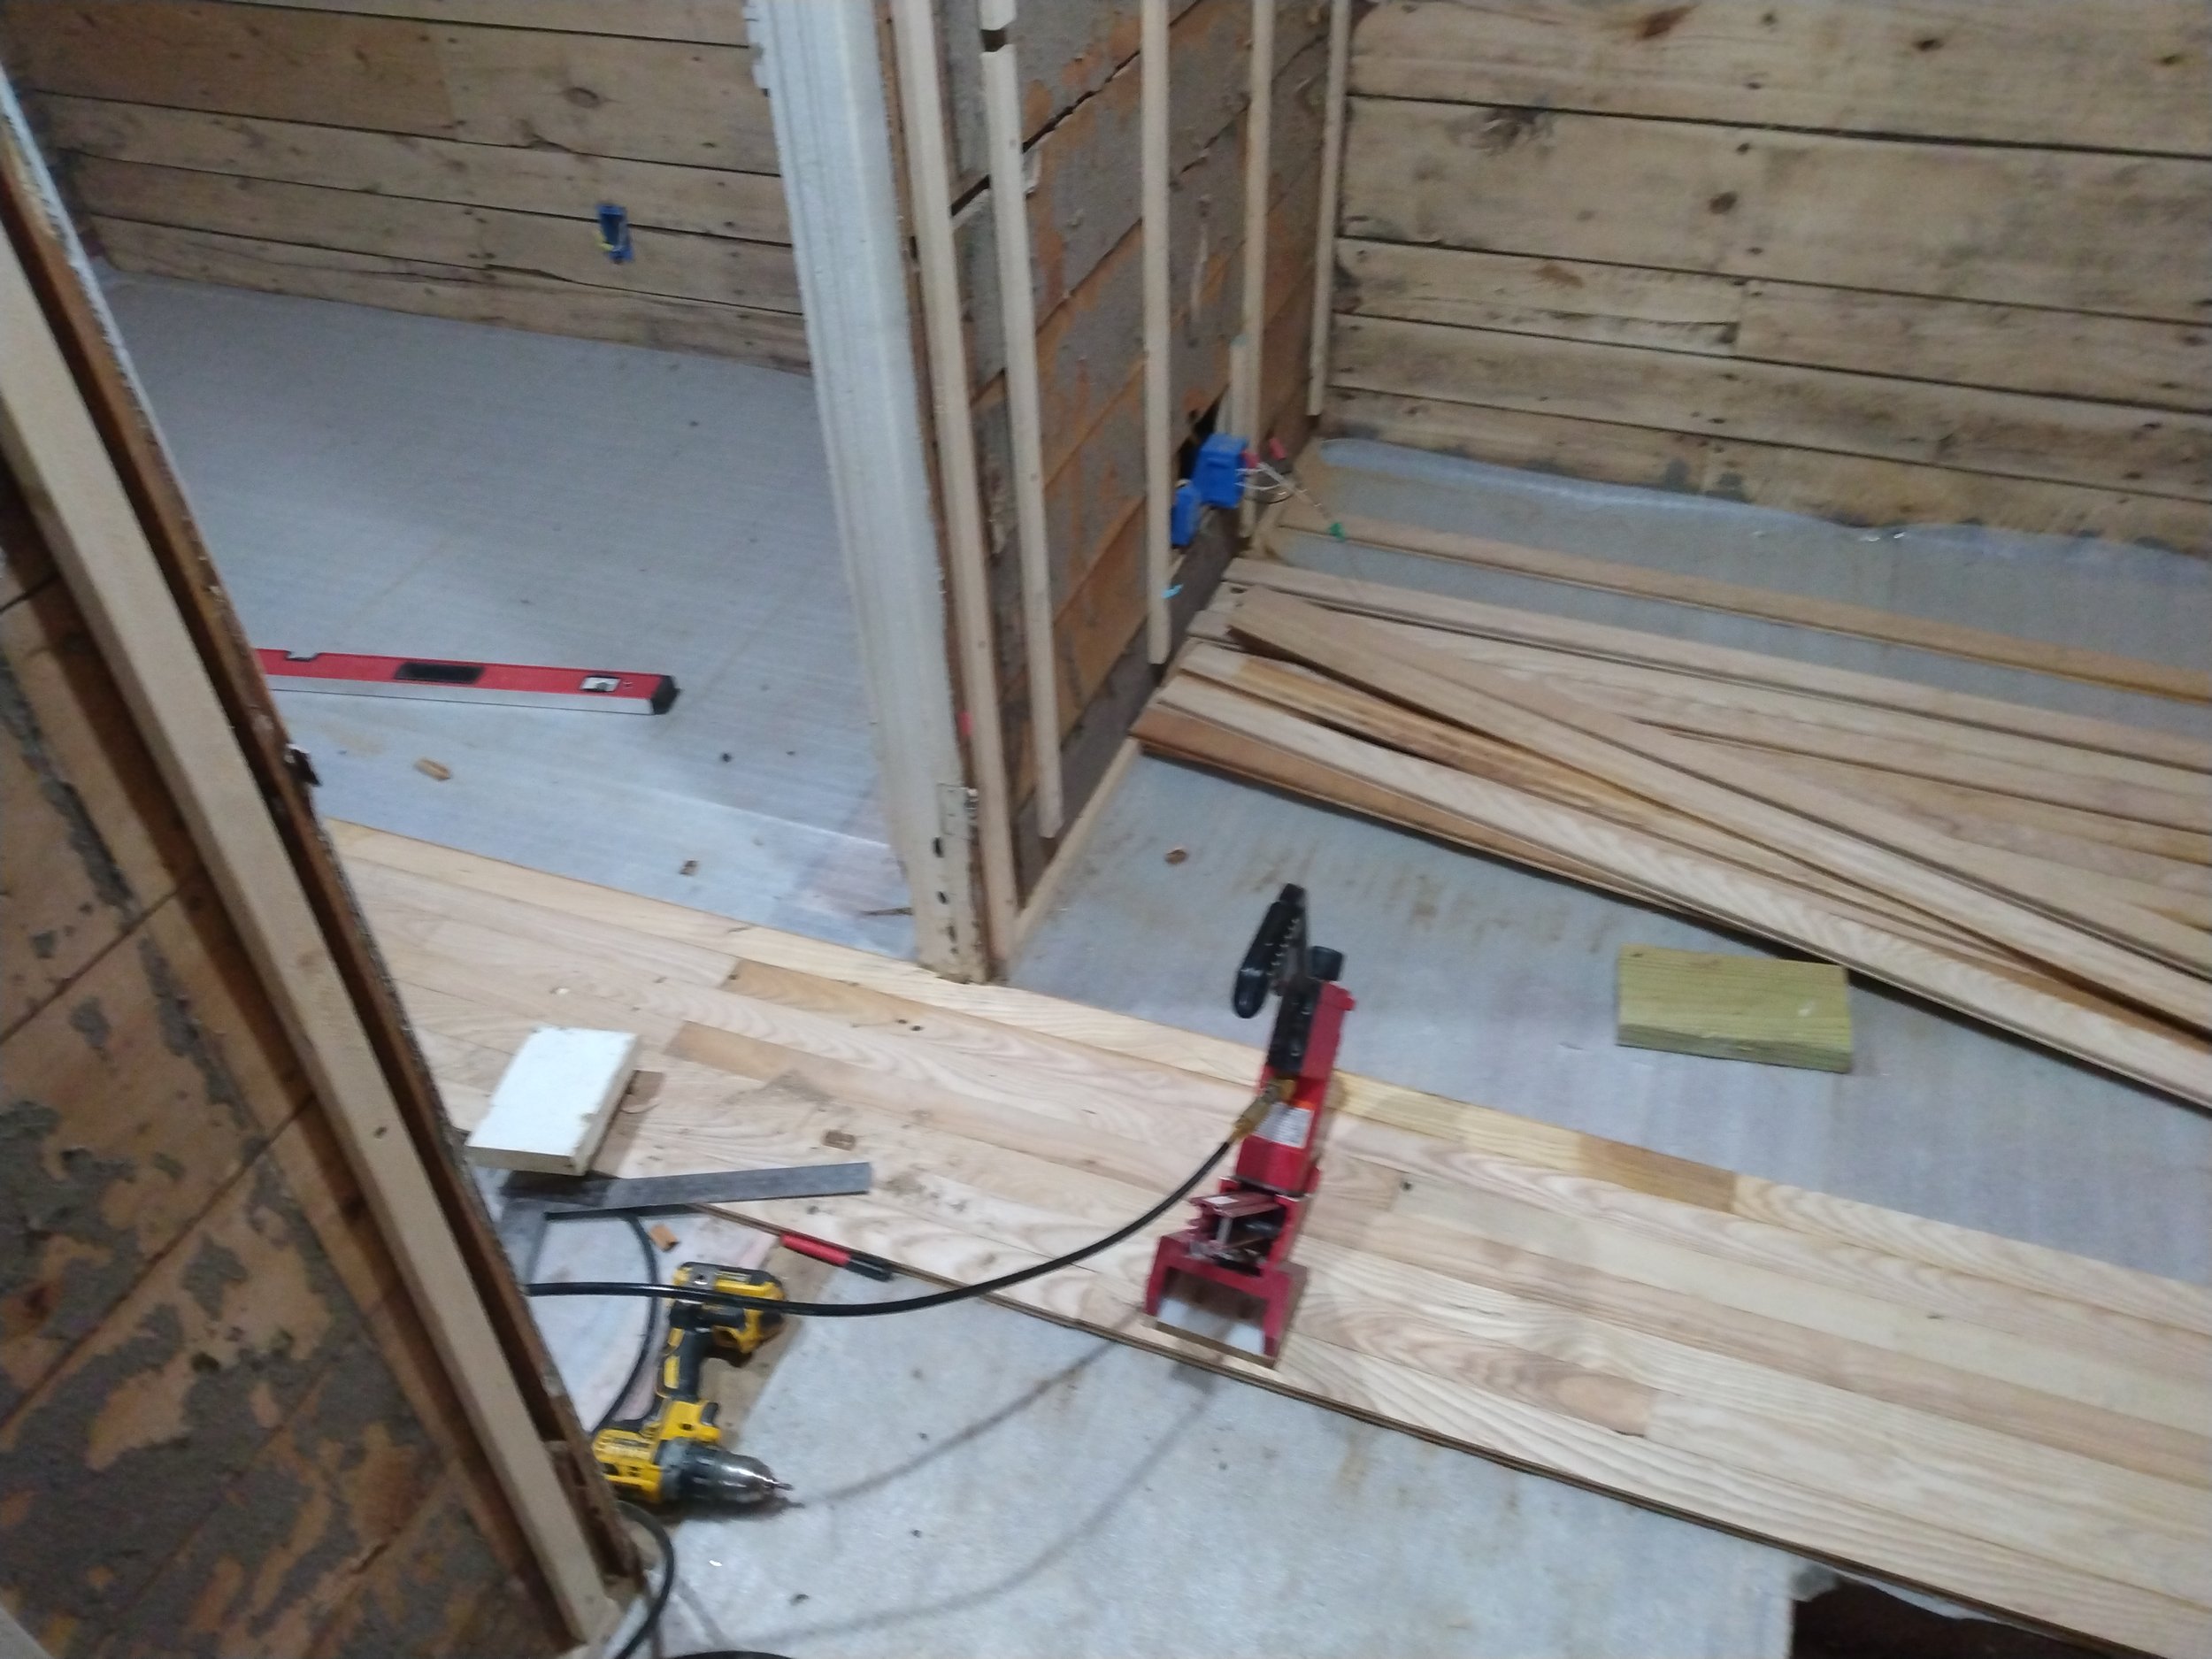
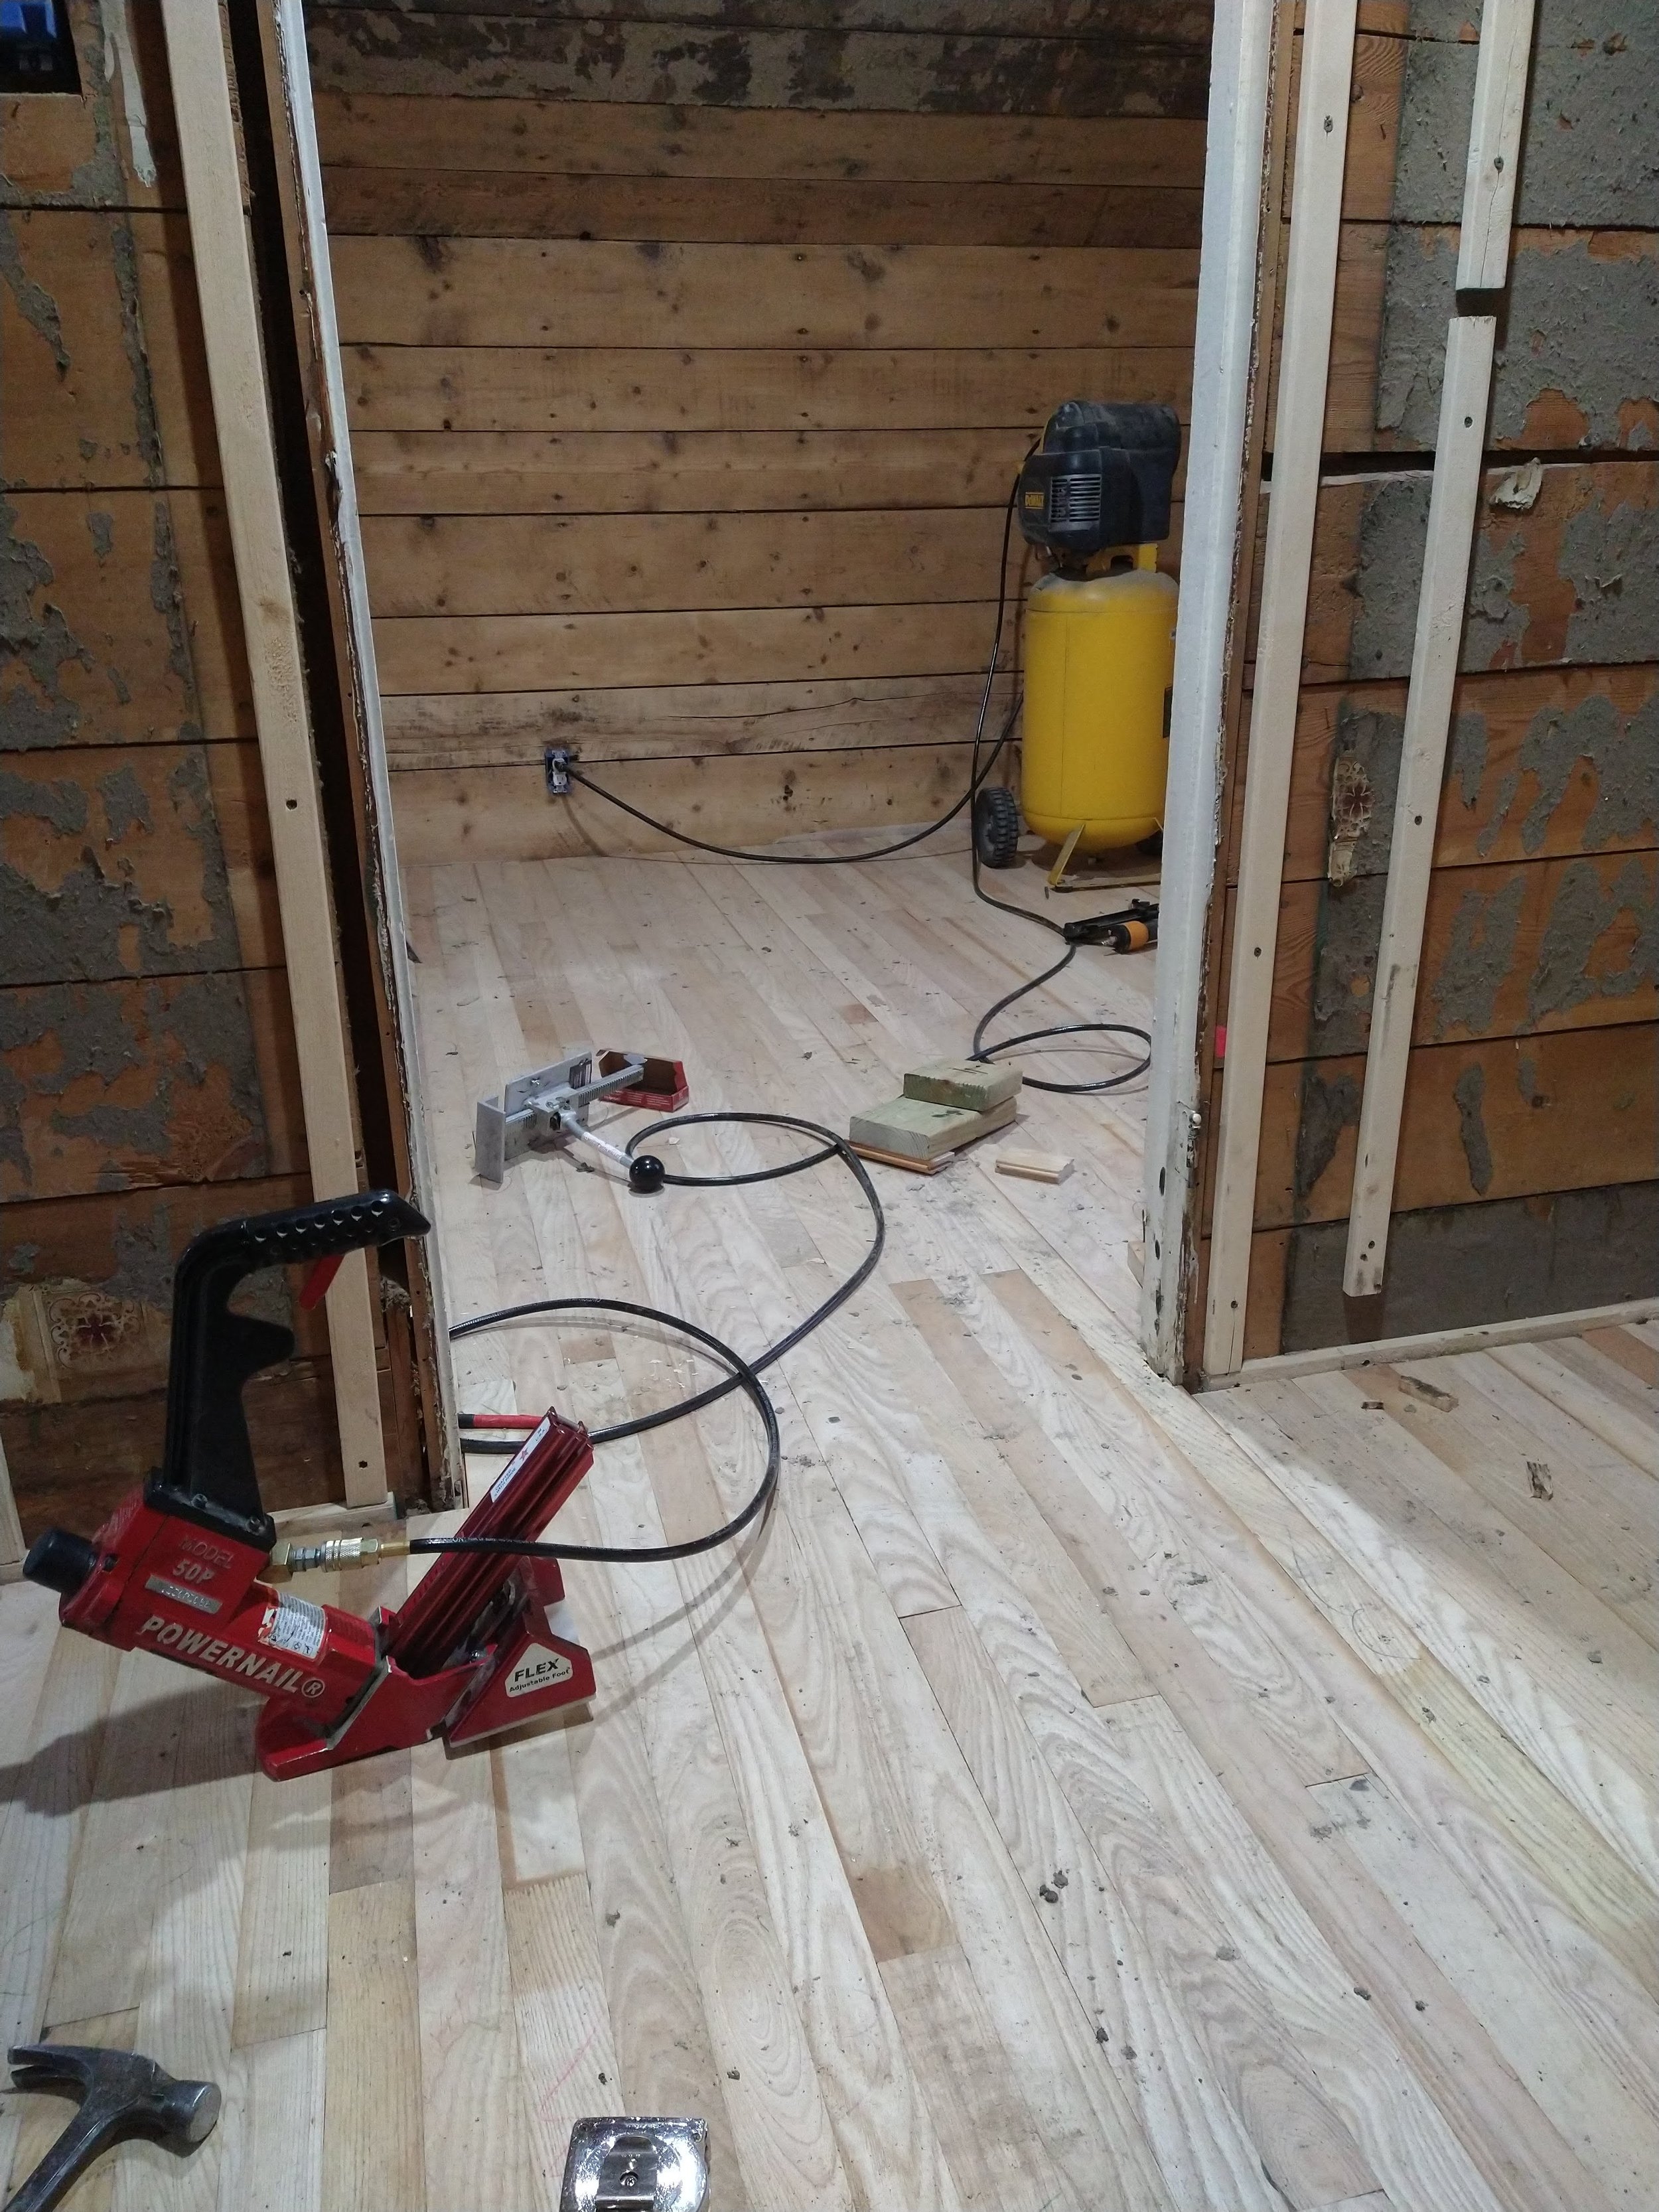
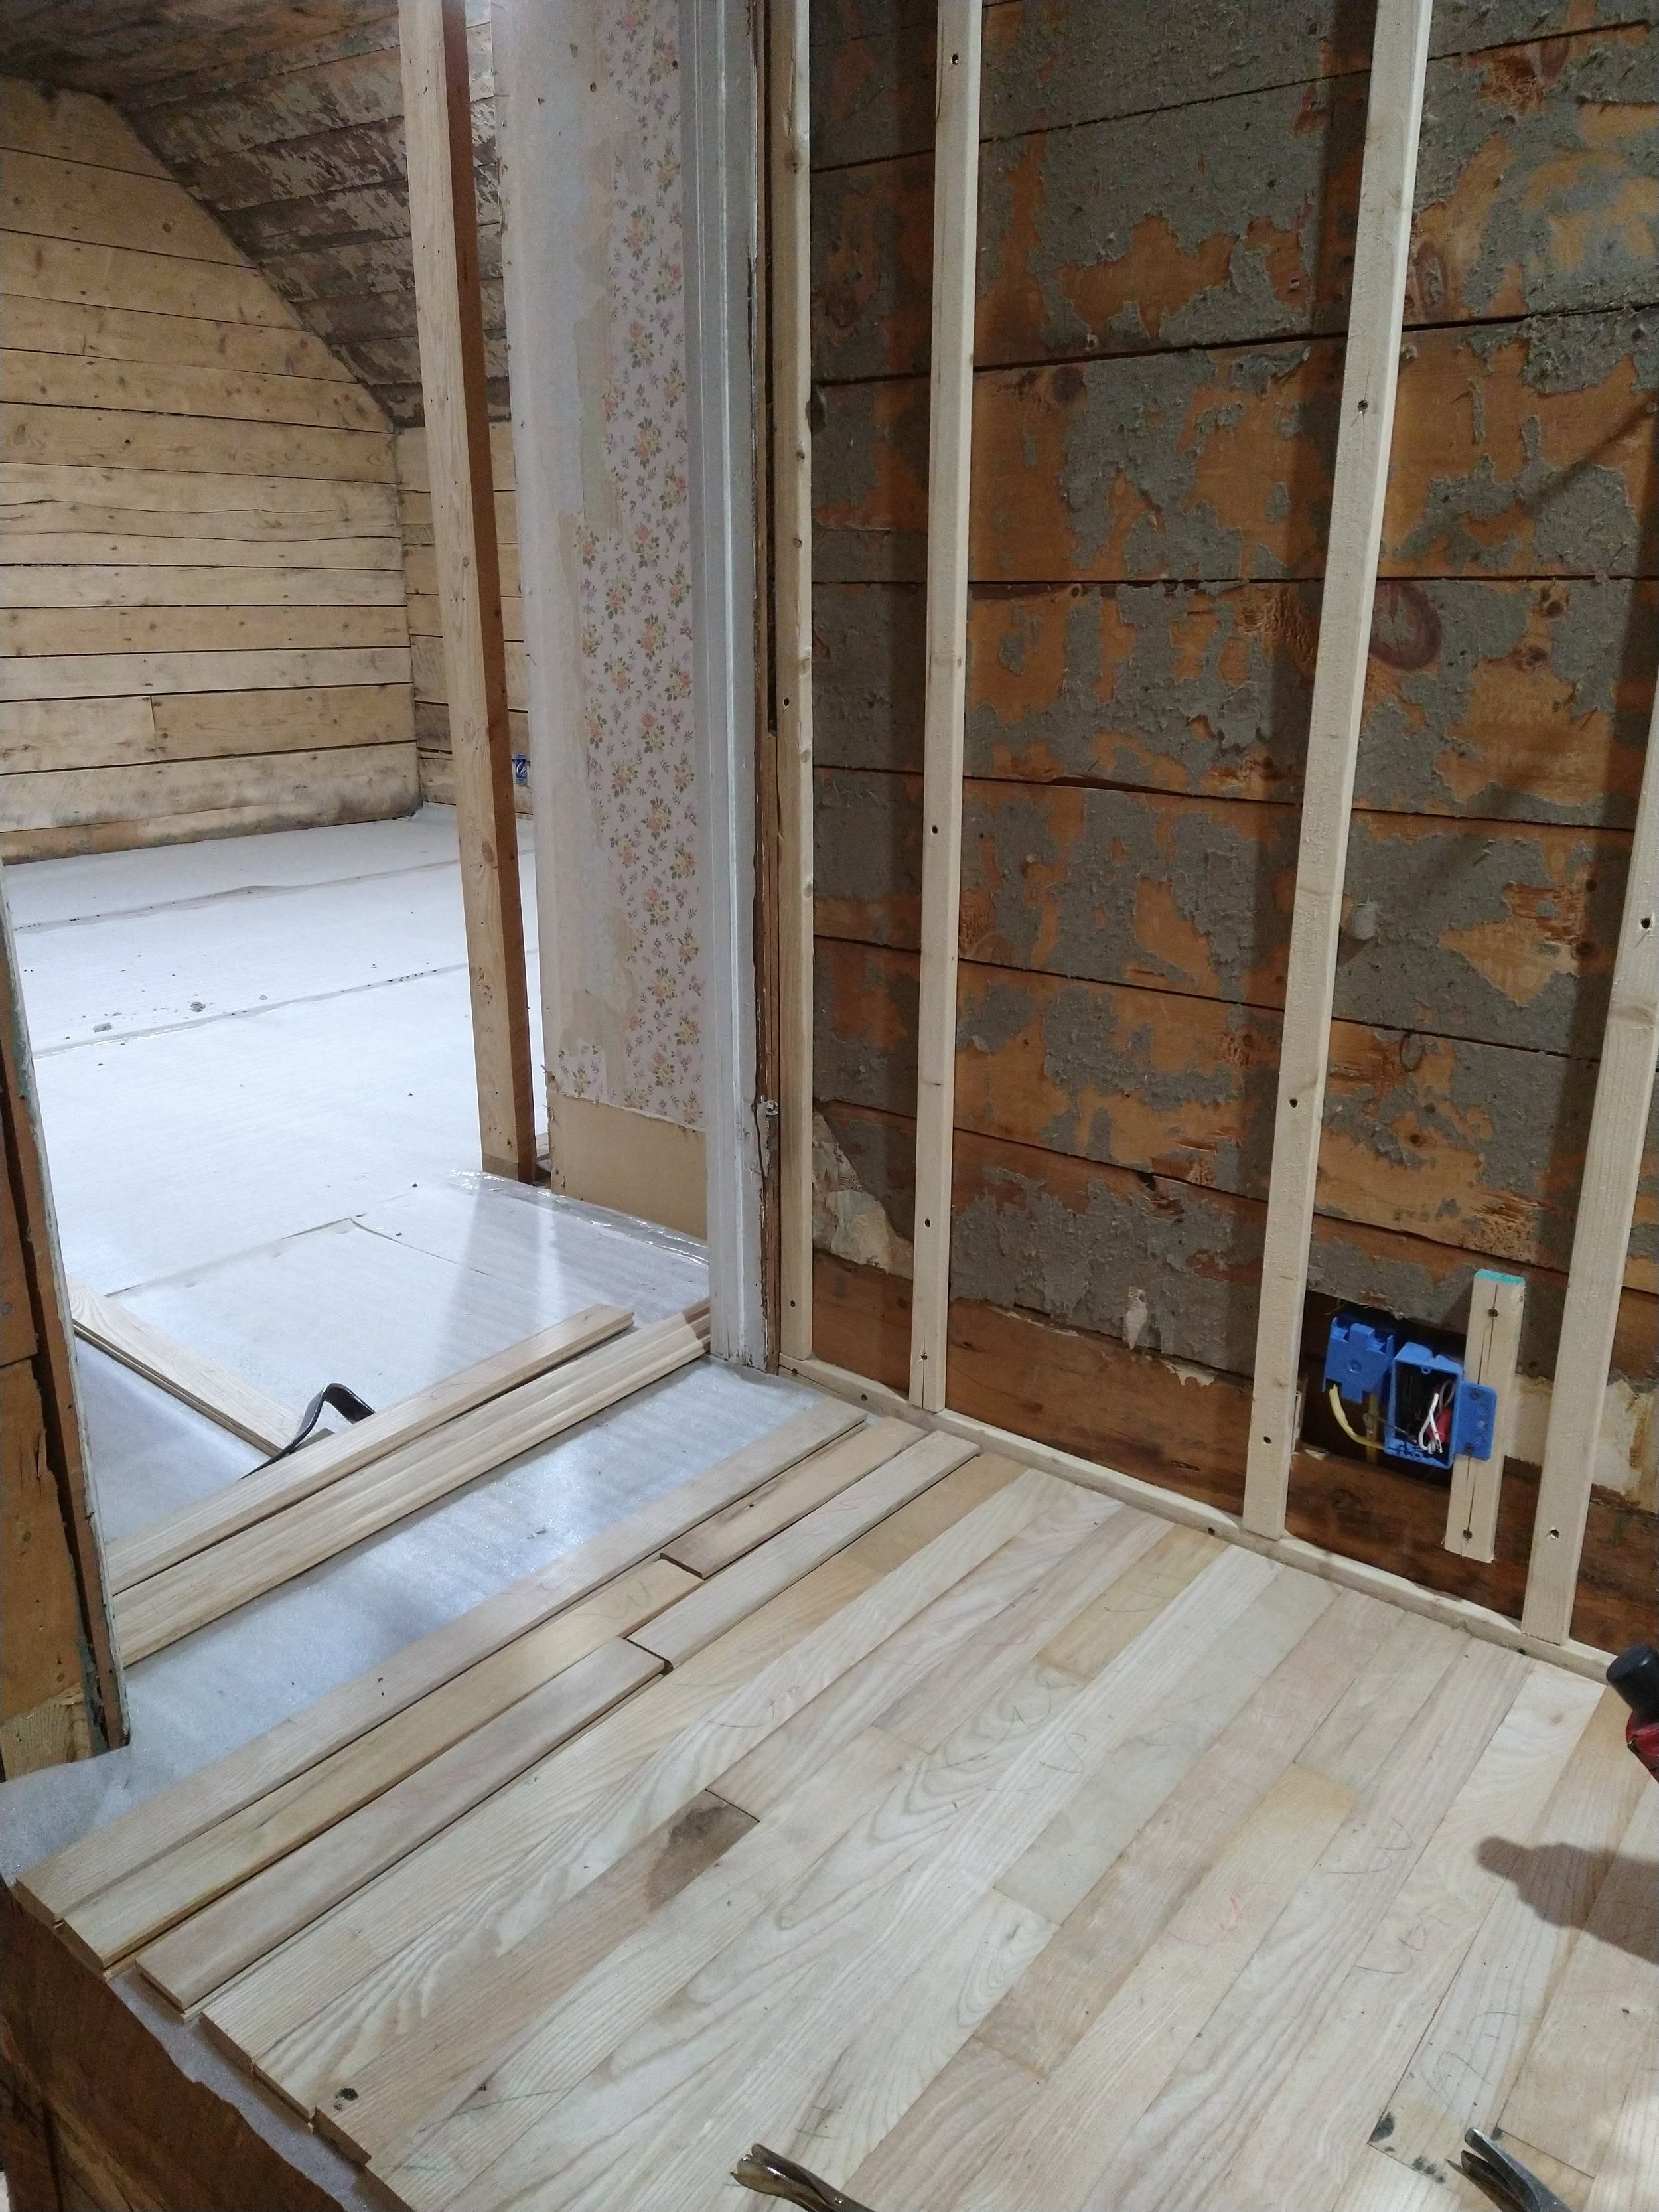
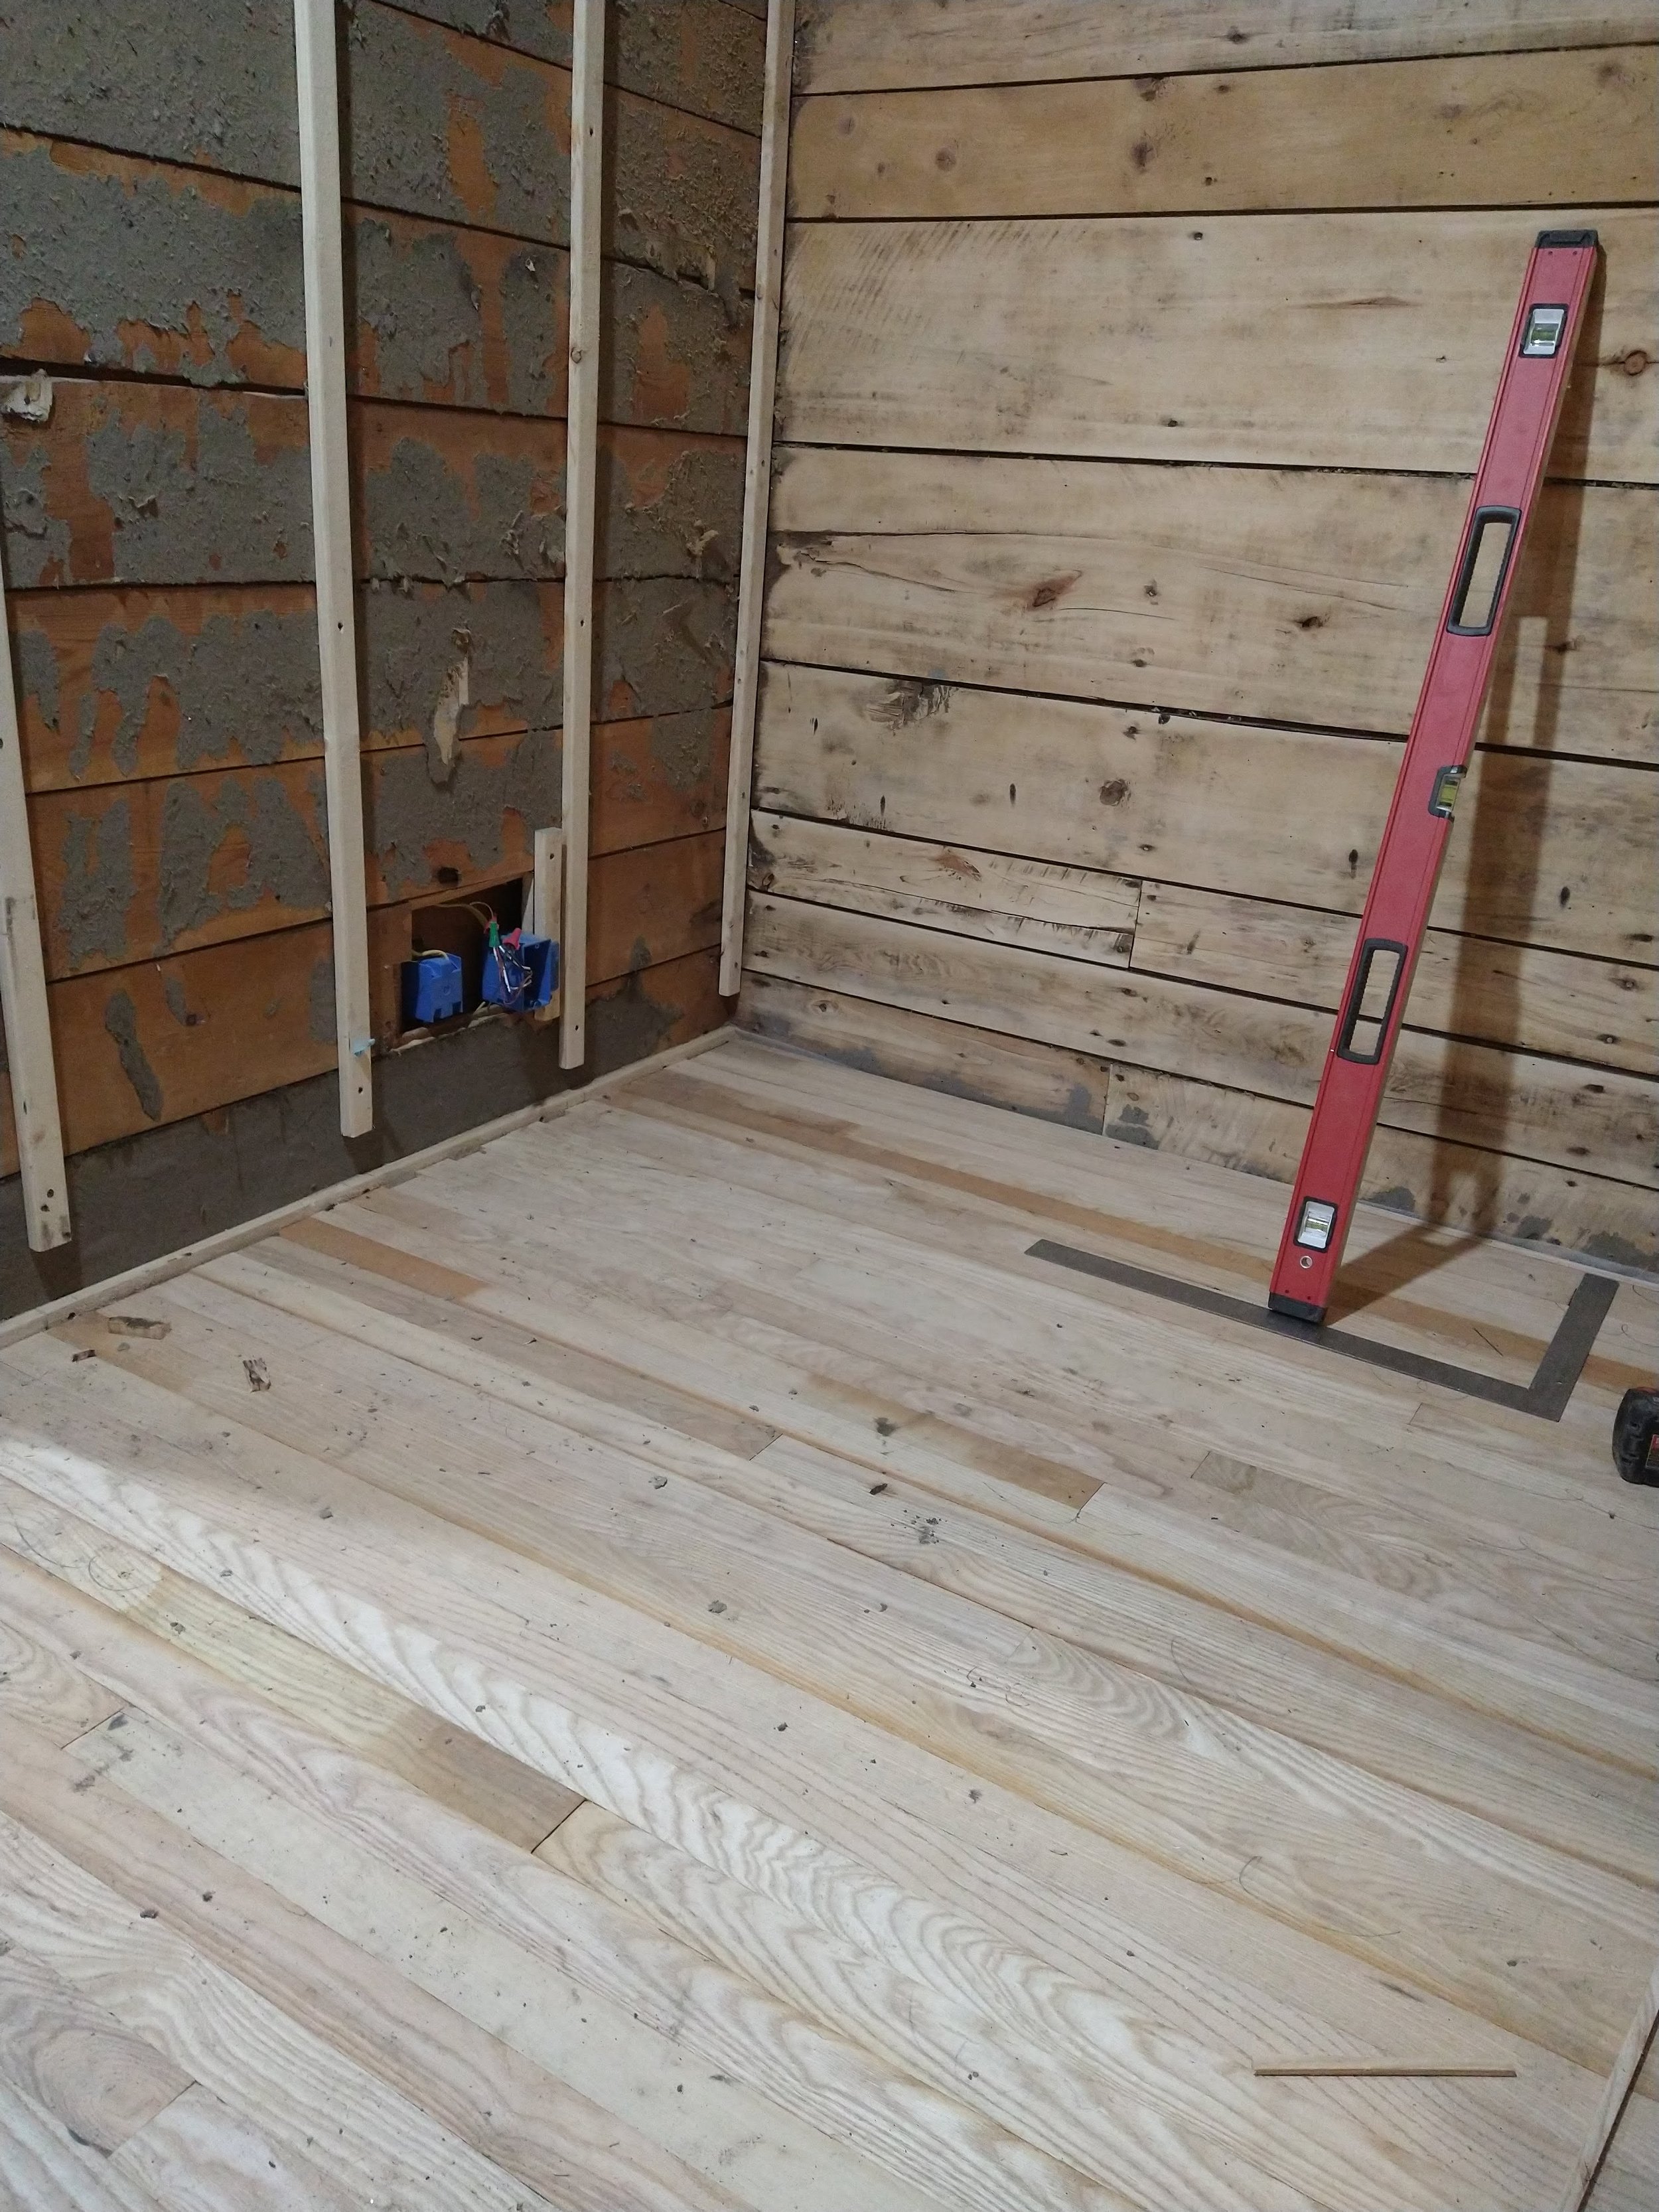
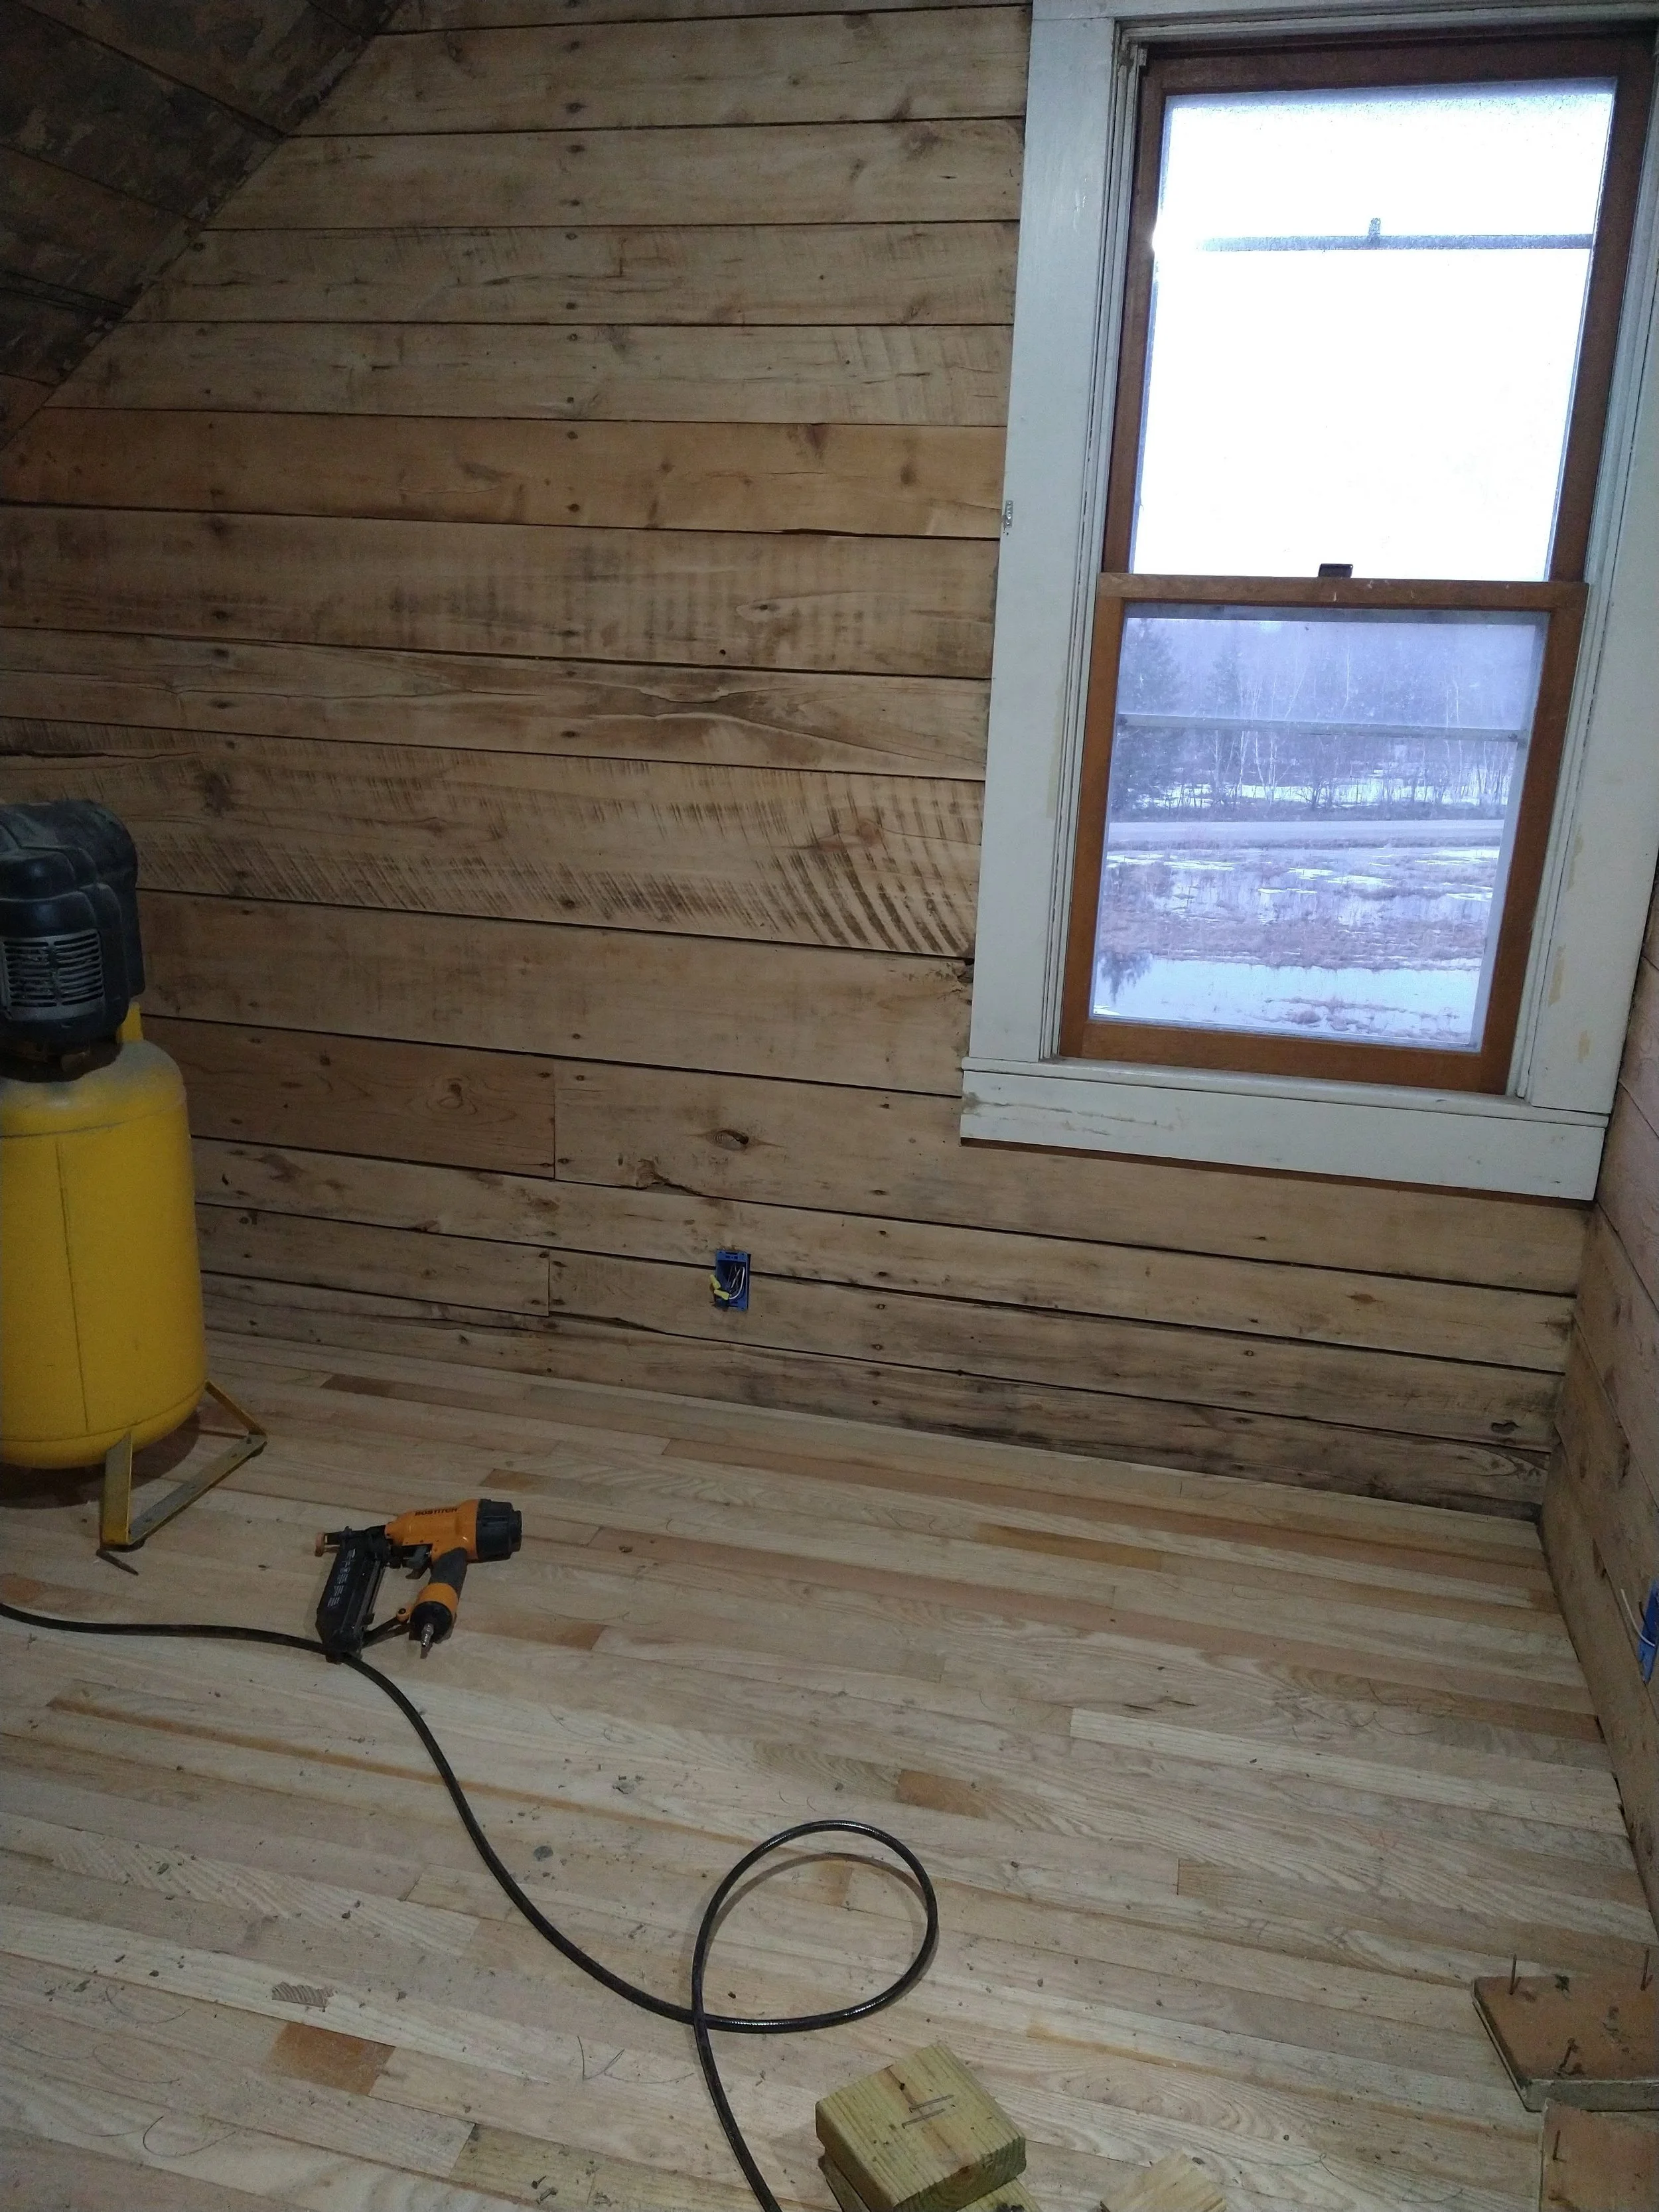
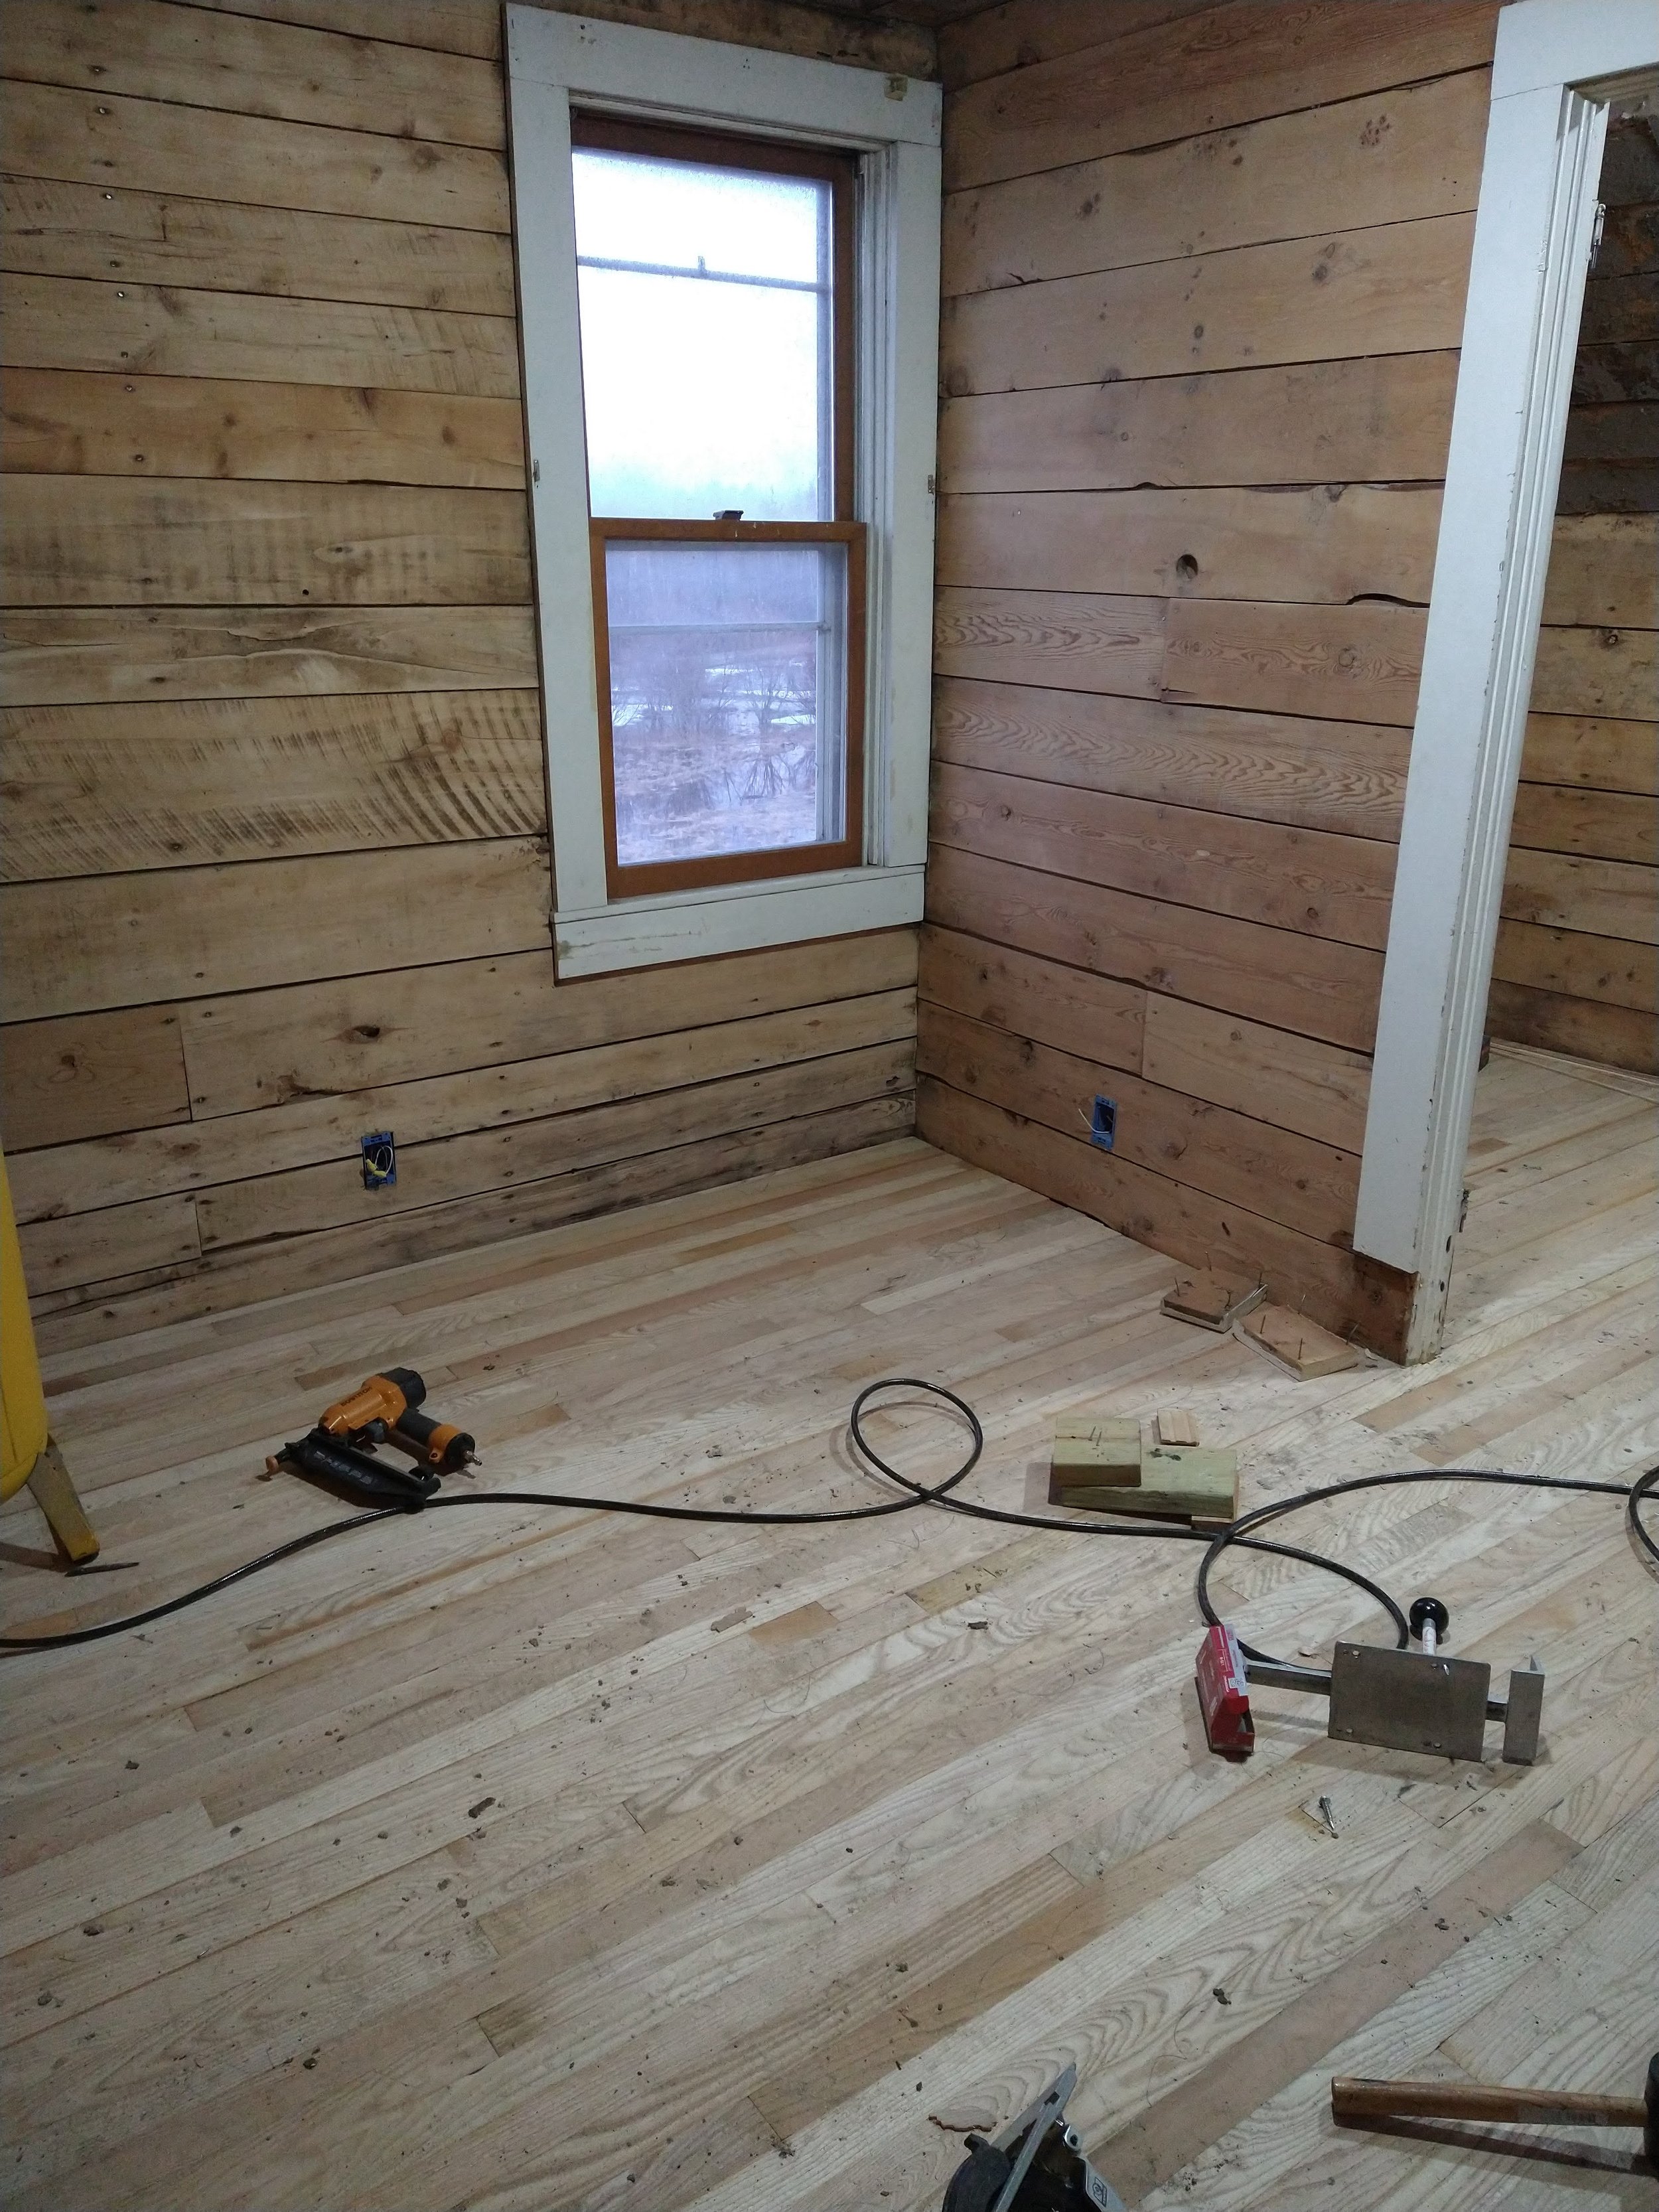
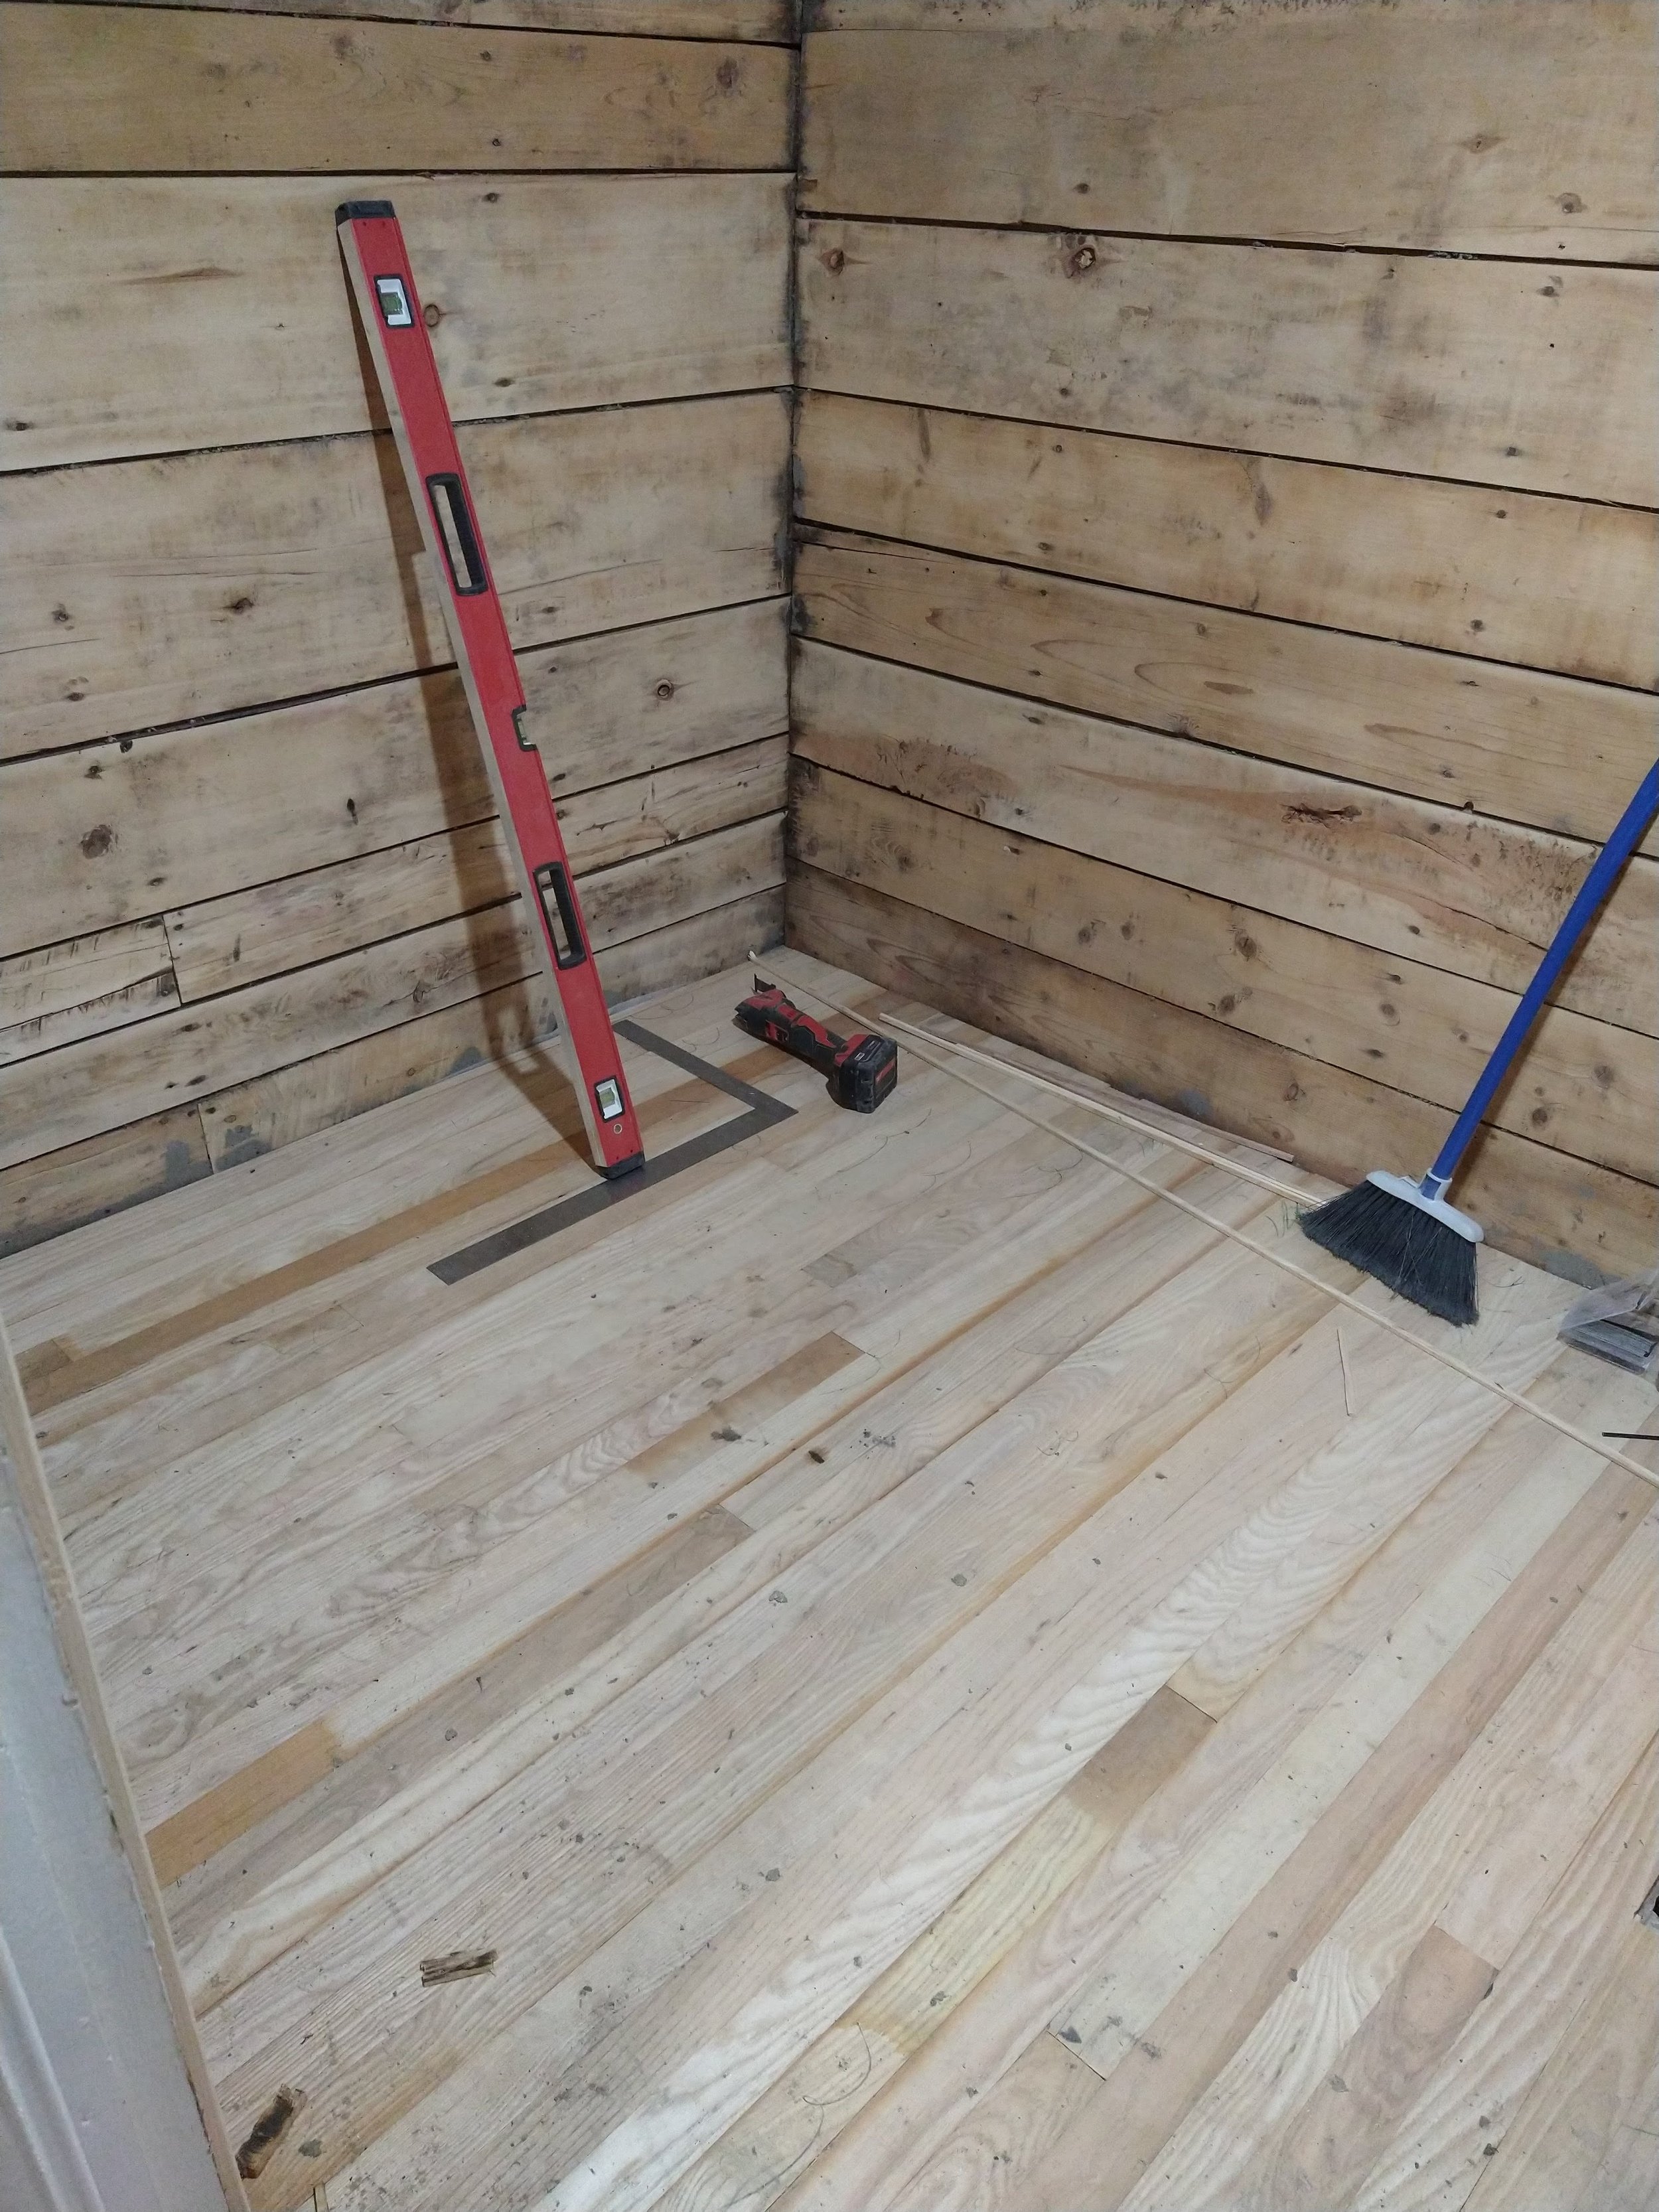
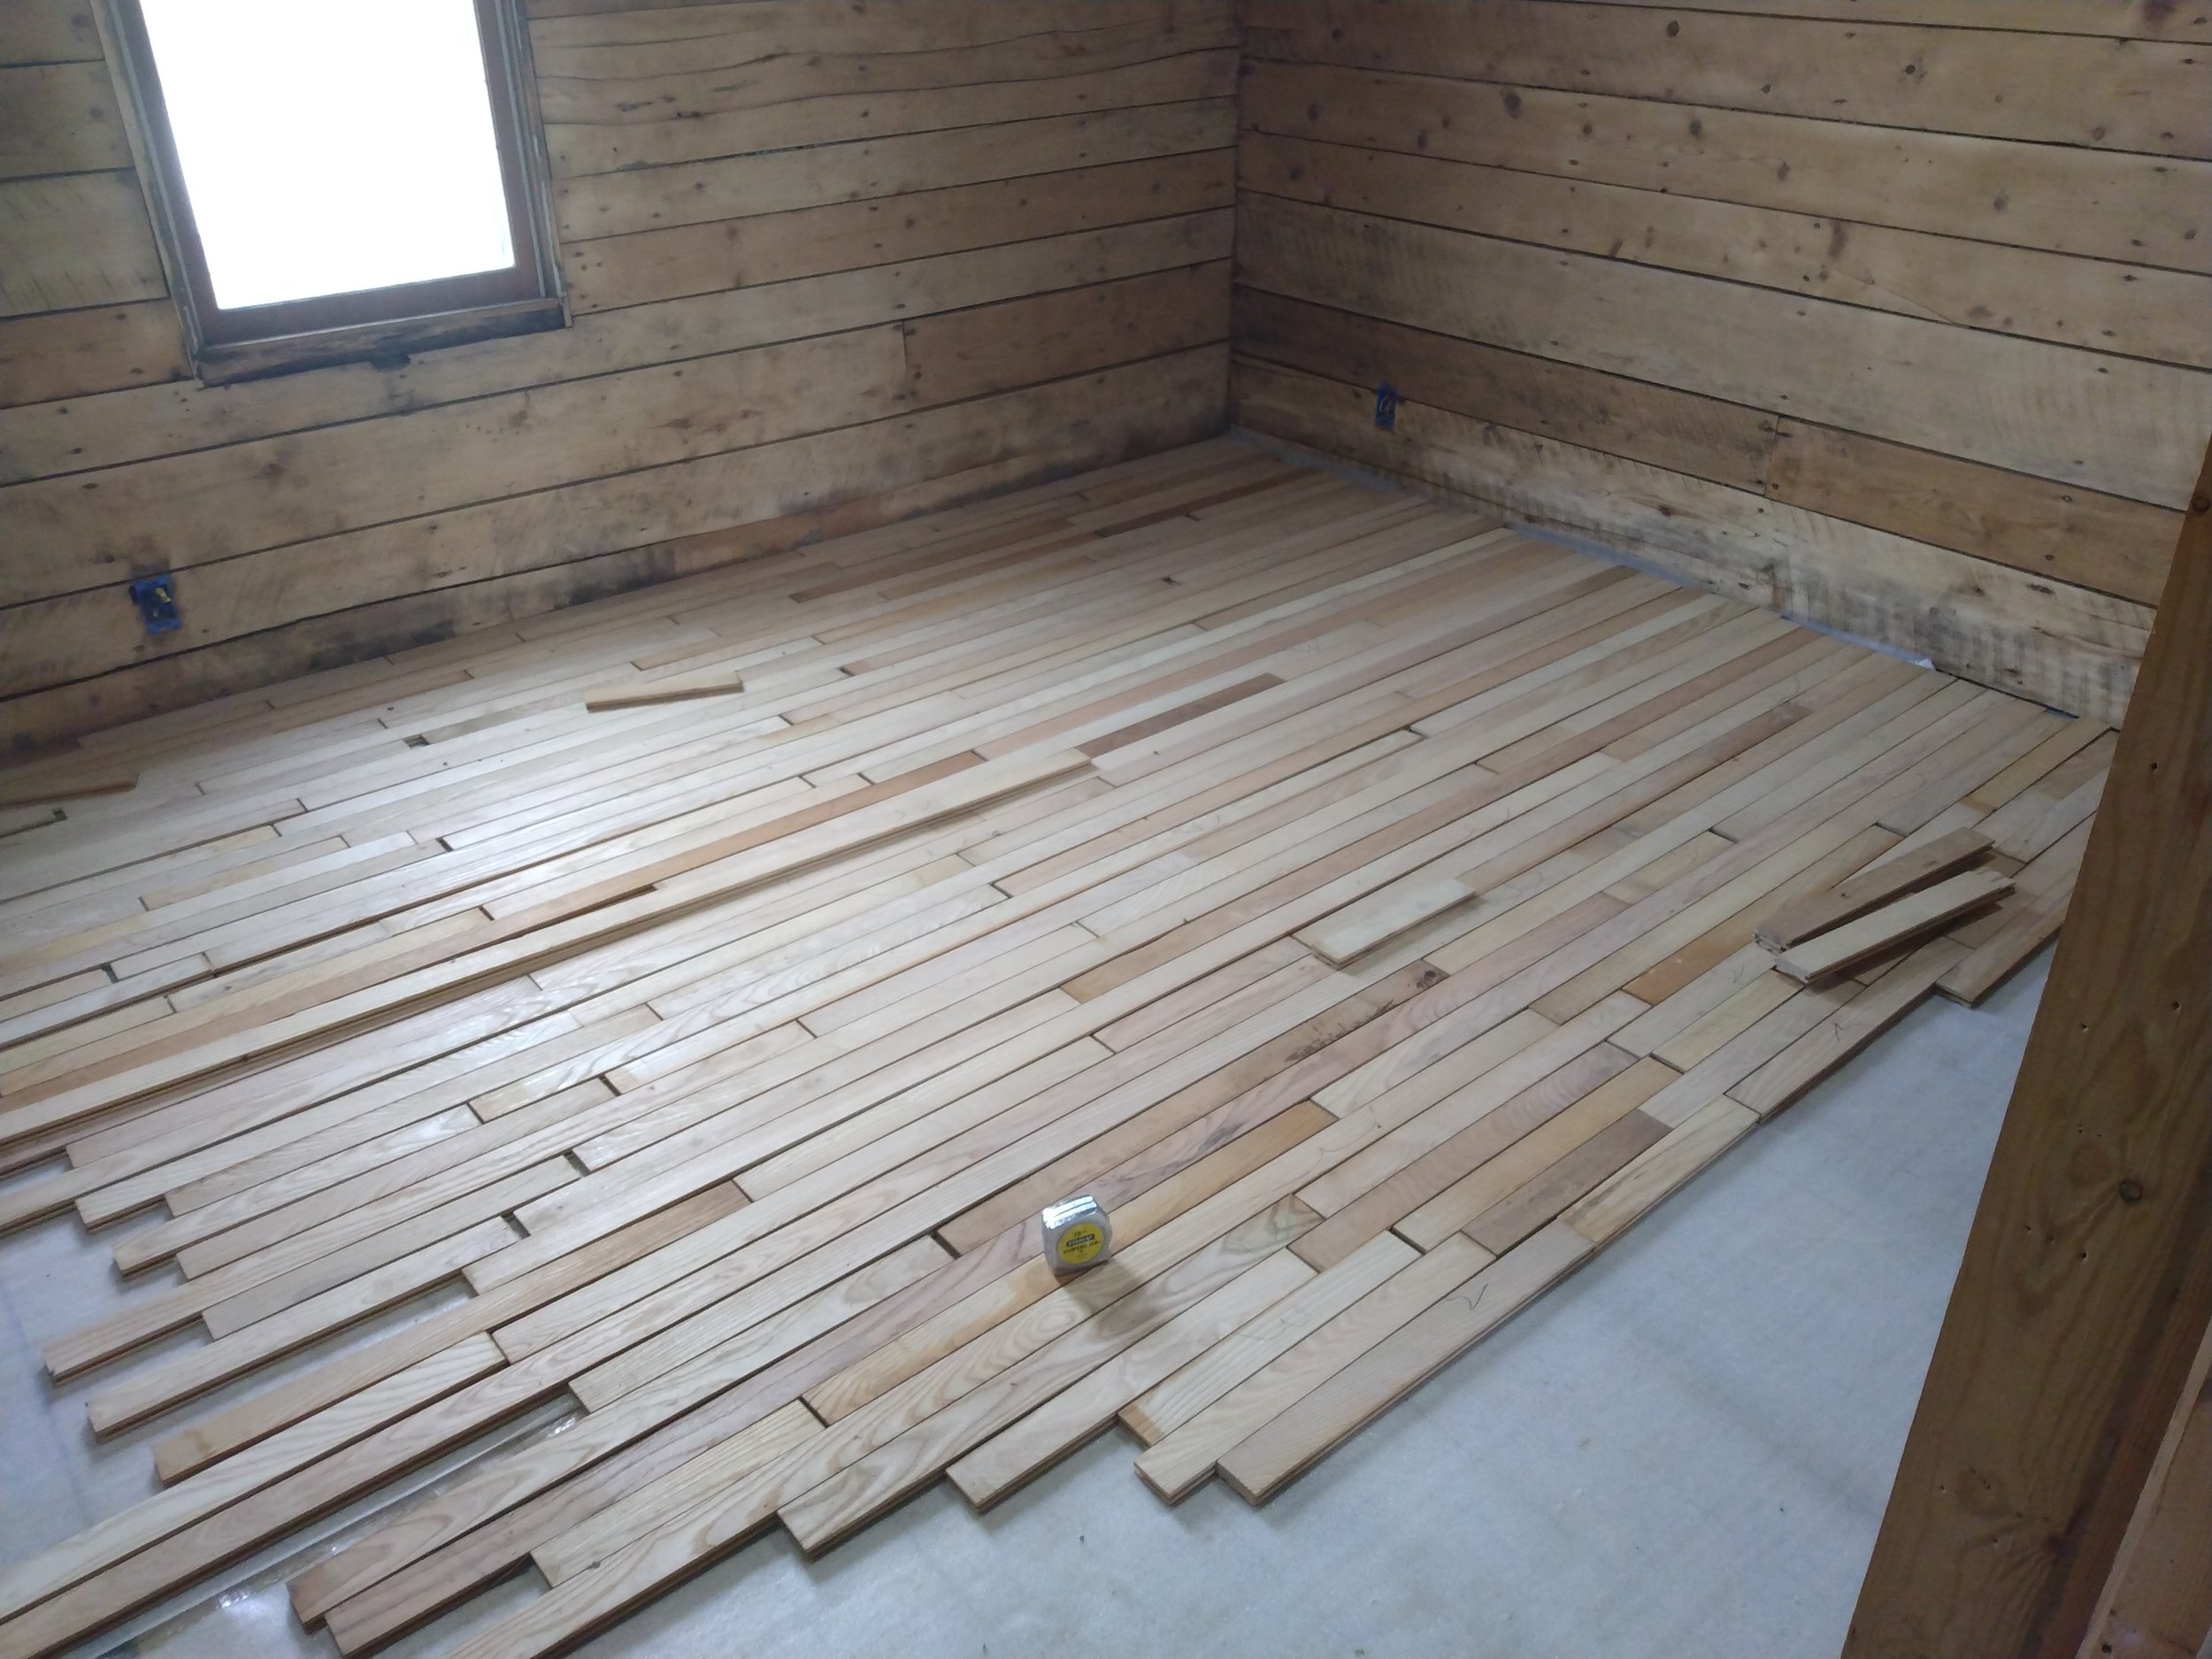
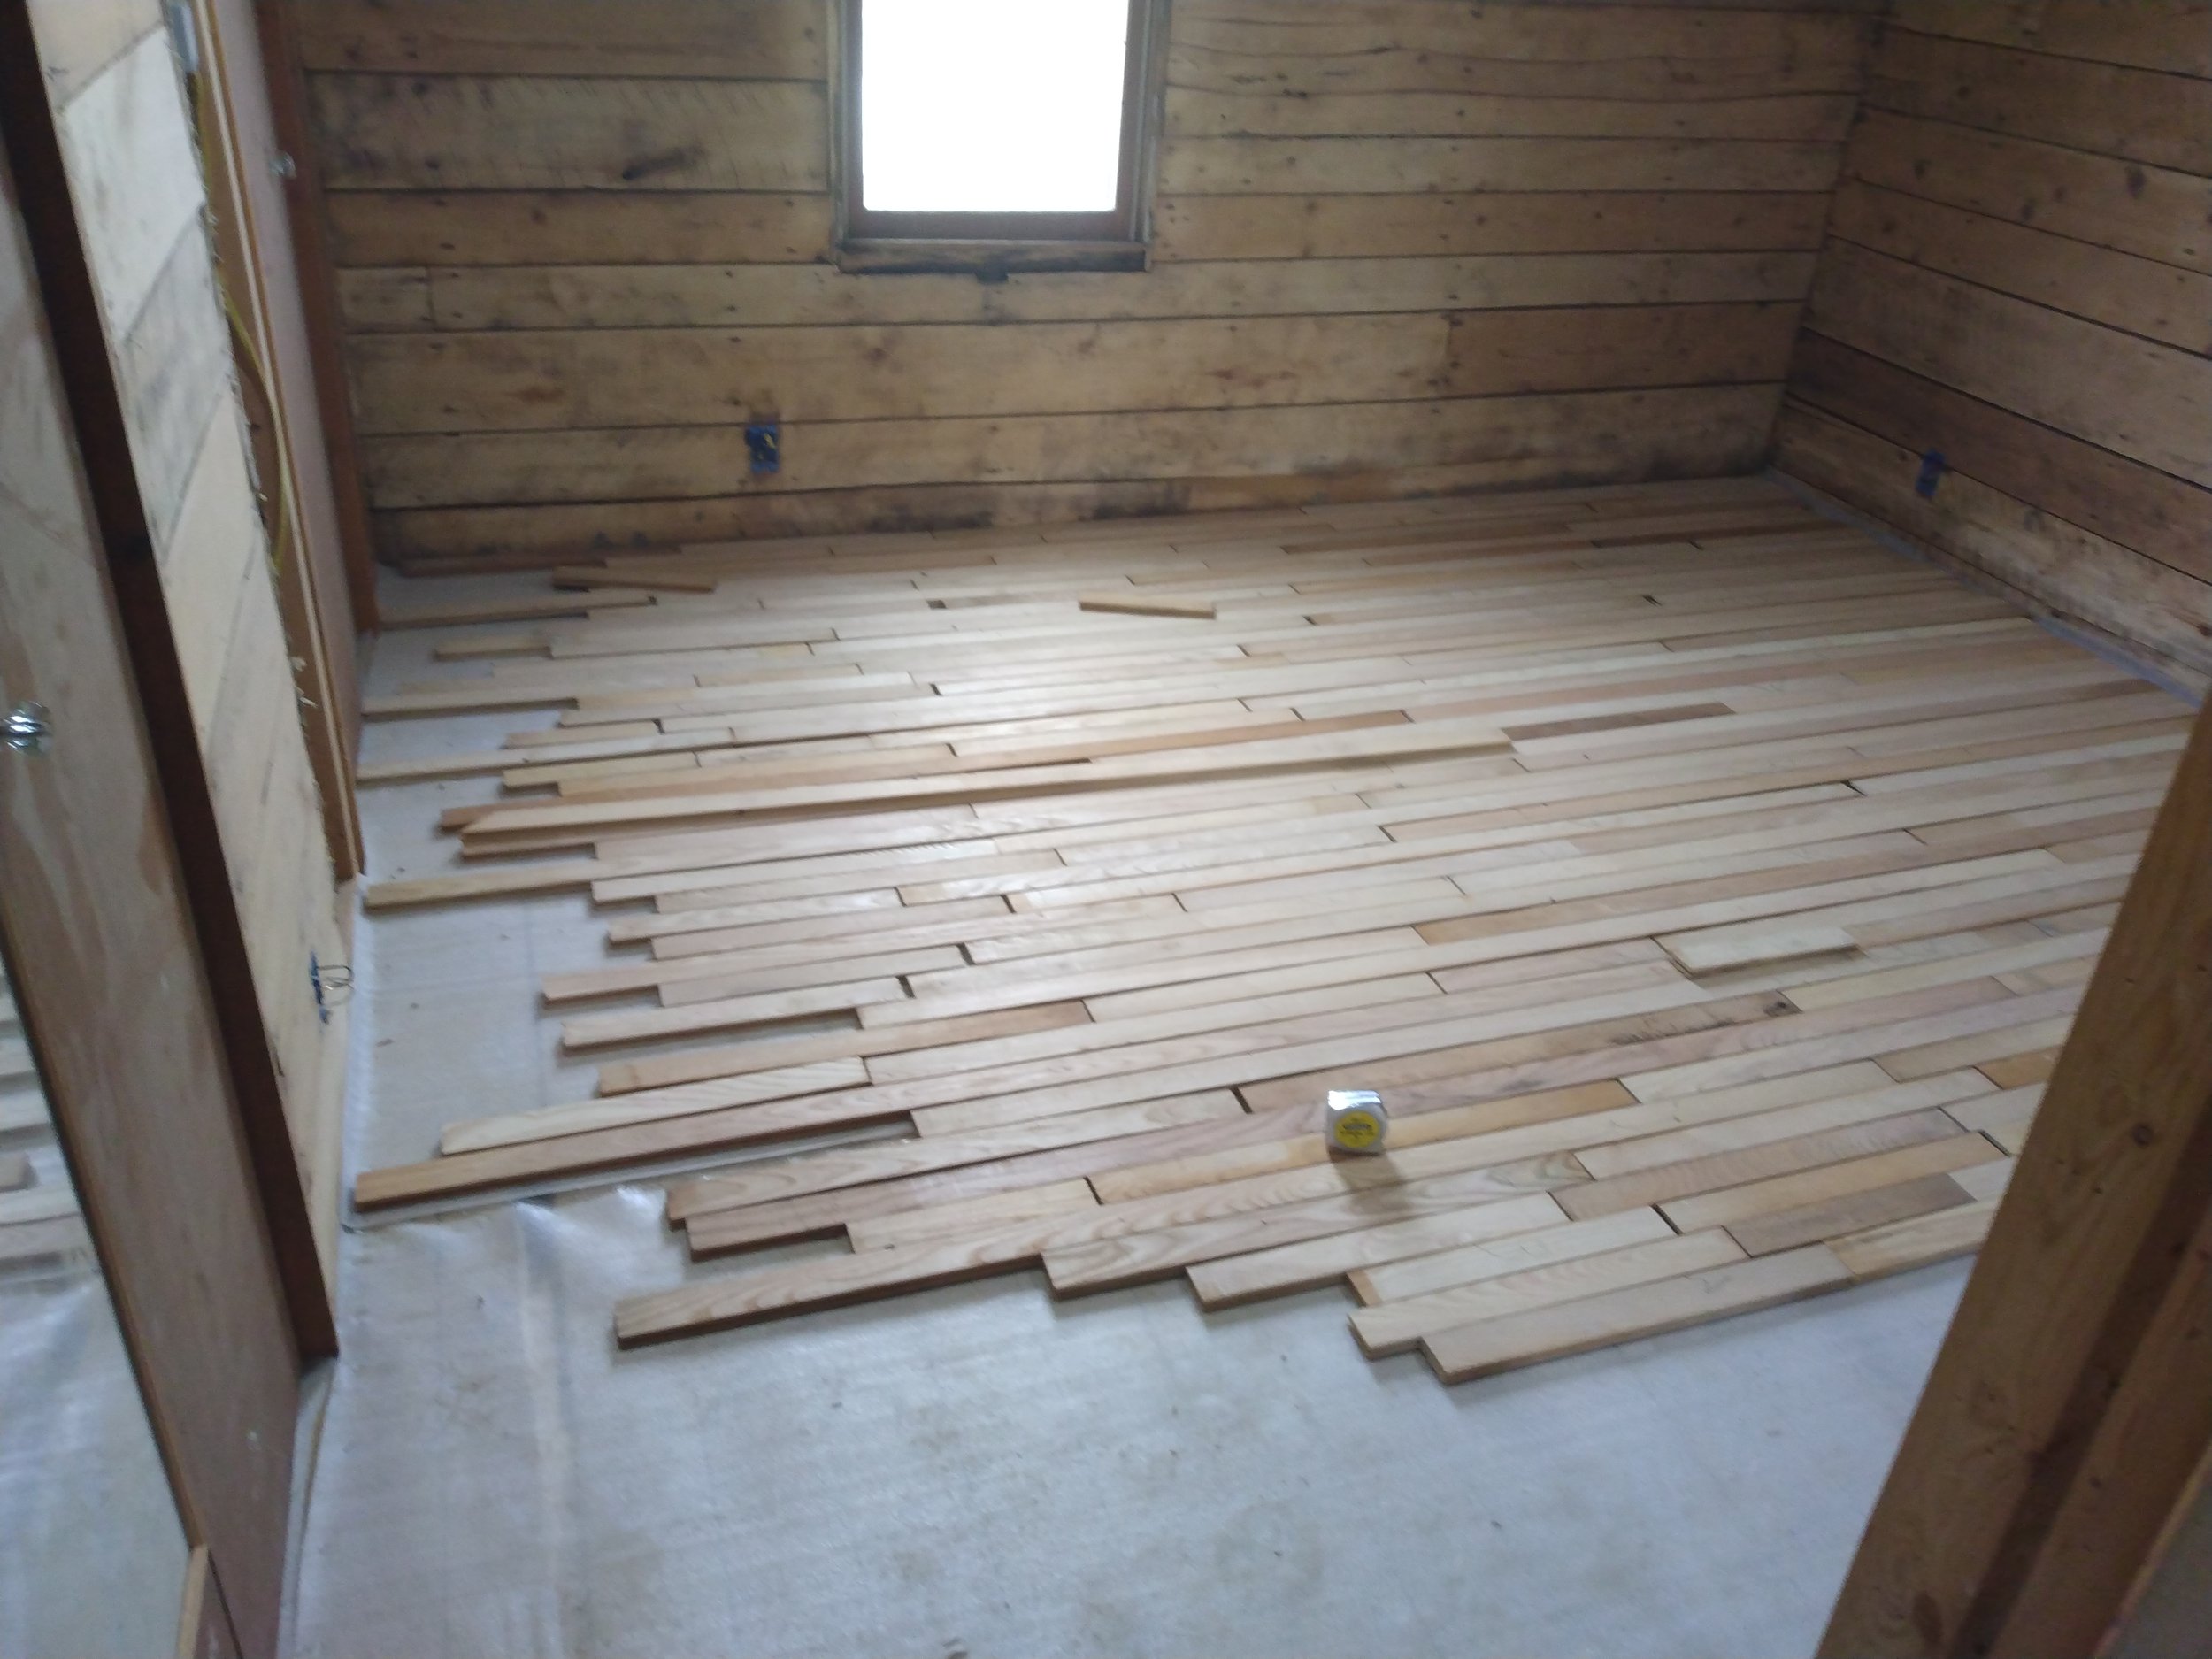
Below, you can see a progression of Seth installing that hardwood flooring upstairs. Because of the way the sub-flooring was oriented, Seth installed the hardwood going the opposite way of the main level flooring. During the process, he was bummed that our two floors wouldn’t look seamless, but I think the finished upstairs looks great, especially considering that this is the first time Seth installed hardwood flooring.

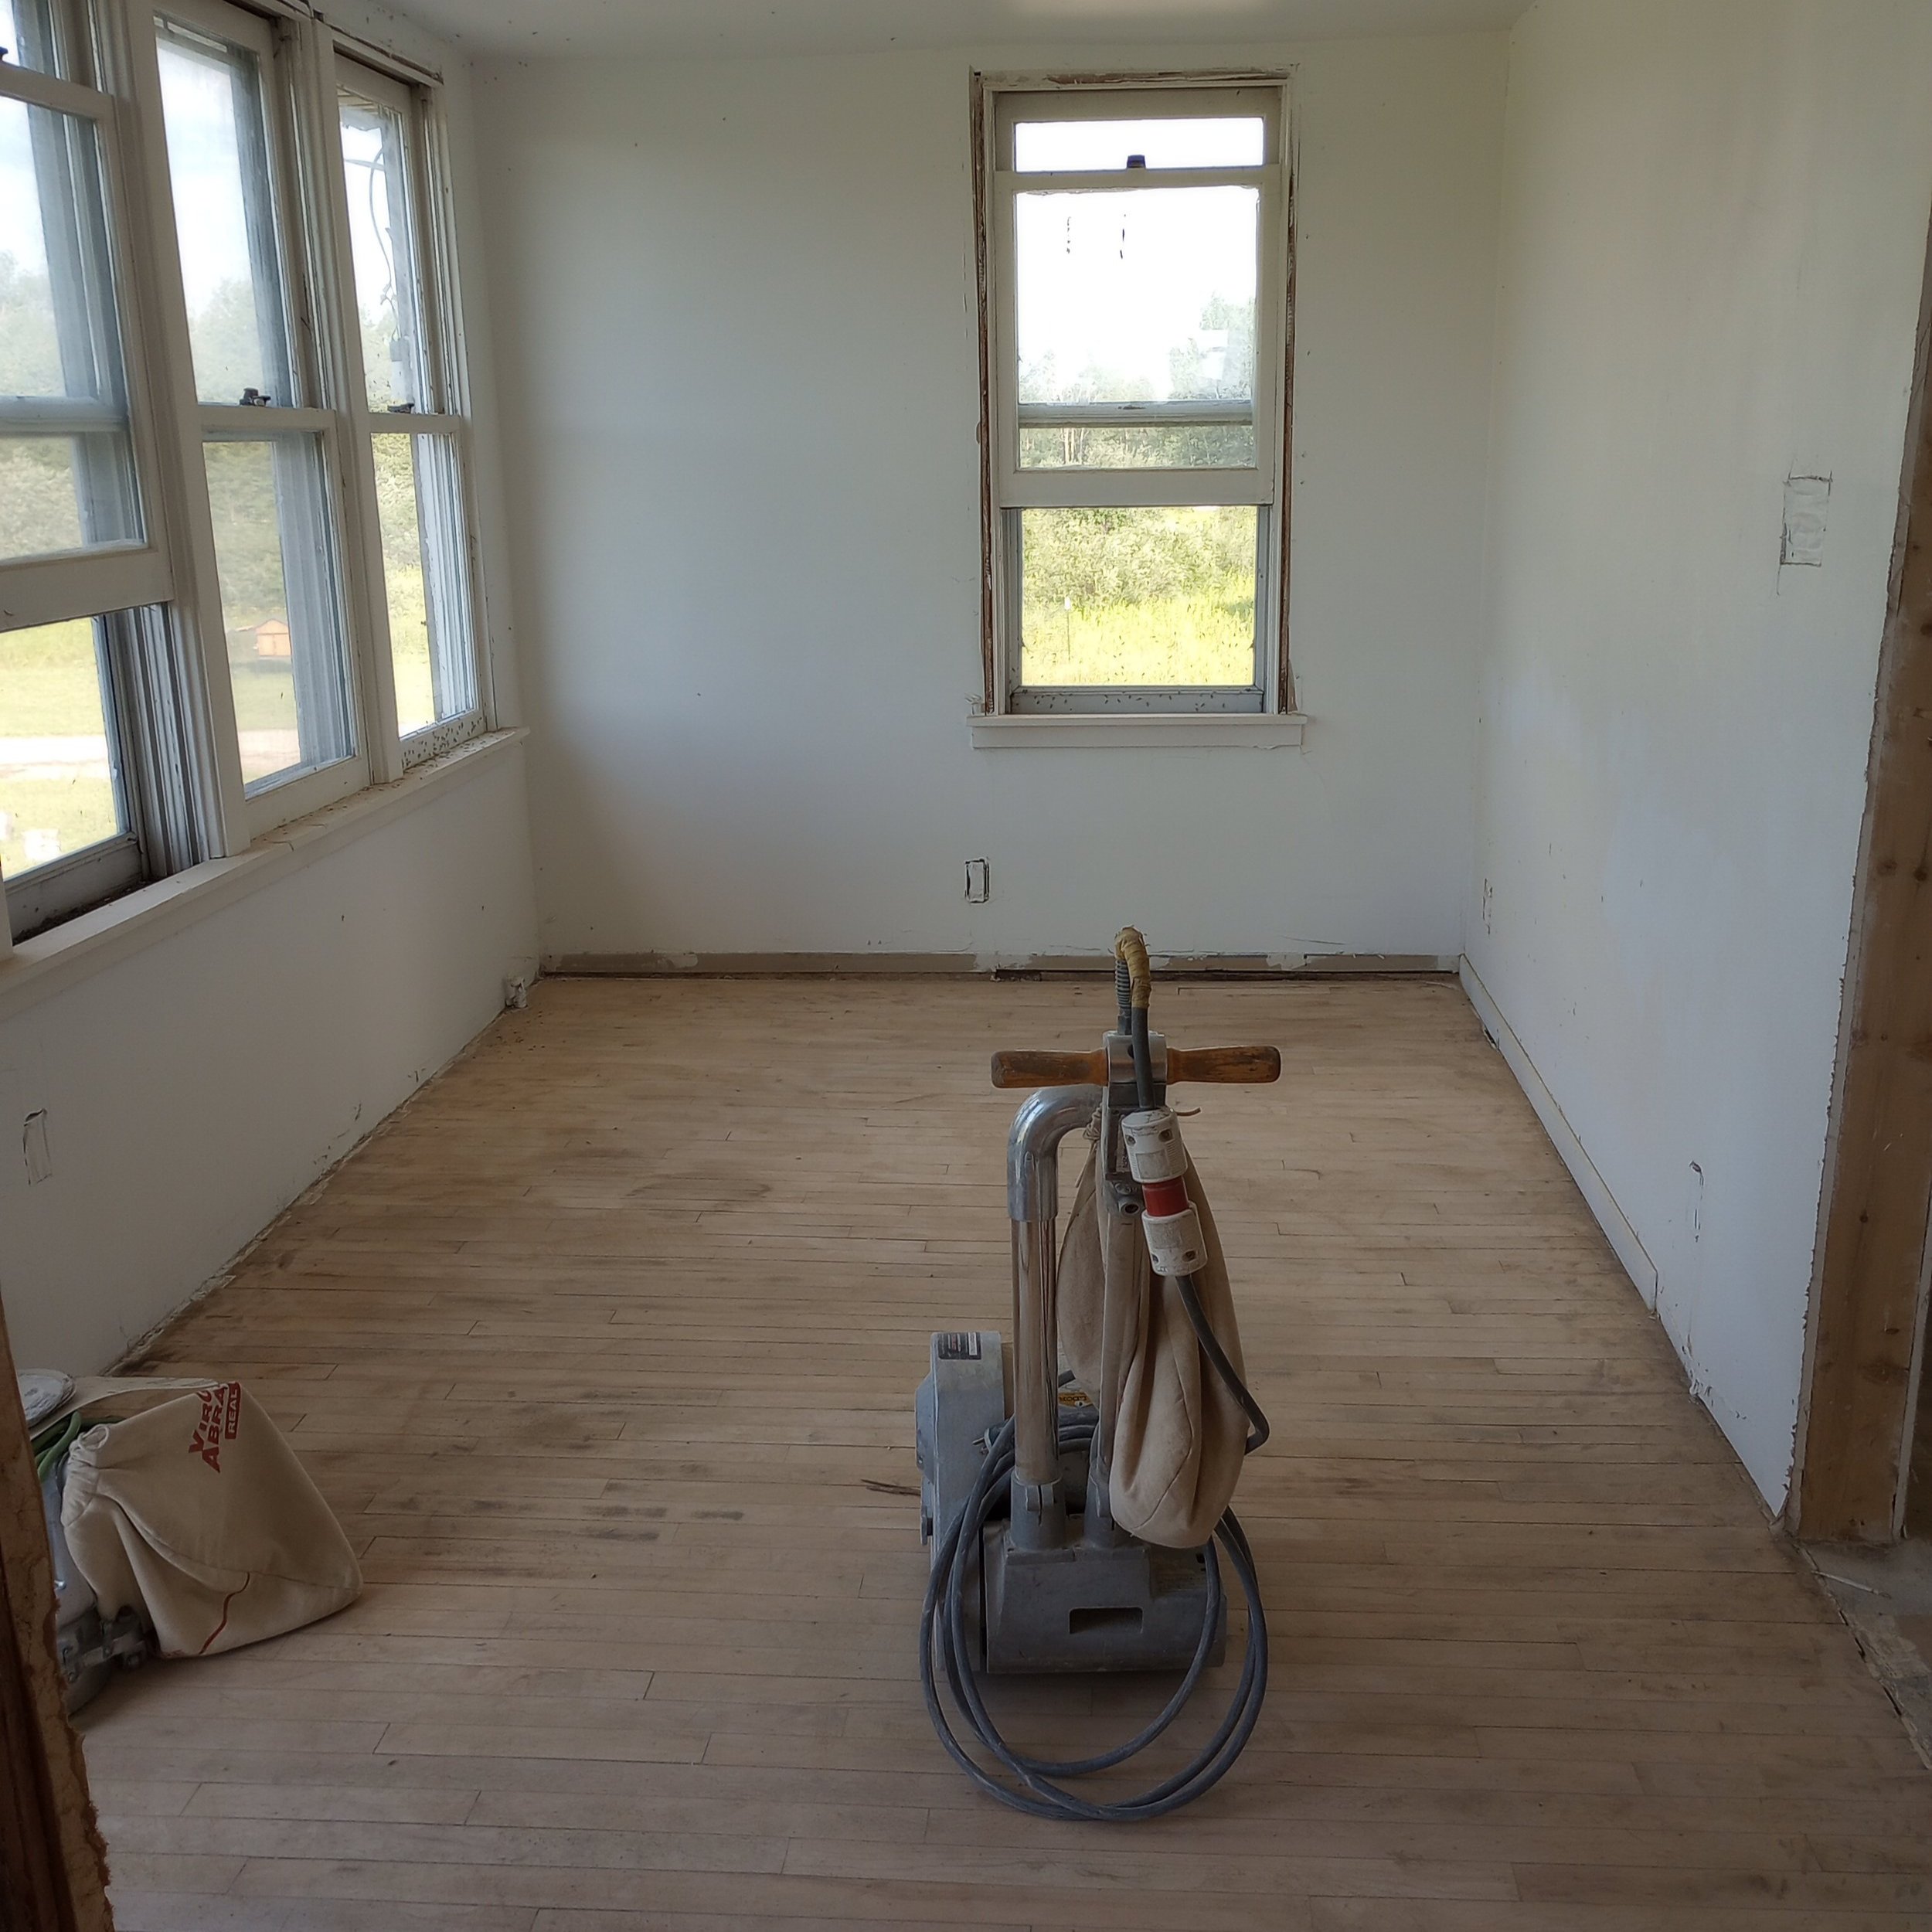
Once the whole house was mudded and painted, we were ready to tackle the flooring! We rented a floor sander in August of 2022 It took almost no time to sand the upstairs and the living/dining room, but the biggest difference showed in the office and kitchen. In just a weekend, our floors looked brand new. (Compared to the months it took for the ship-lap!)
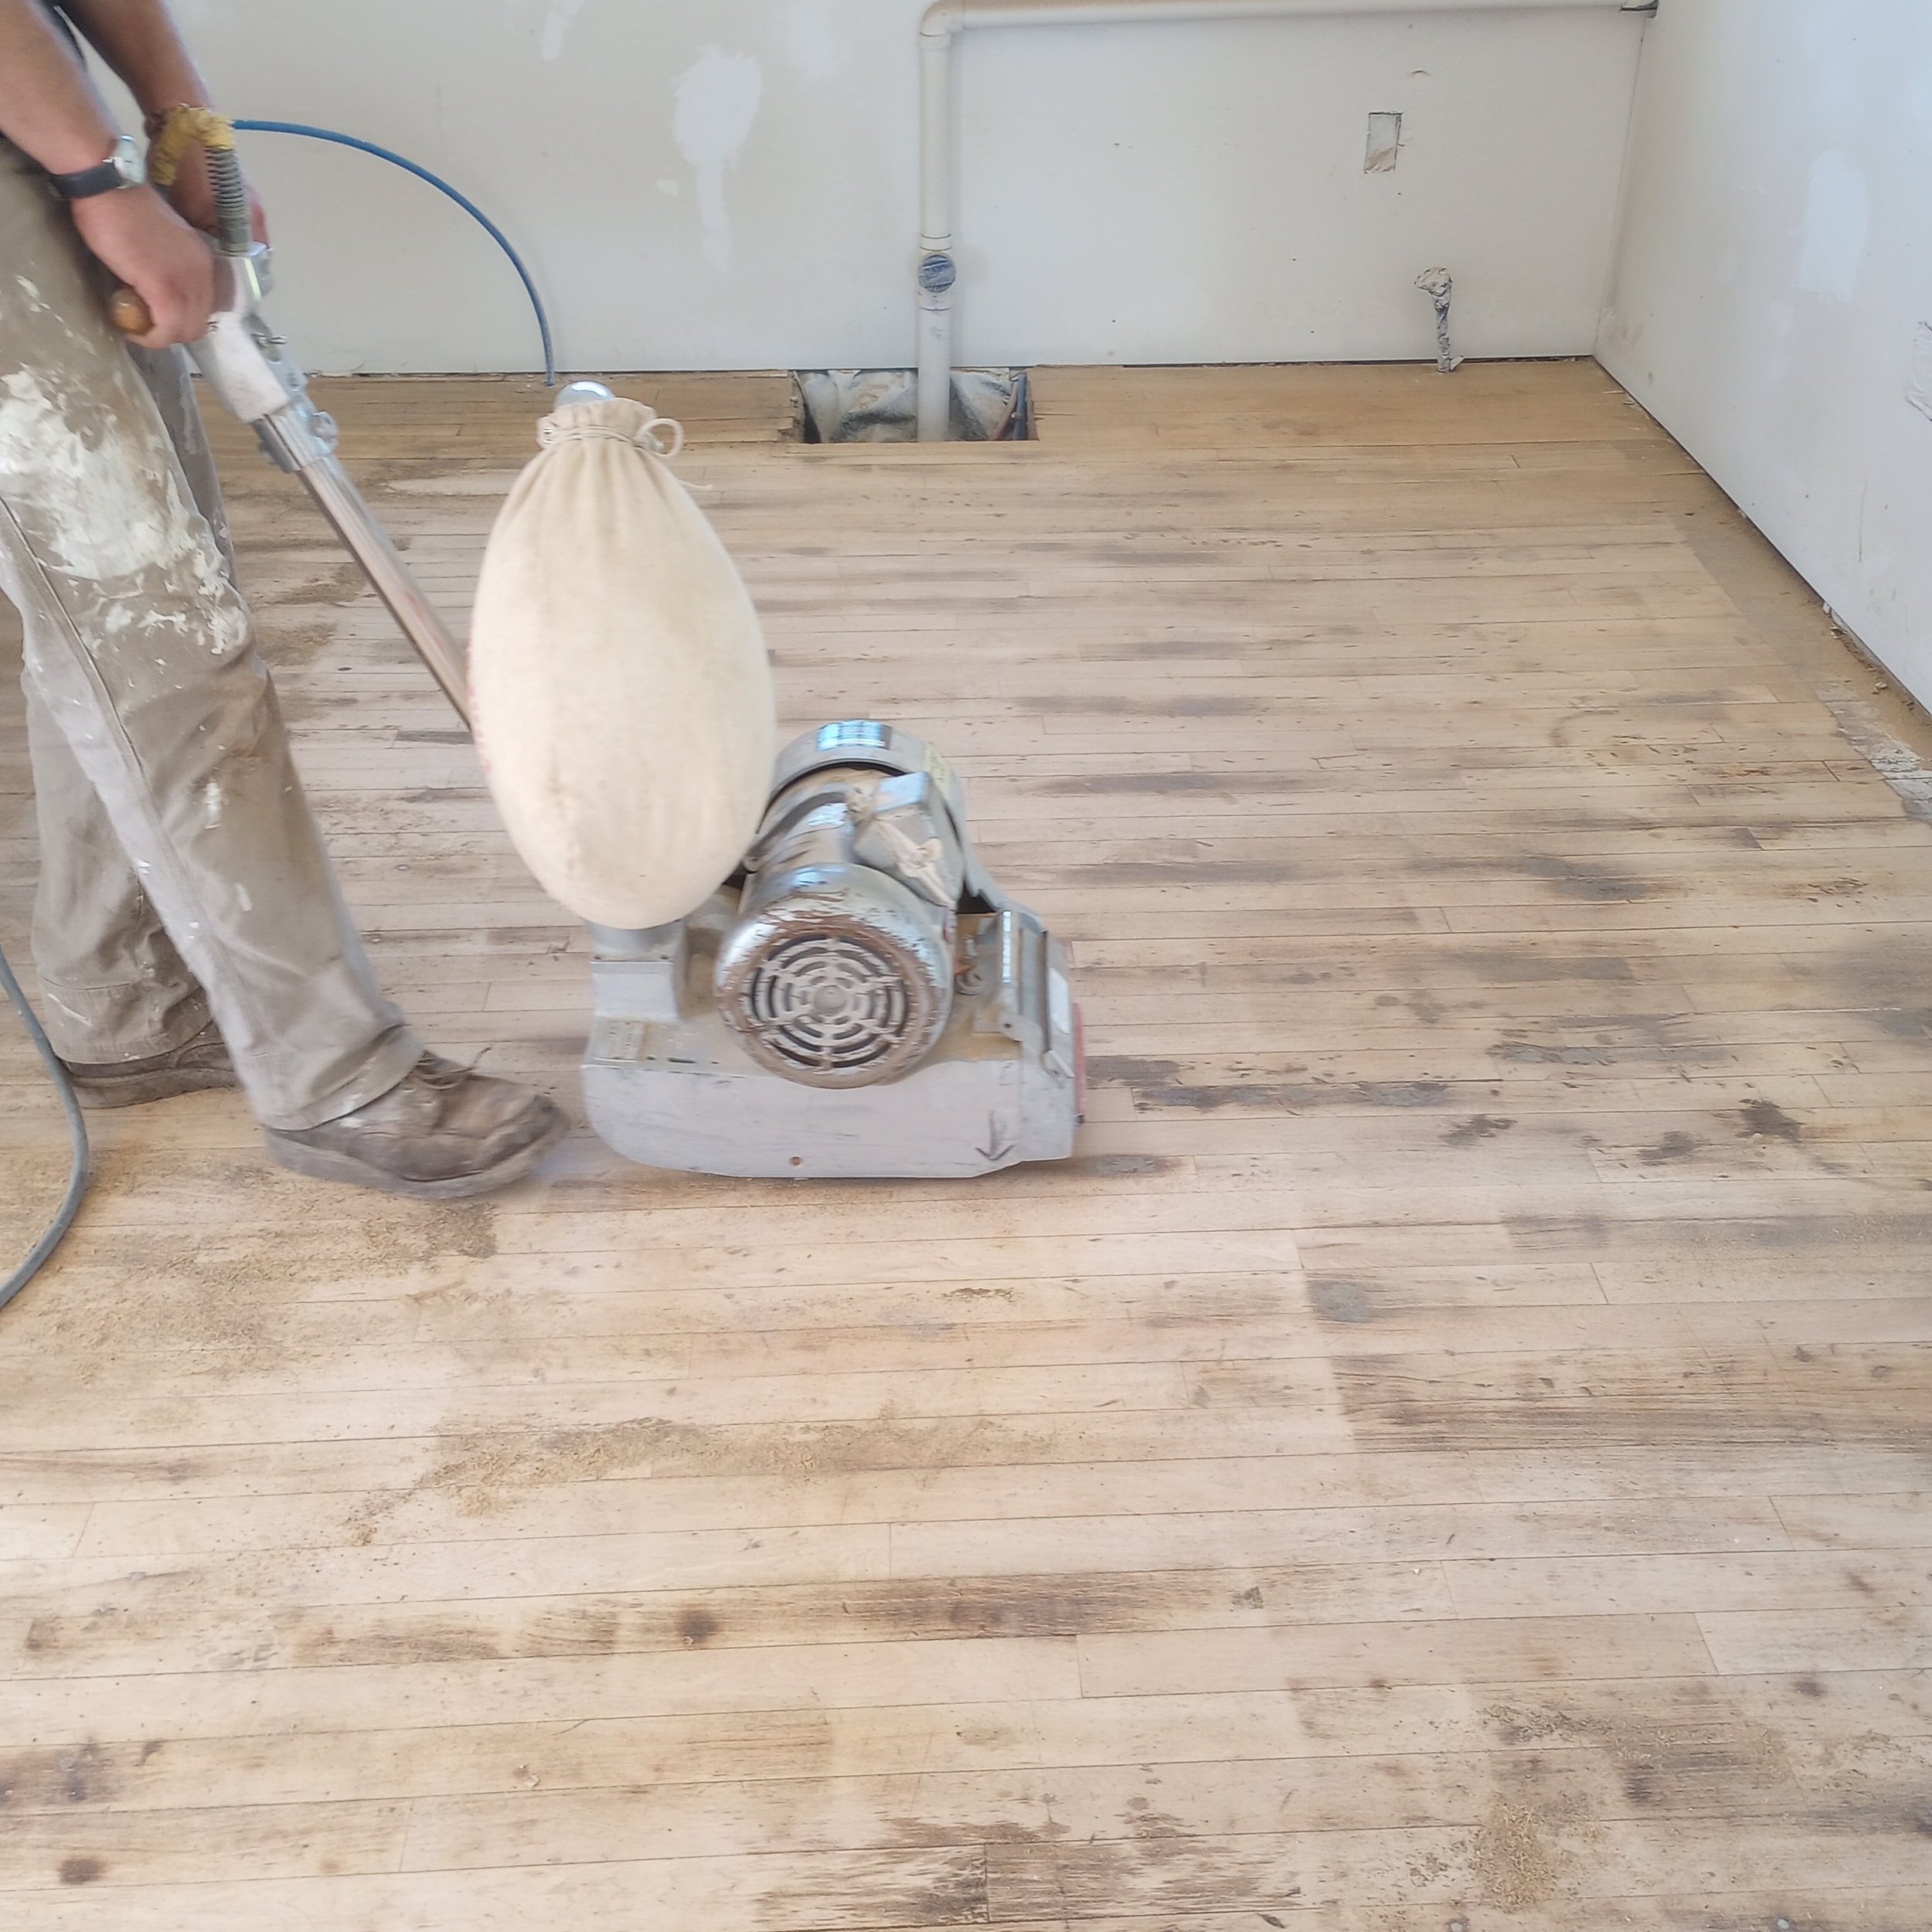
If you remember, our office used to have carpet, and this grayish-blue layer is carpet glue with mud splatters from taping. The sander took it right off, with just a couple of passes. Watching the sander take off the layers of glue was probably our favorite part of the process to date since it was an immediate change.

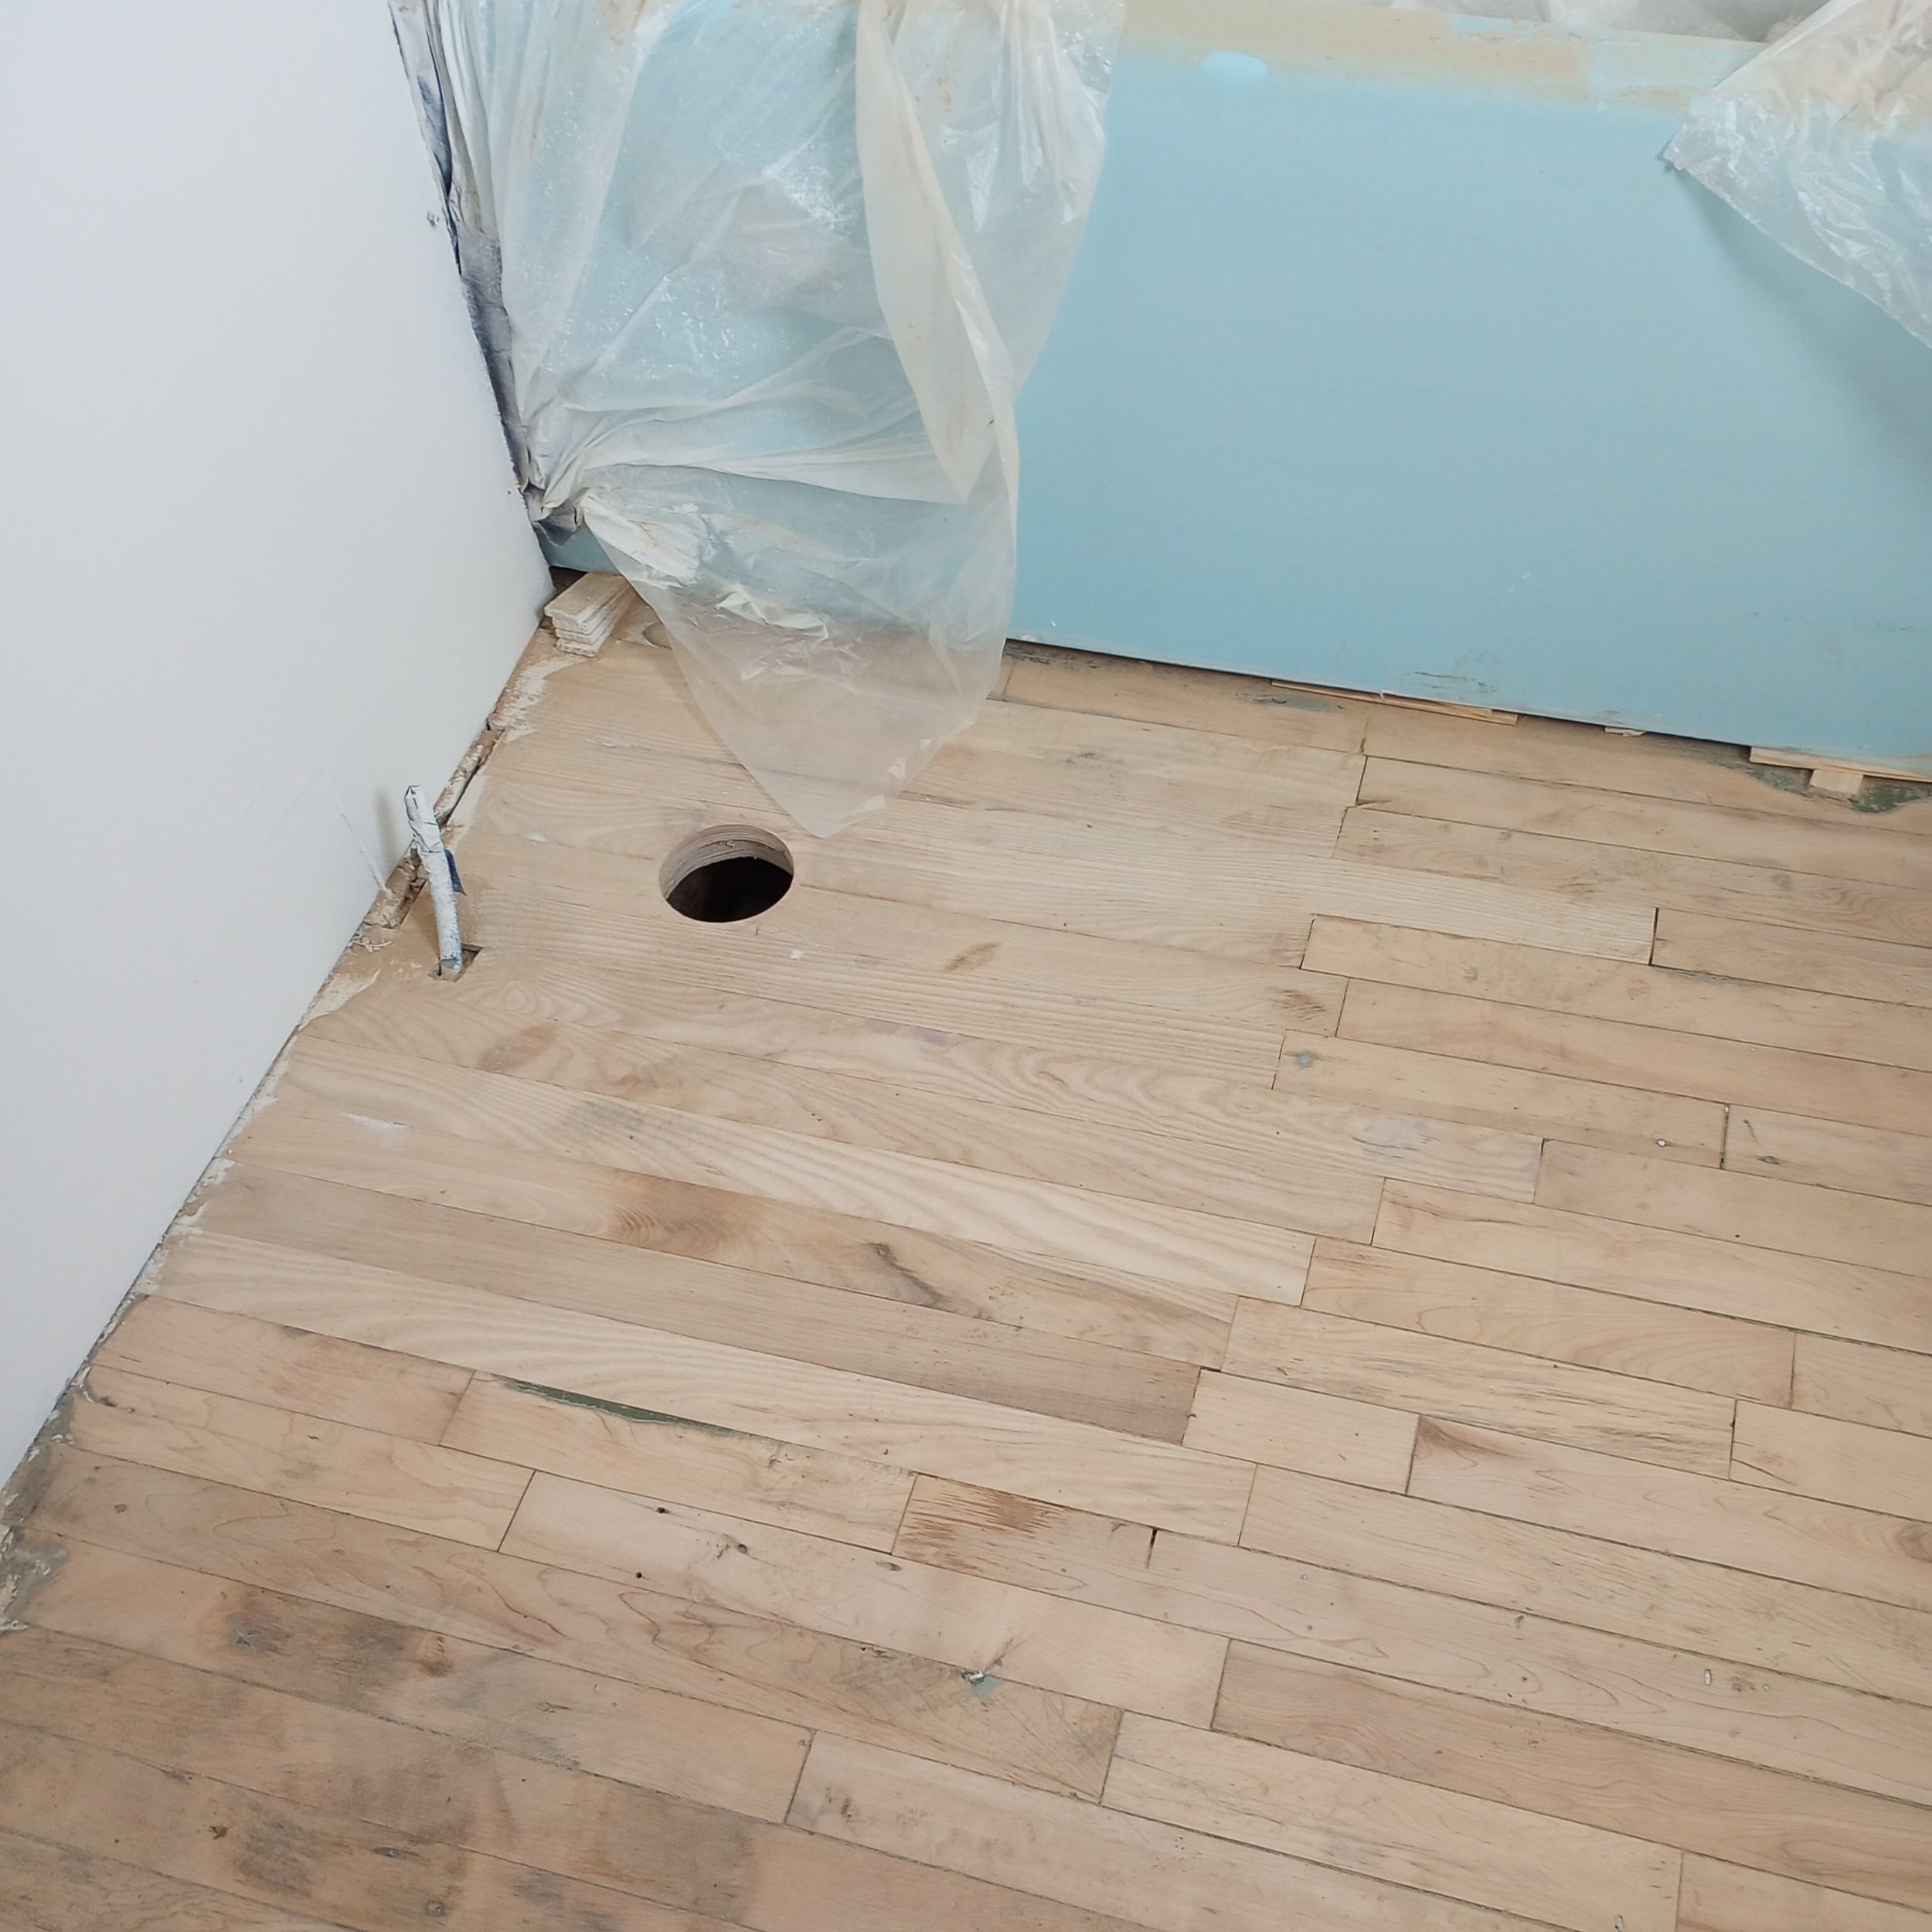
Left to right are the office, bathroom, and kitchen mid-end sanding. Don’t worry, our bathtub isn’t blue. That’s just a protective coating that we hadn’t taken off yet. The kitchen definitely gave us the most grief. There was a thick layer of tar that we had the hardest time getting rid of. It was gunking up our sandpaper and we ended up having to use chemical strippers to take it off our floor.
I shared the process a little in a Pinterest idea pin, which you can watch here. Here are the steps, if you don’t want to watch:
Sweep everything up. clean big debris.
Drum sander with 20 grit paper will take everything off.
Follow that (after a quick sweep) with 100 grit paper to get soft, smooth floors.
Sweep and vacuum floors to get all dust off.
Use a floor sealant. We opted for a penetrating seal, but you could apply a surface seal as well.

I think this is the second coat of oil on the bedroom floors. You can see how dry it is because some of the boards are just soaking the oil up right away. This was right when I finished applying the coat. The fun part of this was that we didn’t know how the wood would turn out, since the oil brings out the natural colors and shine hidden in the wood when it’s sanded. It went from being bone white to blonde with streaks of red, as our upstairs hardwood was a mix of different types.
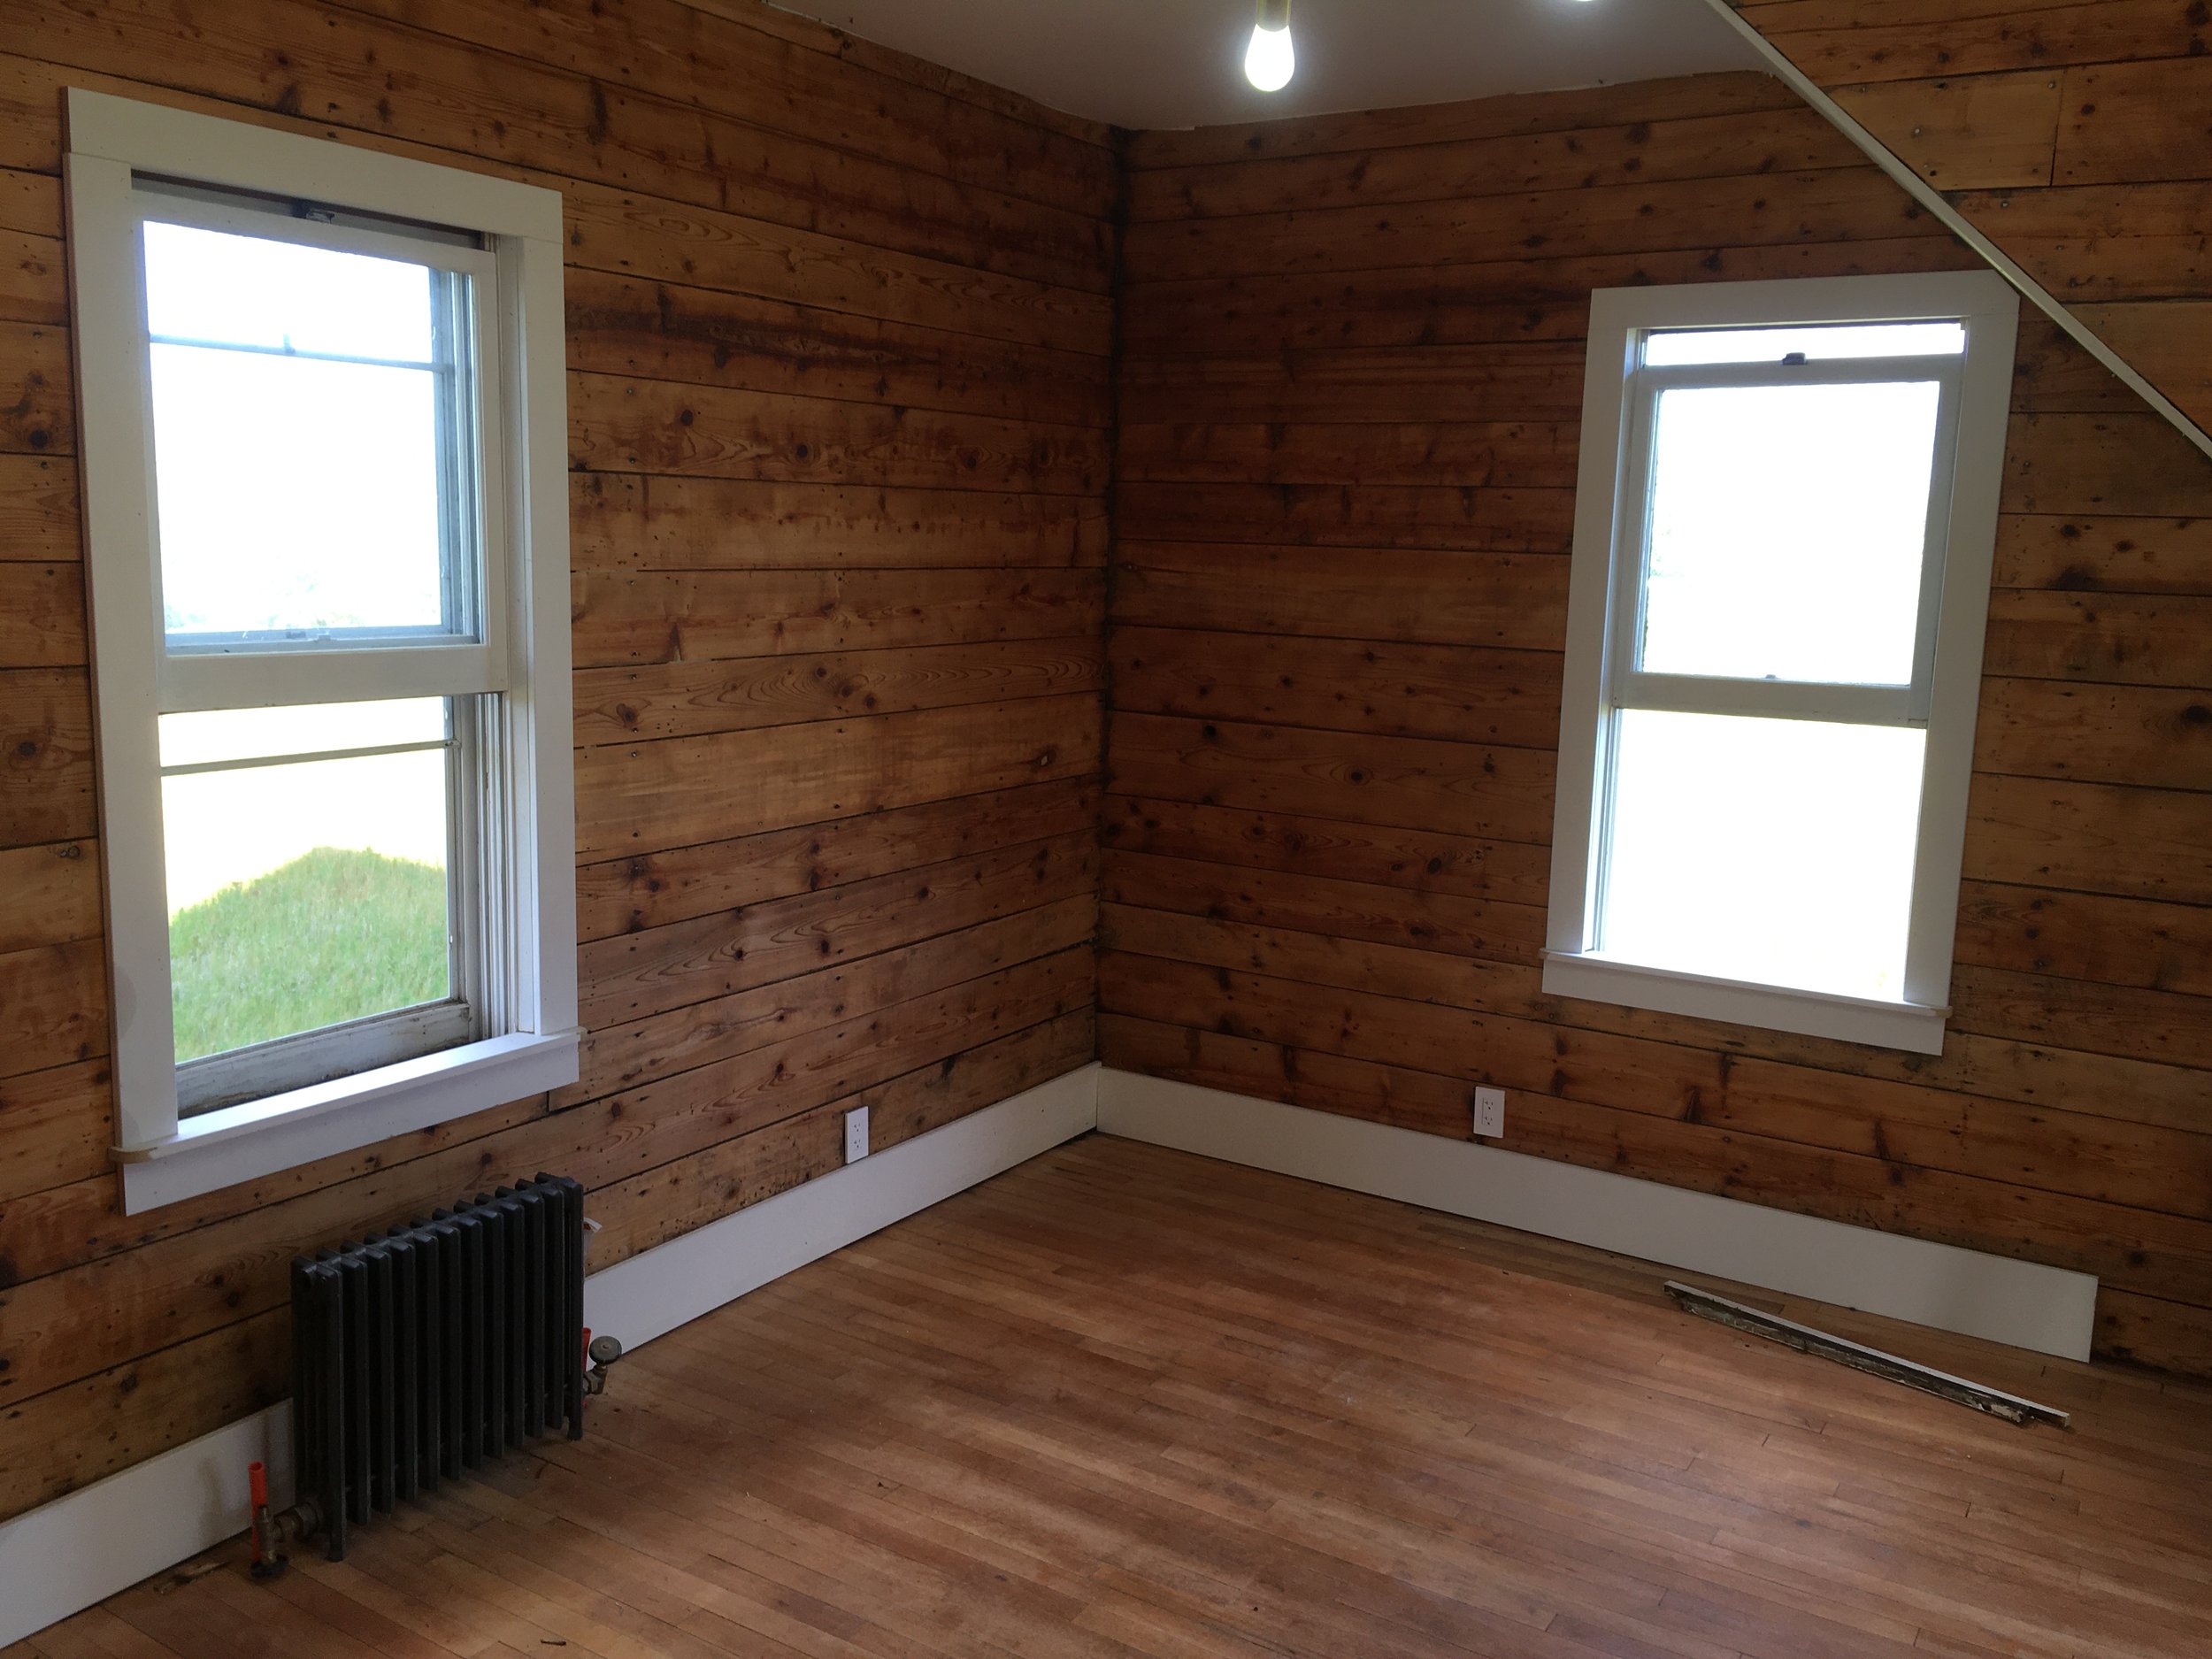
Downstairs, it ended up as a light reddish brown color throughout, as all of it is maple. The thick white trim around the windows and the baseboards made all the wood pop. Below you can get a sense of what the dining room will look like with the baseboards cut to length and the radiator set in place.
Refinishing our hardwood was a fun process, and easier than what we anticipated. Perhaps that was because we had already tackled so many big projects.