DIY* Plumbing & Electrical
*Not a how-to-guide, just how we did our house. Honestly, it’s mostly how we felt about re-doing the plumbing & electrical in our house.

Above is our kitchen, mid-mess of deconstruction meets reconstruction. Seth says that the plumbing and electrical was a lot more work than he anticipated, but it feels good to be done. Yep, this is a celebratory post as we passed our electrical rough-in inspection. And a special thanks to those who helped us. It took way longer than we anticipated to get to this point, but it would have been twice as long without your help!
I think we started in on the electrical and plumbing in September? Seth and my great-uncle set up the plumbing before the slab was poured in the spring and at that point we knew what the floor plan of the basement would be so we knew how the house had to be plumbed, theoretically. But we had to gut the kitchen and bathroom upstairs to access the plumbing and see what we were working with.
Plumbing
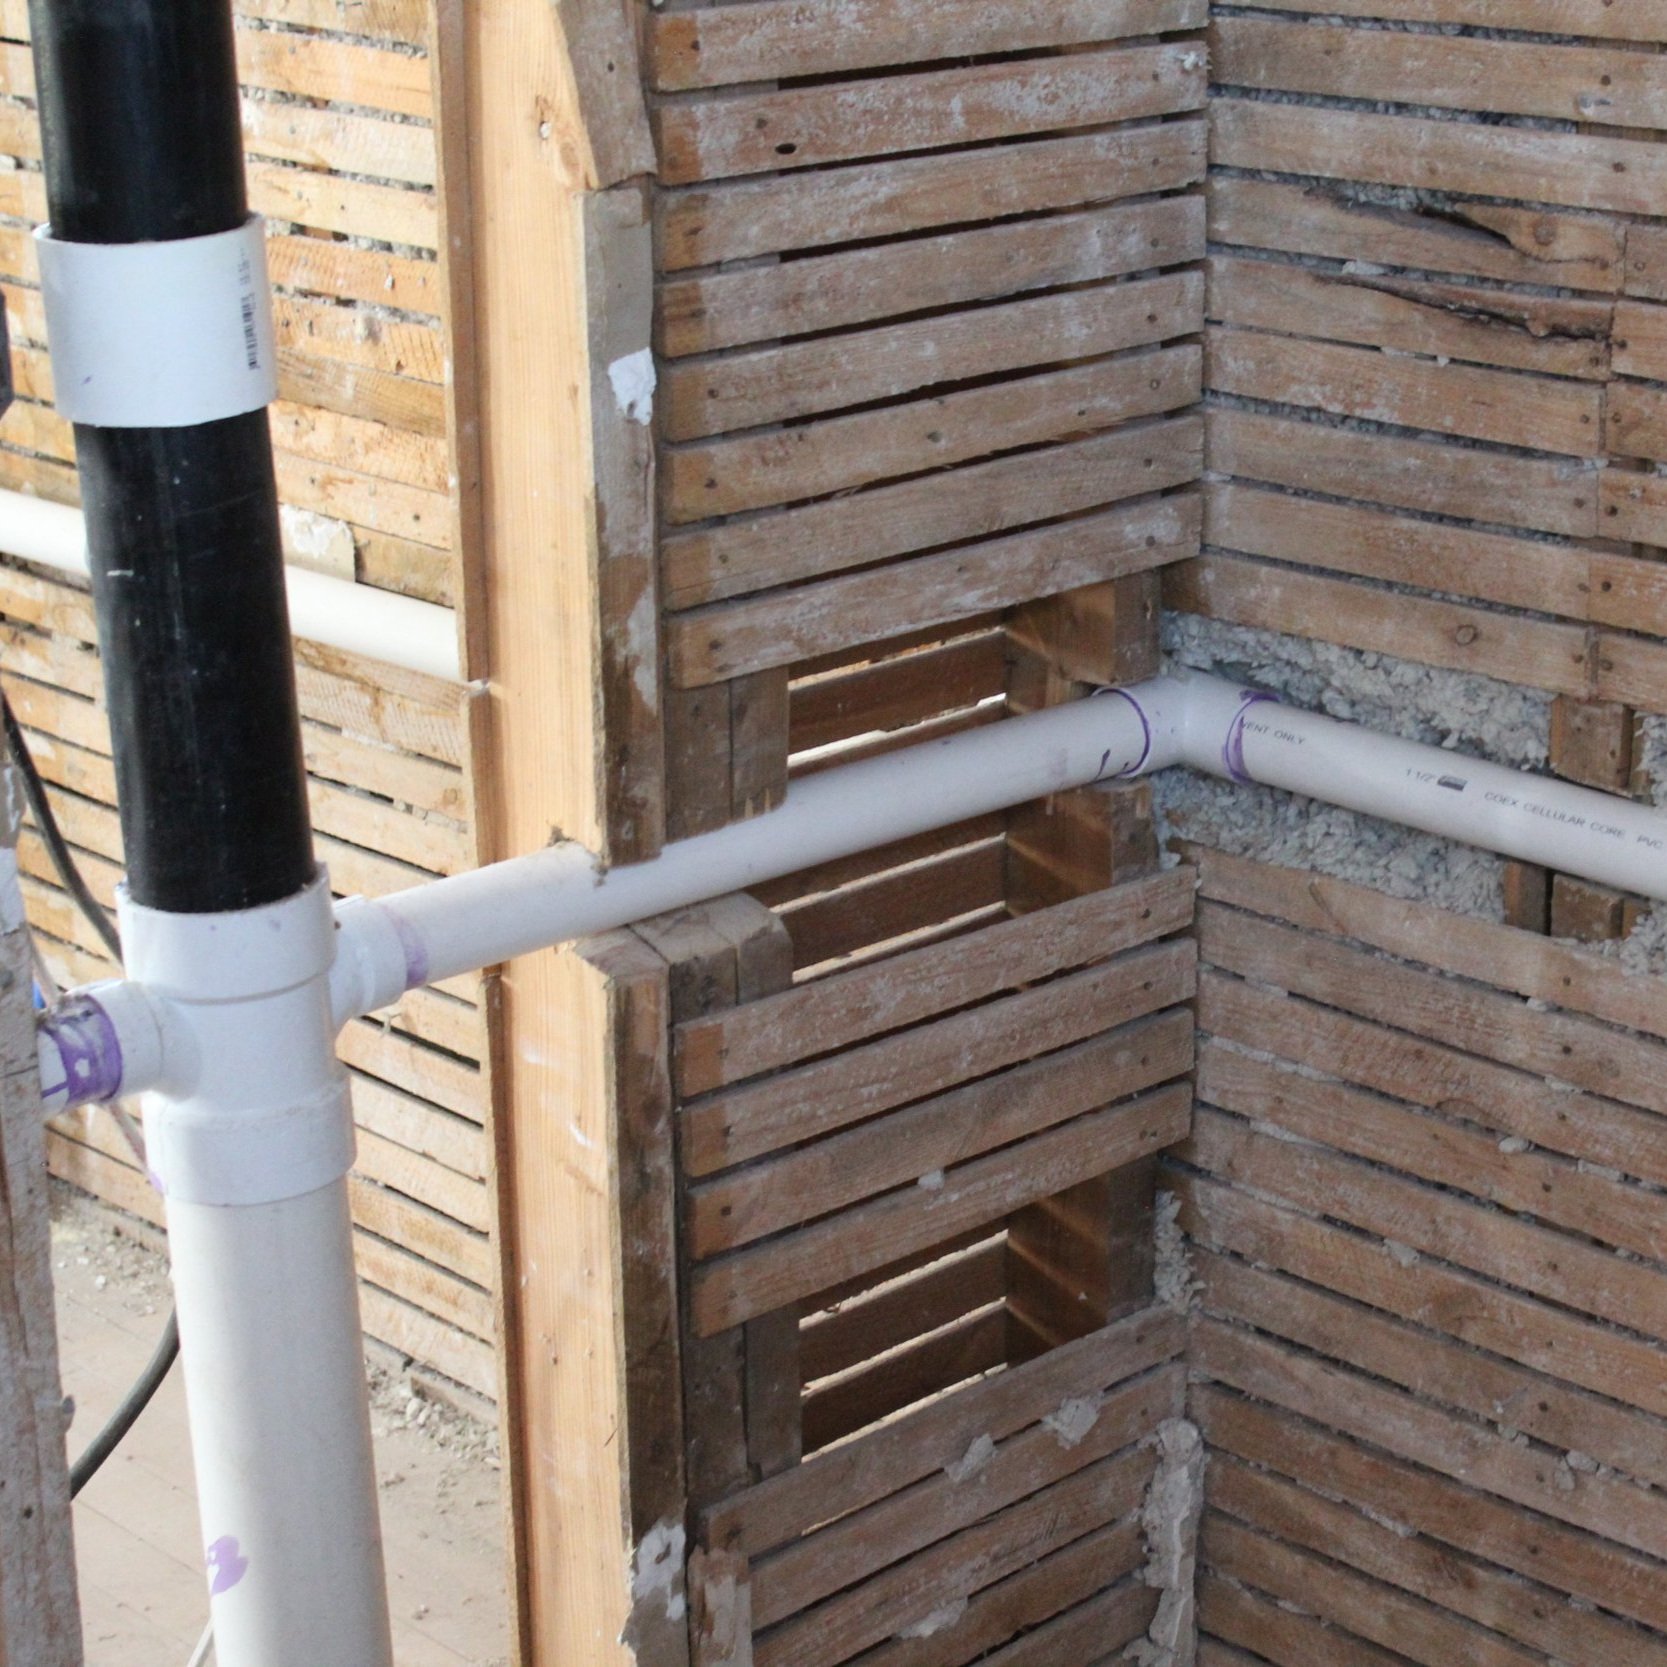
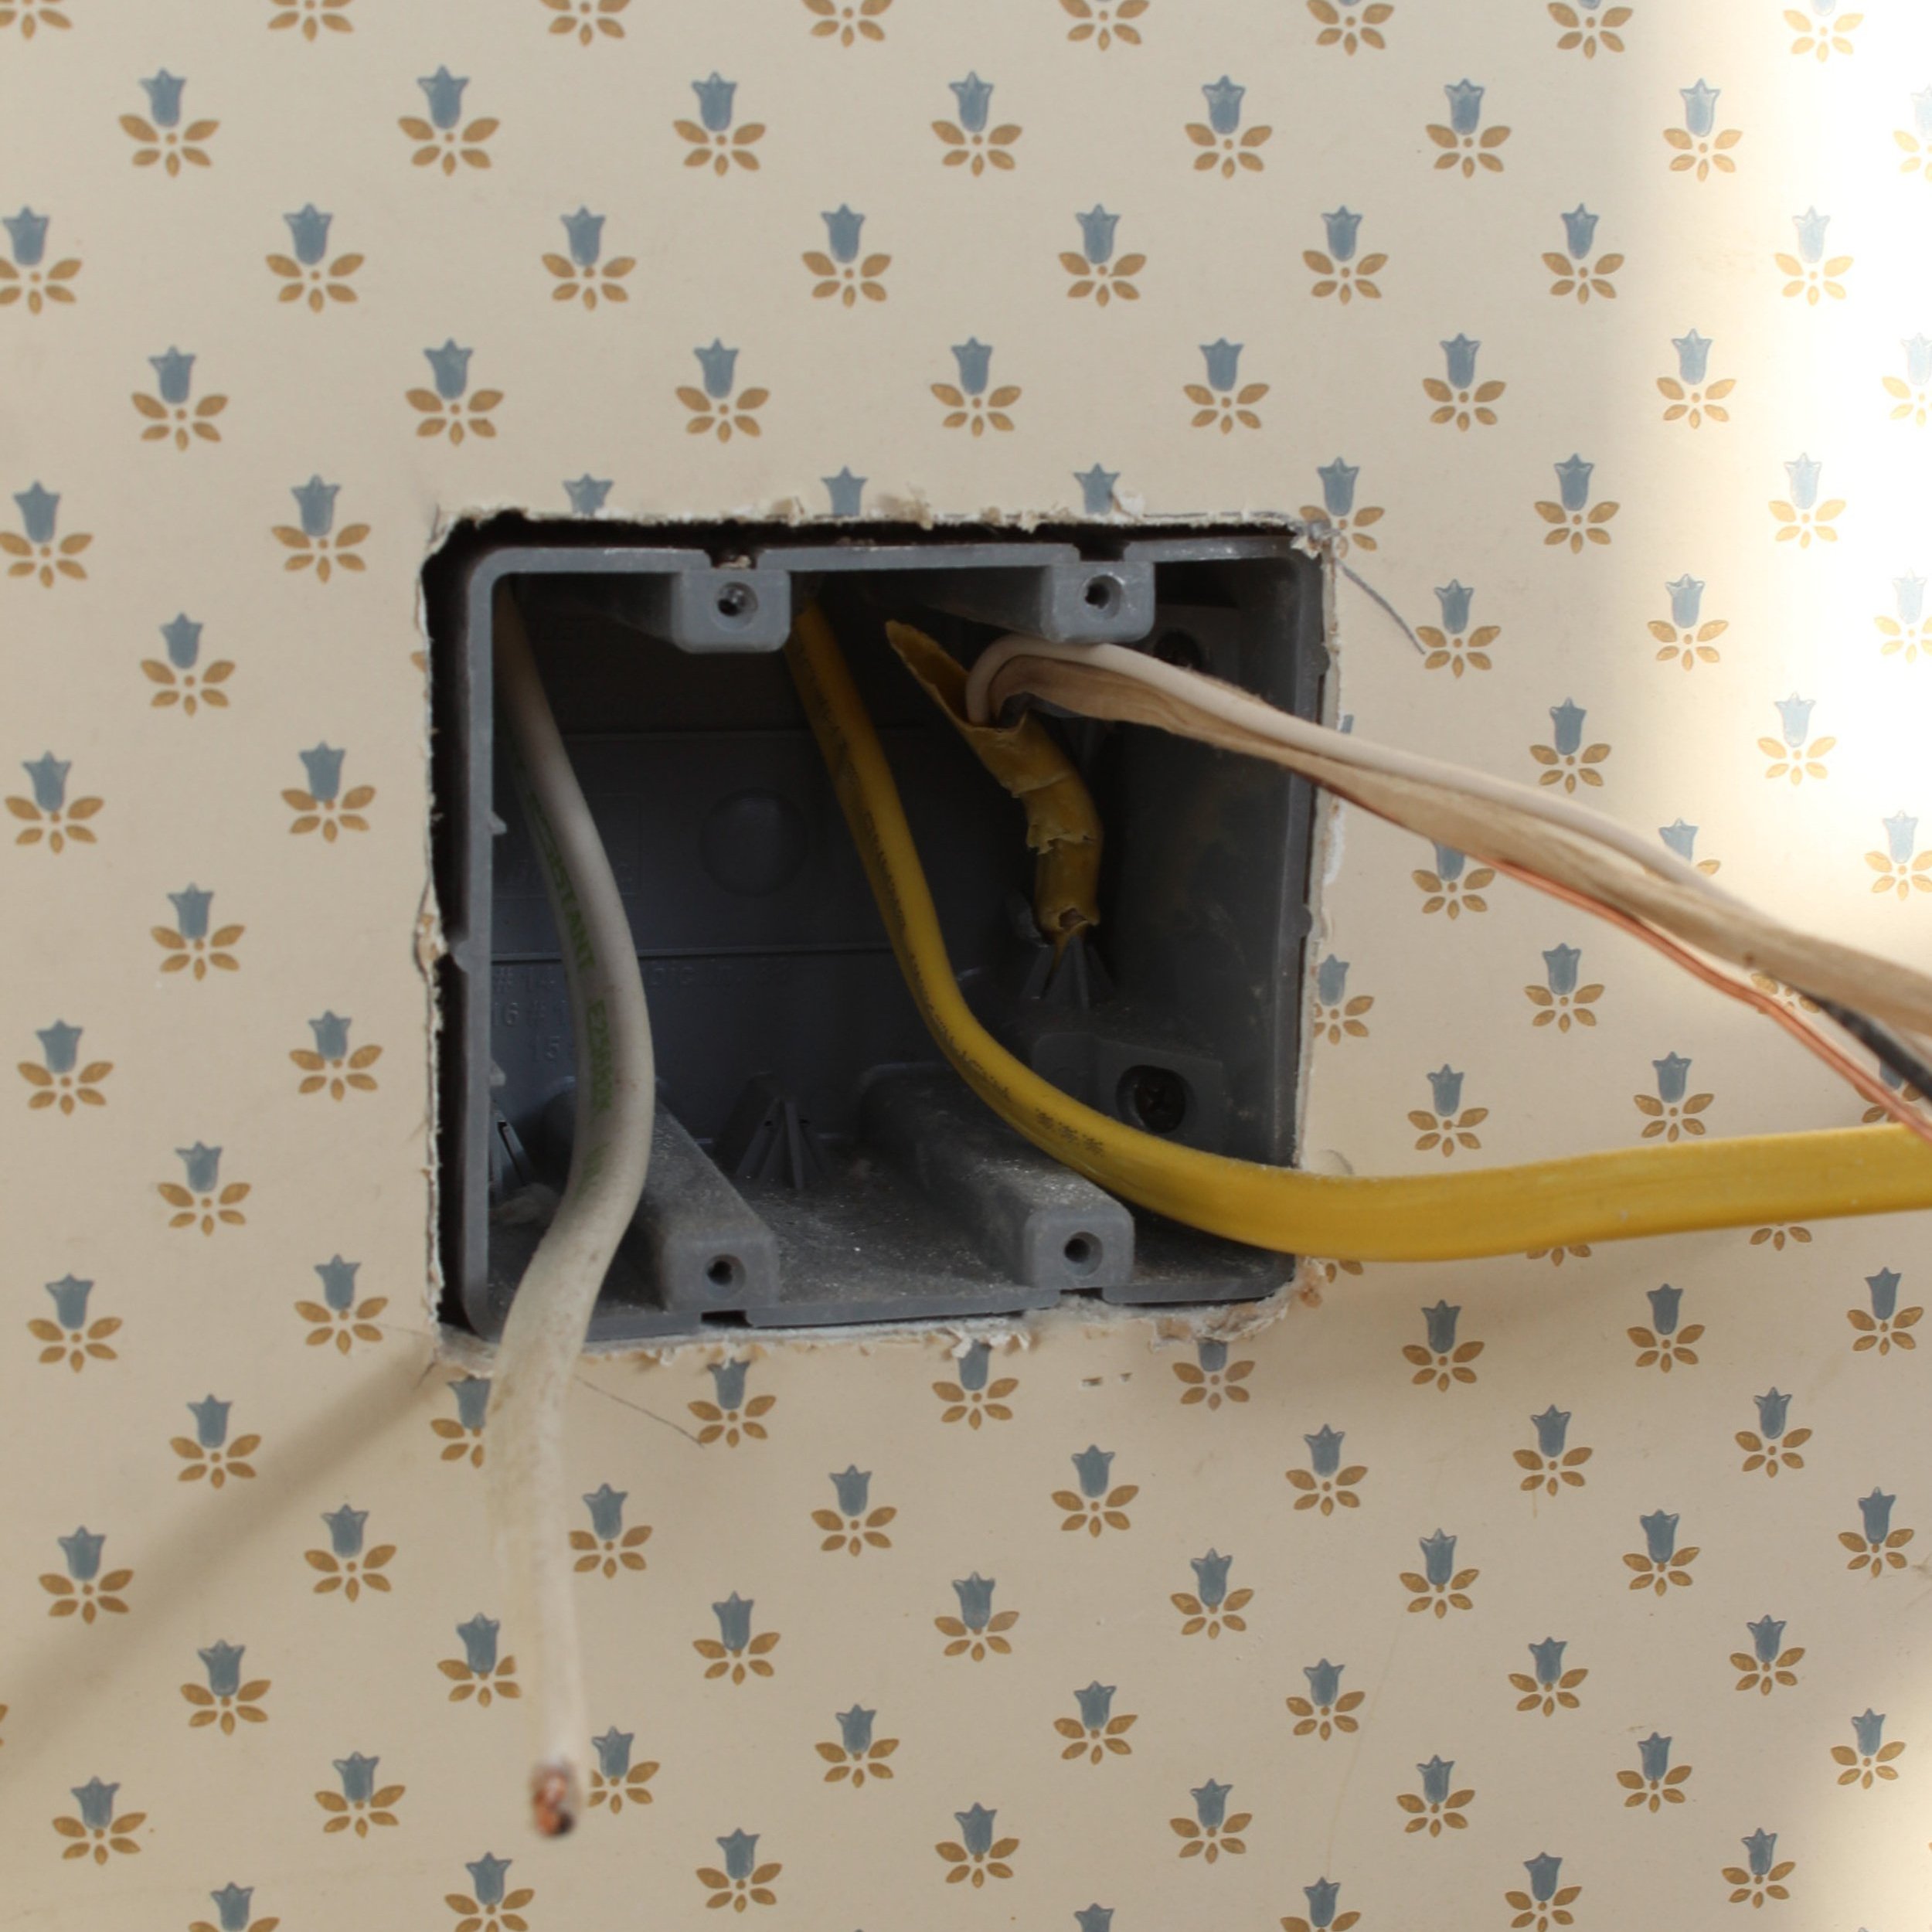
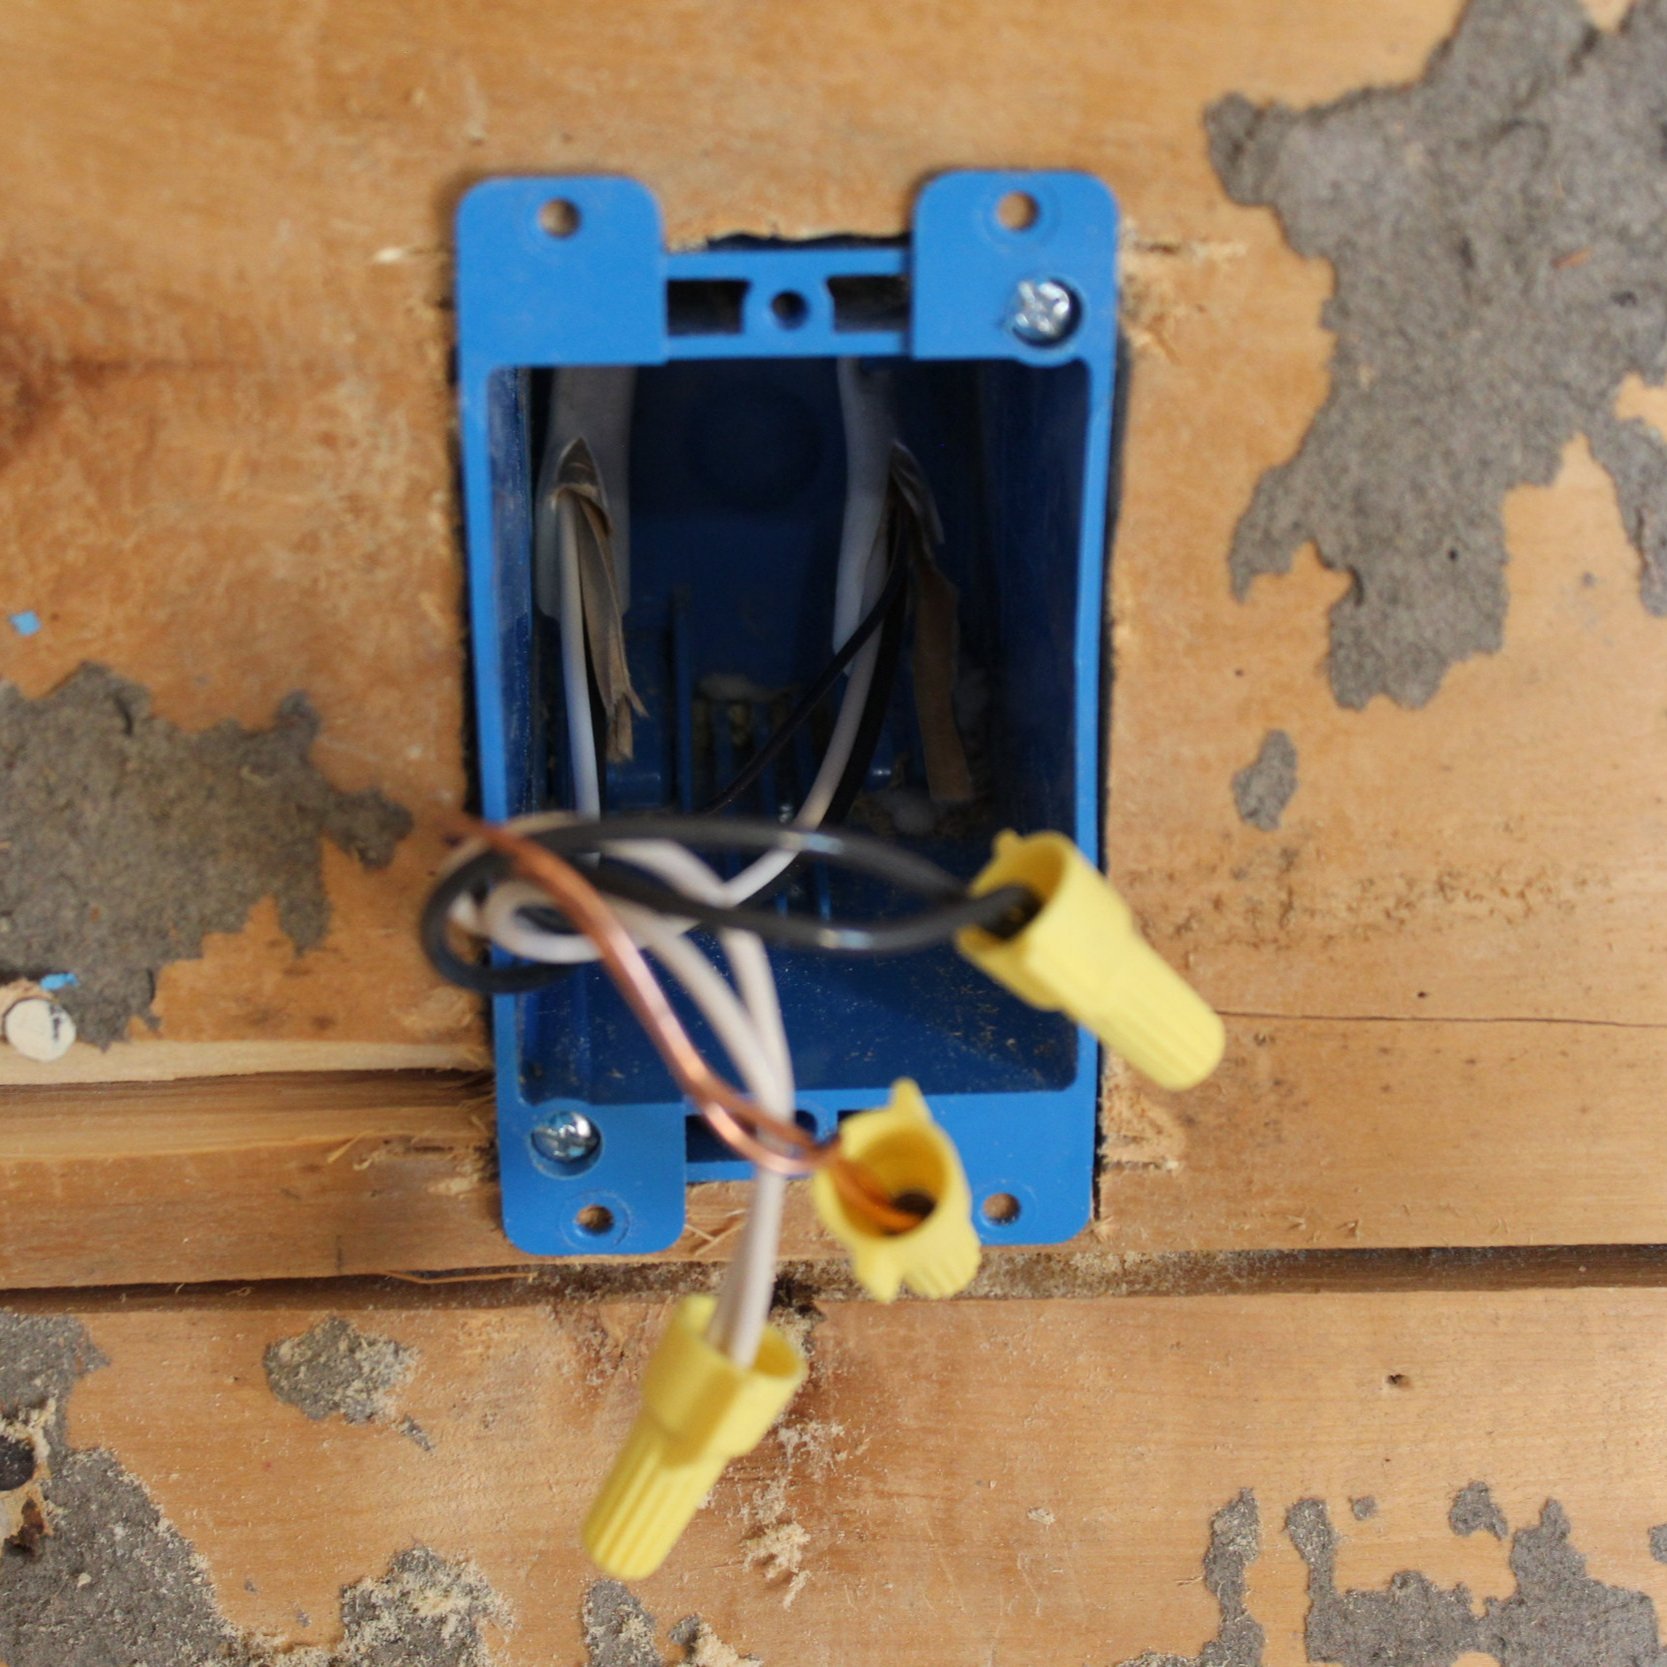
Below is our kitchen sink (or, where it will be!). We’ve run our hot and cold lines to each appliance directly from a manifold, so each appliance has its own lines, instead of looping all the appliances together. This should make a big difference in water pressure, with each line getting a more consistent pressure than a loop would allow. Setting up the manifold and running lines like this was more work initially, but it should make working on the house in the future easier. There aren’t any hidden joints, so if our system fails, it should be easier to figure out where that failure is and fix it without having to tear into any of our walls.

You can see above the lines running past the kitchen into the two bathrooms. Our main bathroom is directly over the basement bathroom, and that made it easy to run the lines, as most of the plumbing is in the northwest corner of the house. We are adding a coffee bar/kitchenette area in the basement so we did have to run some lines along the north wall to that corner, but the basement is all new construction so that made it easier.
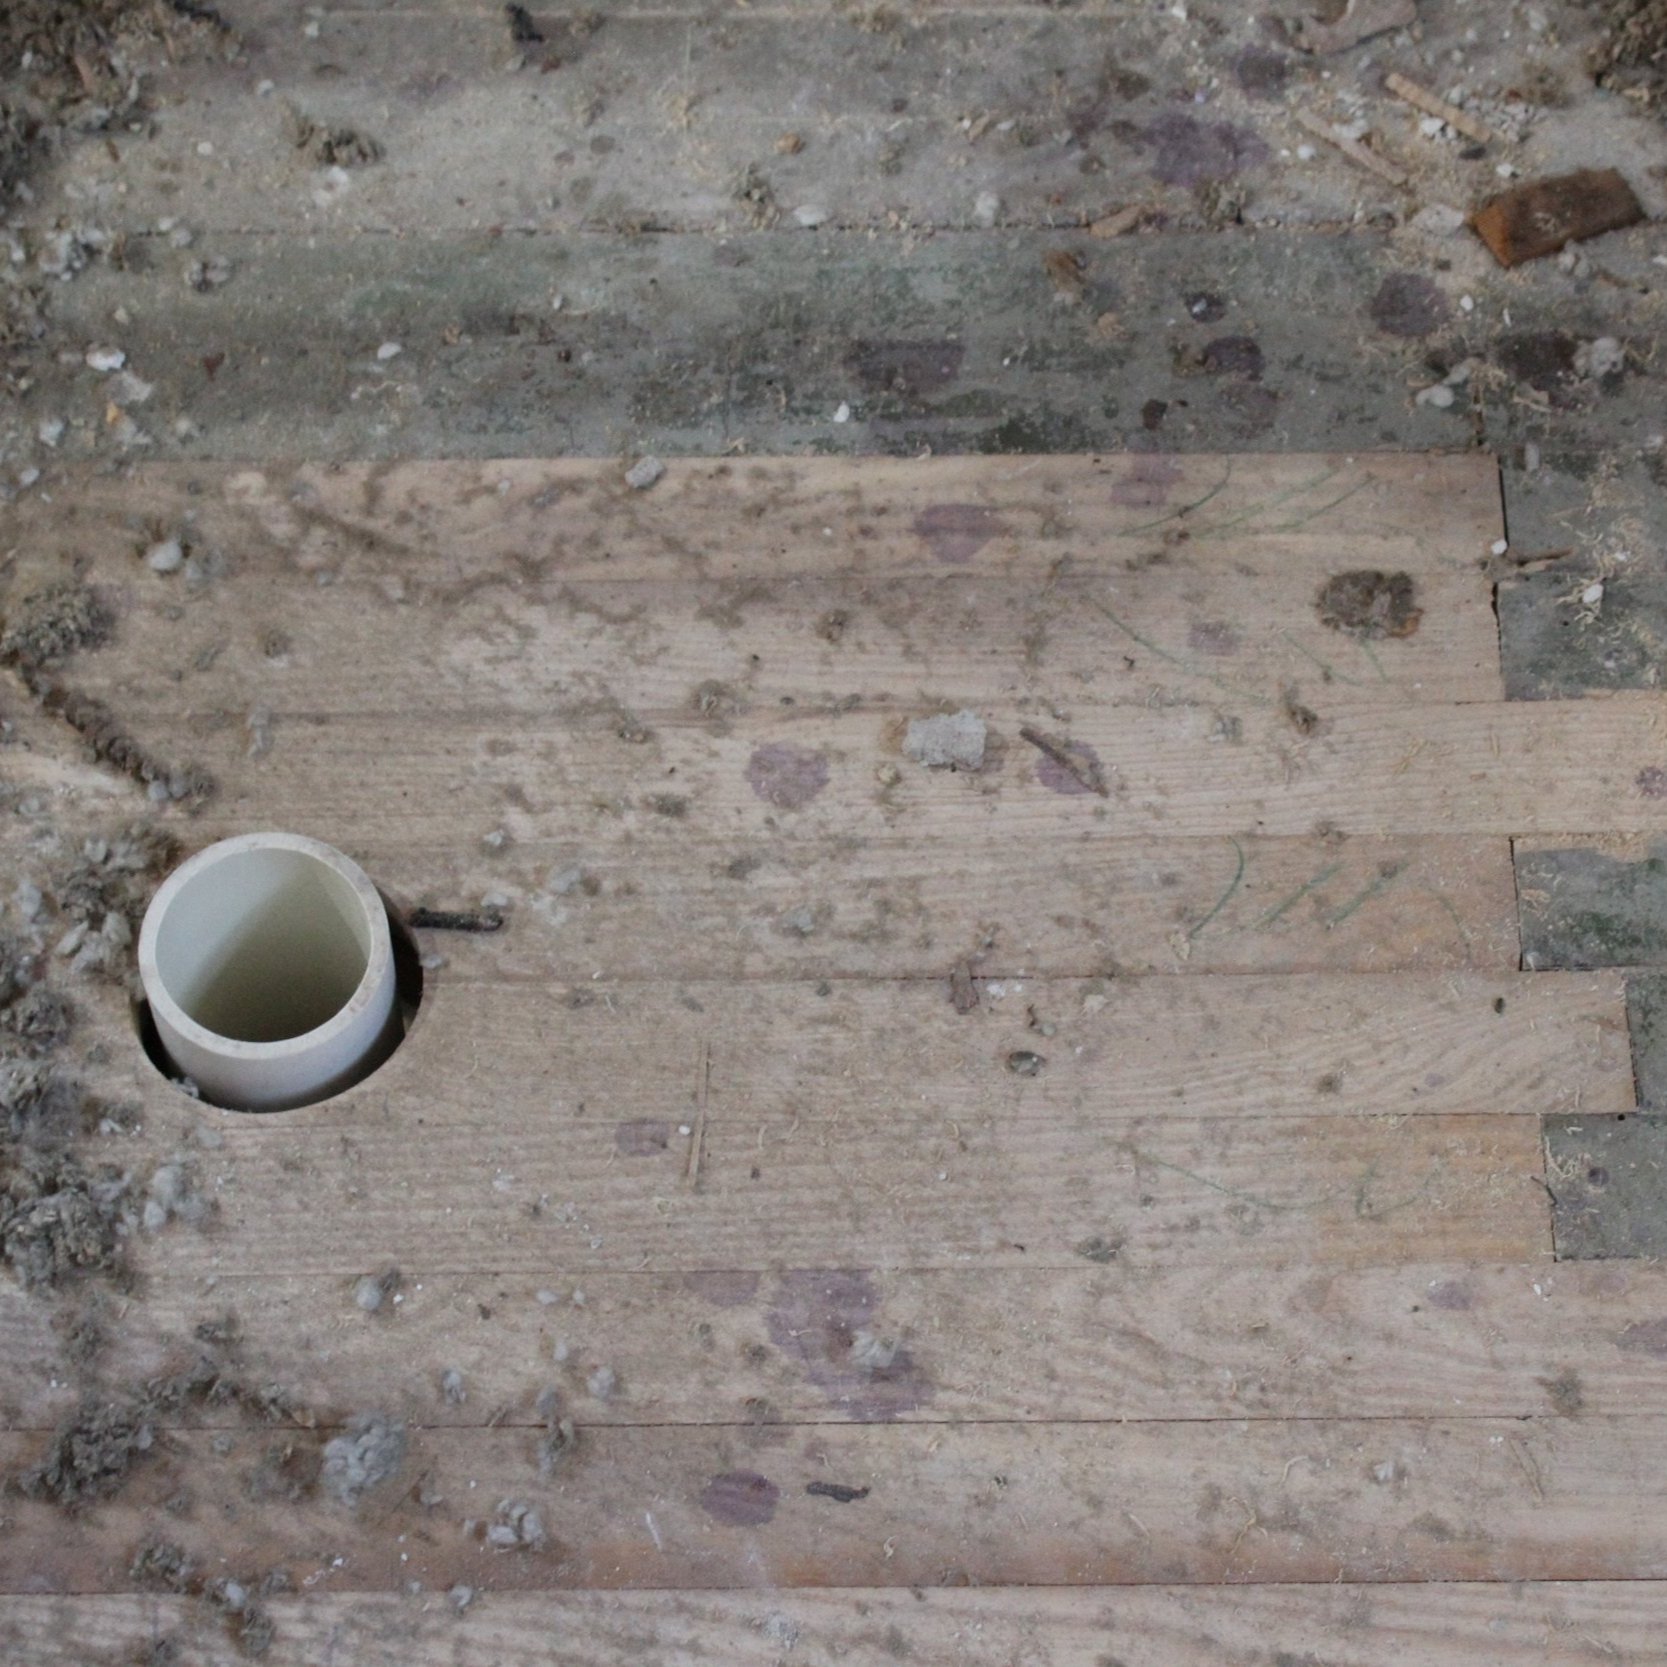
Below on the left is the upstairs bathroom. We had to fix the vent, as a towel rack had been screwed to it. If we hadn’t gutted the house, we never would have realized that we had a problem with the vent. Sometimes we think how much easier it would have been to just do cosmetic changes and live in the house as-is, but it really was the right call to strip everything back and update it.
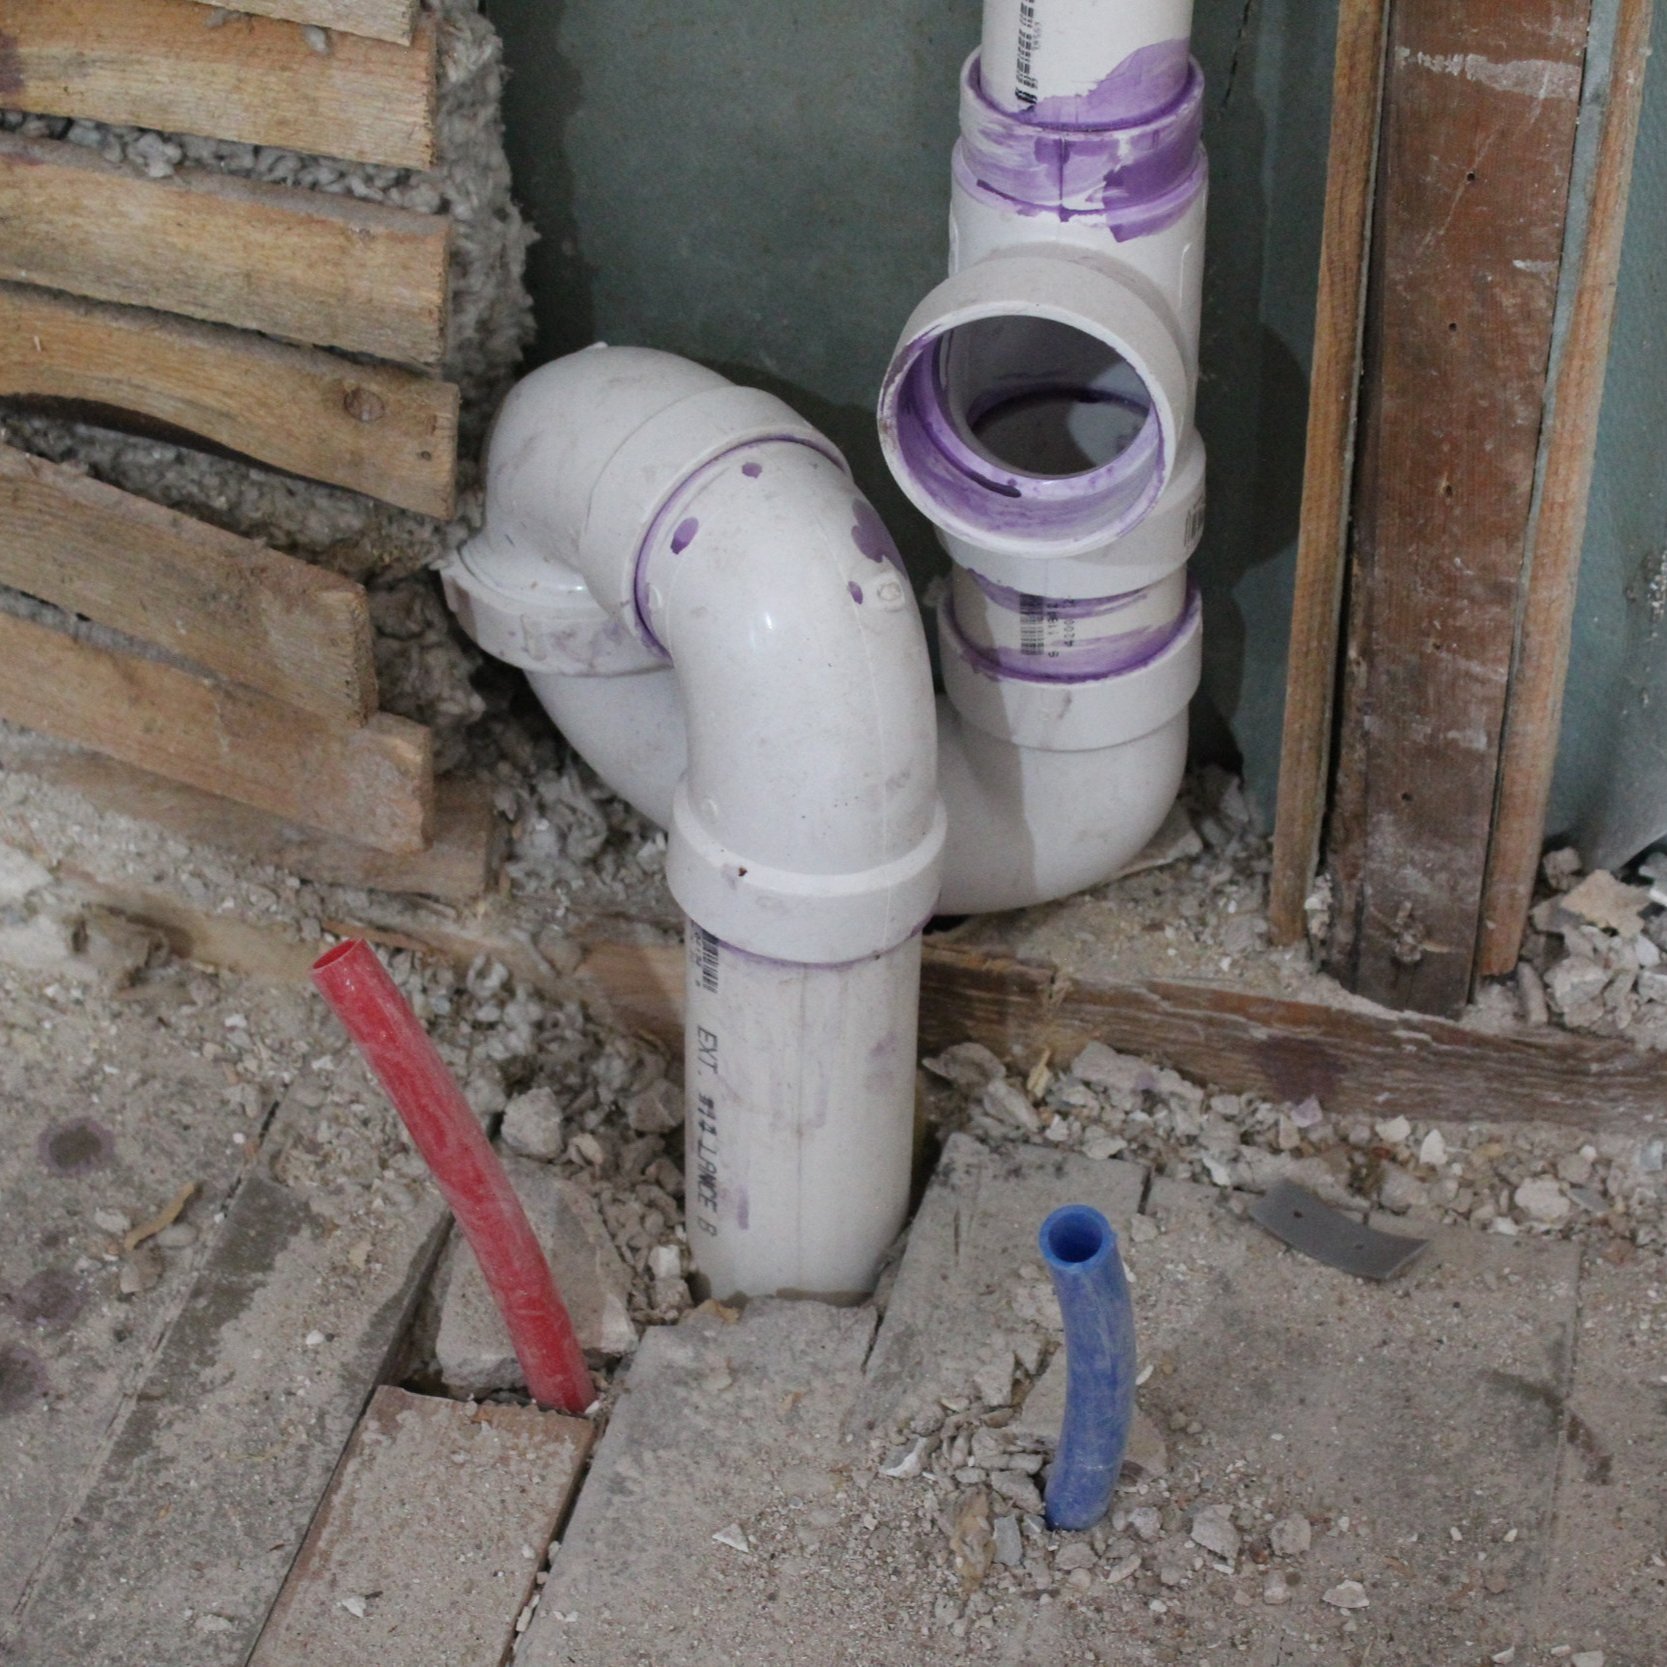
In the middle is the upstairs toilet, and we had to replace the flooring around it. Thankfully, we had 400 square feet of maple hardwood that we picked up in the spring when we thought we were building a tiny house, and so we are able to match the existing flooring in the bathroom. And on the right is the bathroom sink, with the hot and cold lines and the drain plumbed and ready to go!
Electrical
Oy, this was the hard part. Besides the fact that our land didn’t have electricity when we moved the house and we had to trench the wire in ourselves, we ran into plenty of issues and hold-ups while re-wiring the house. And we didn’t have a choice: when you move an old house onto a new foundation, you have to bring it all up to code. No grandfathering in here.

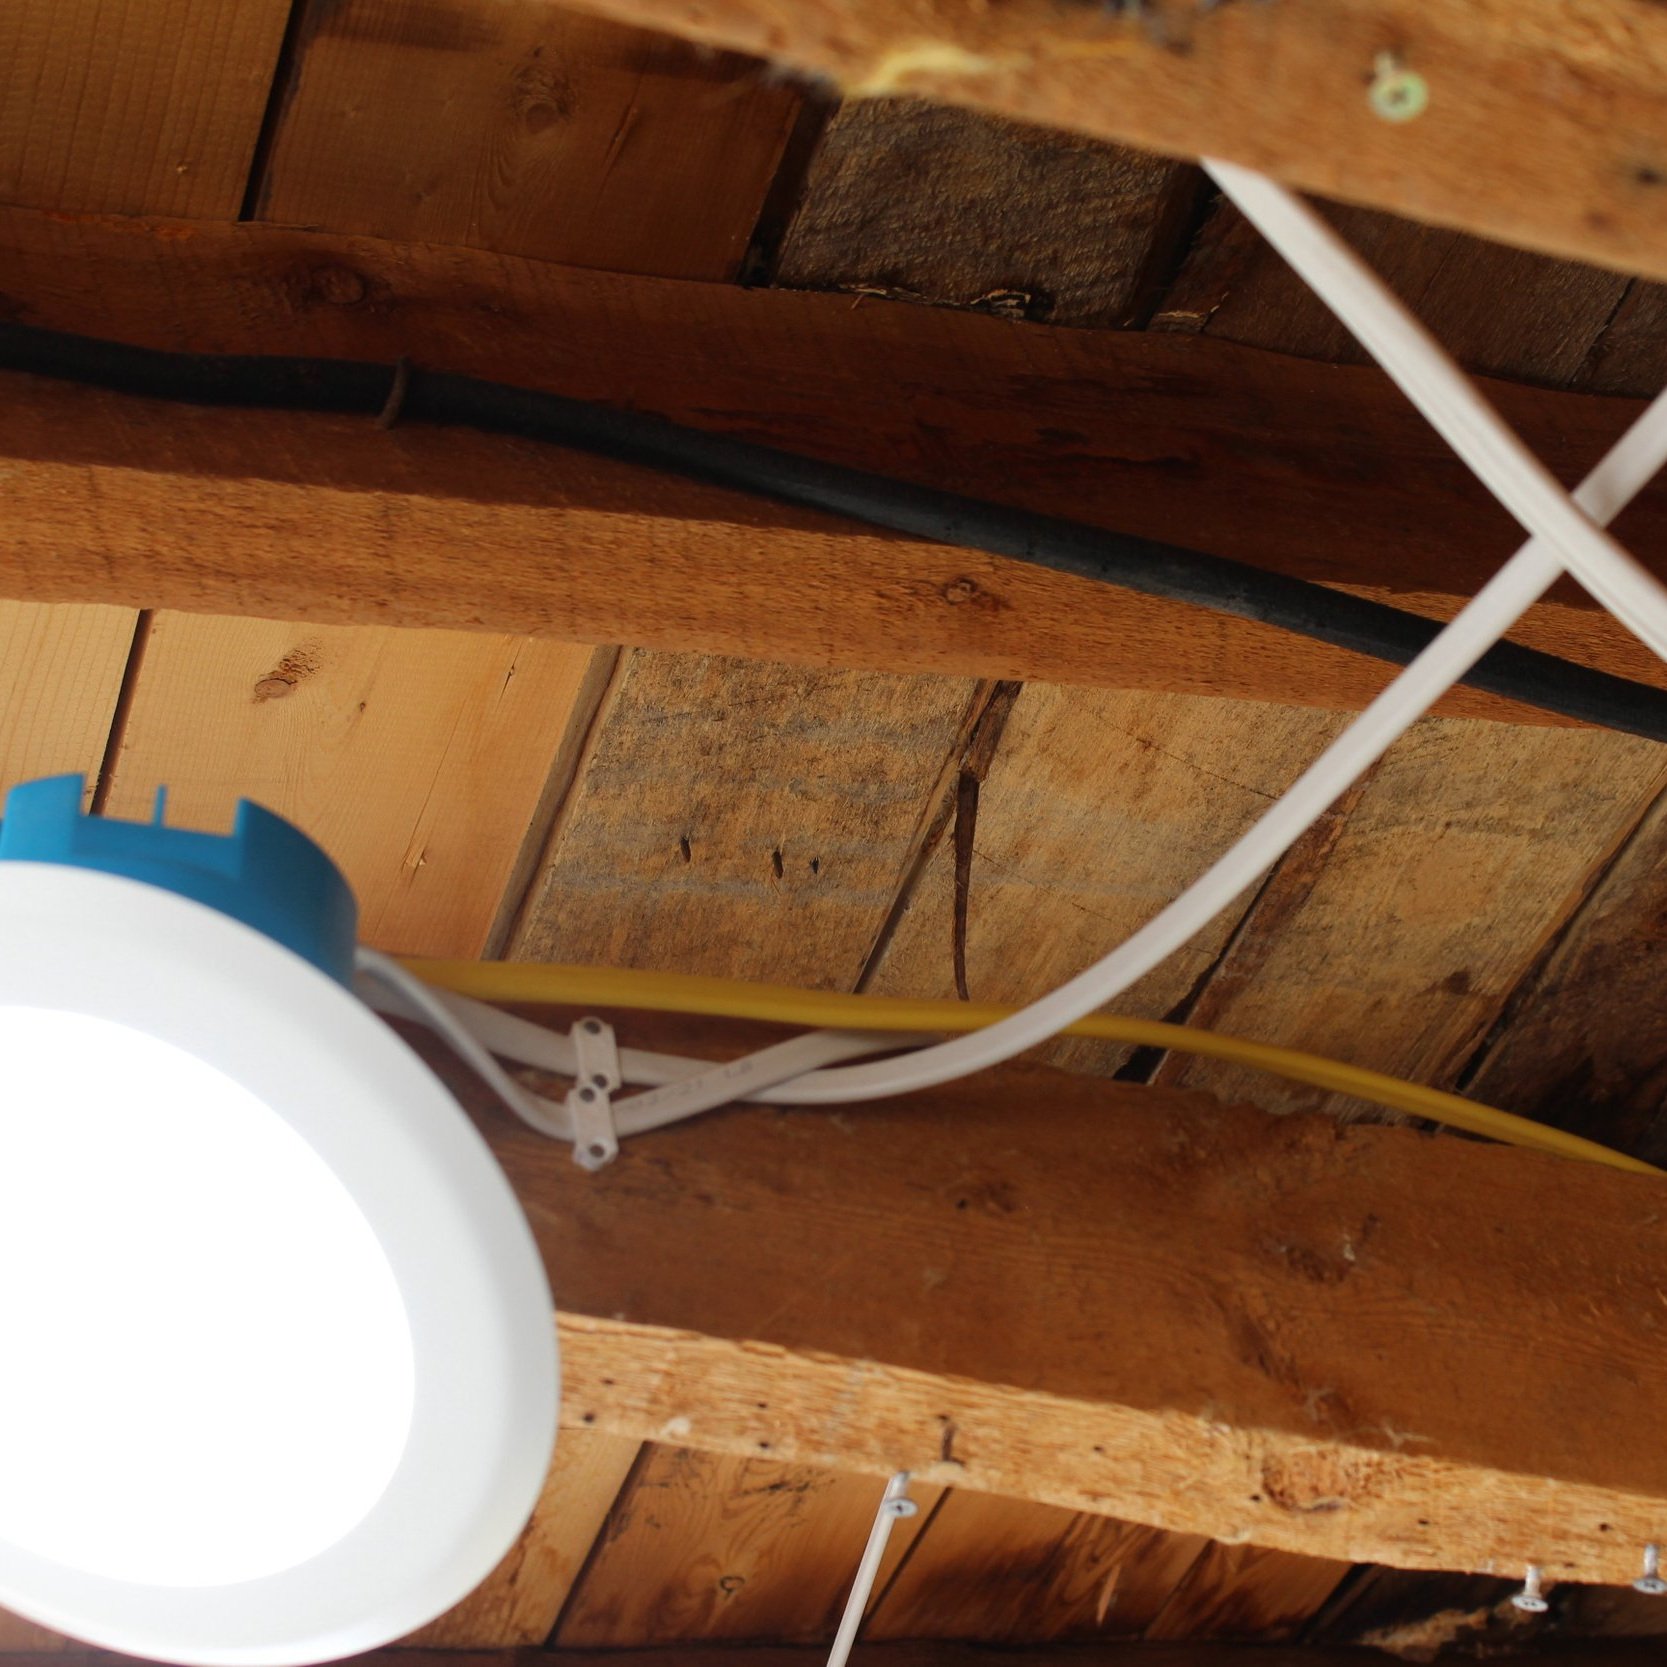
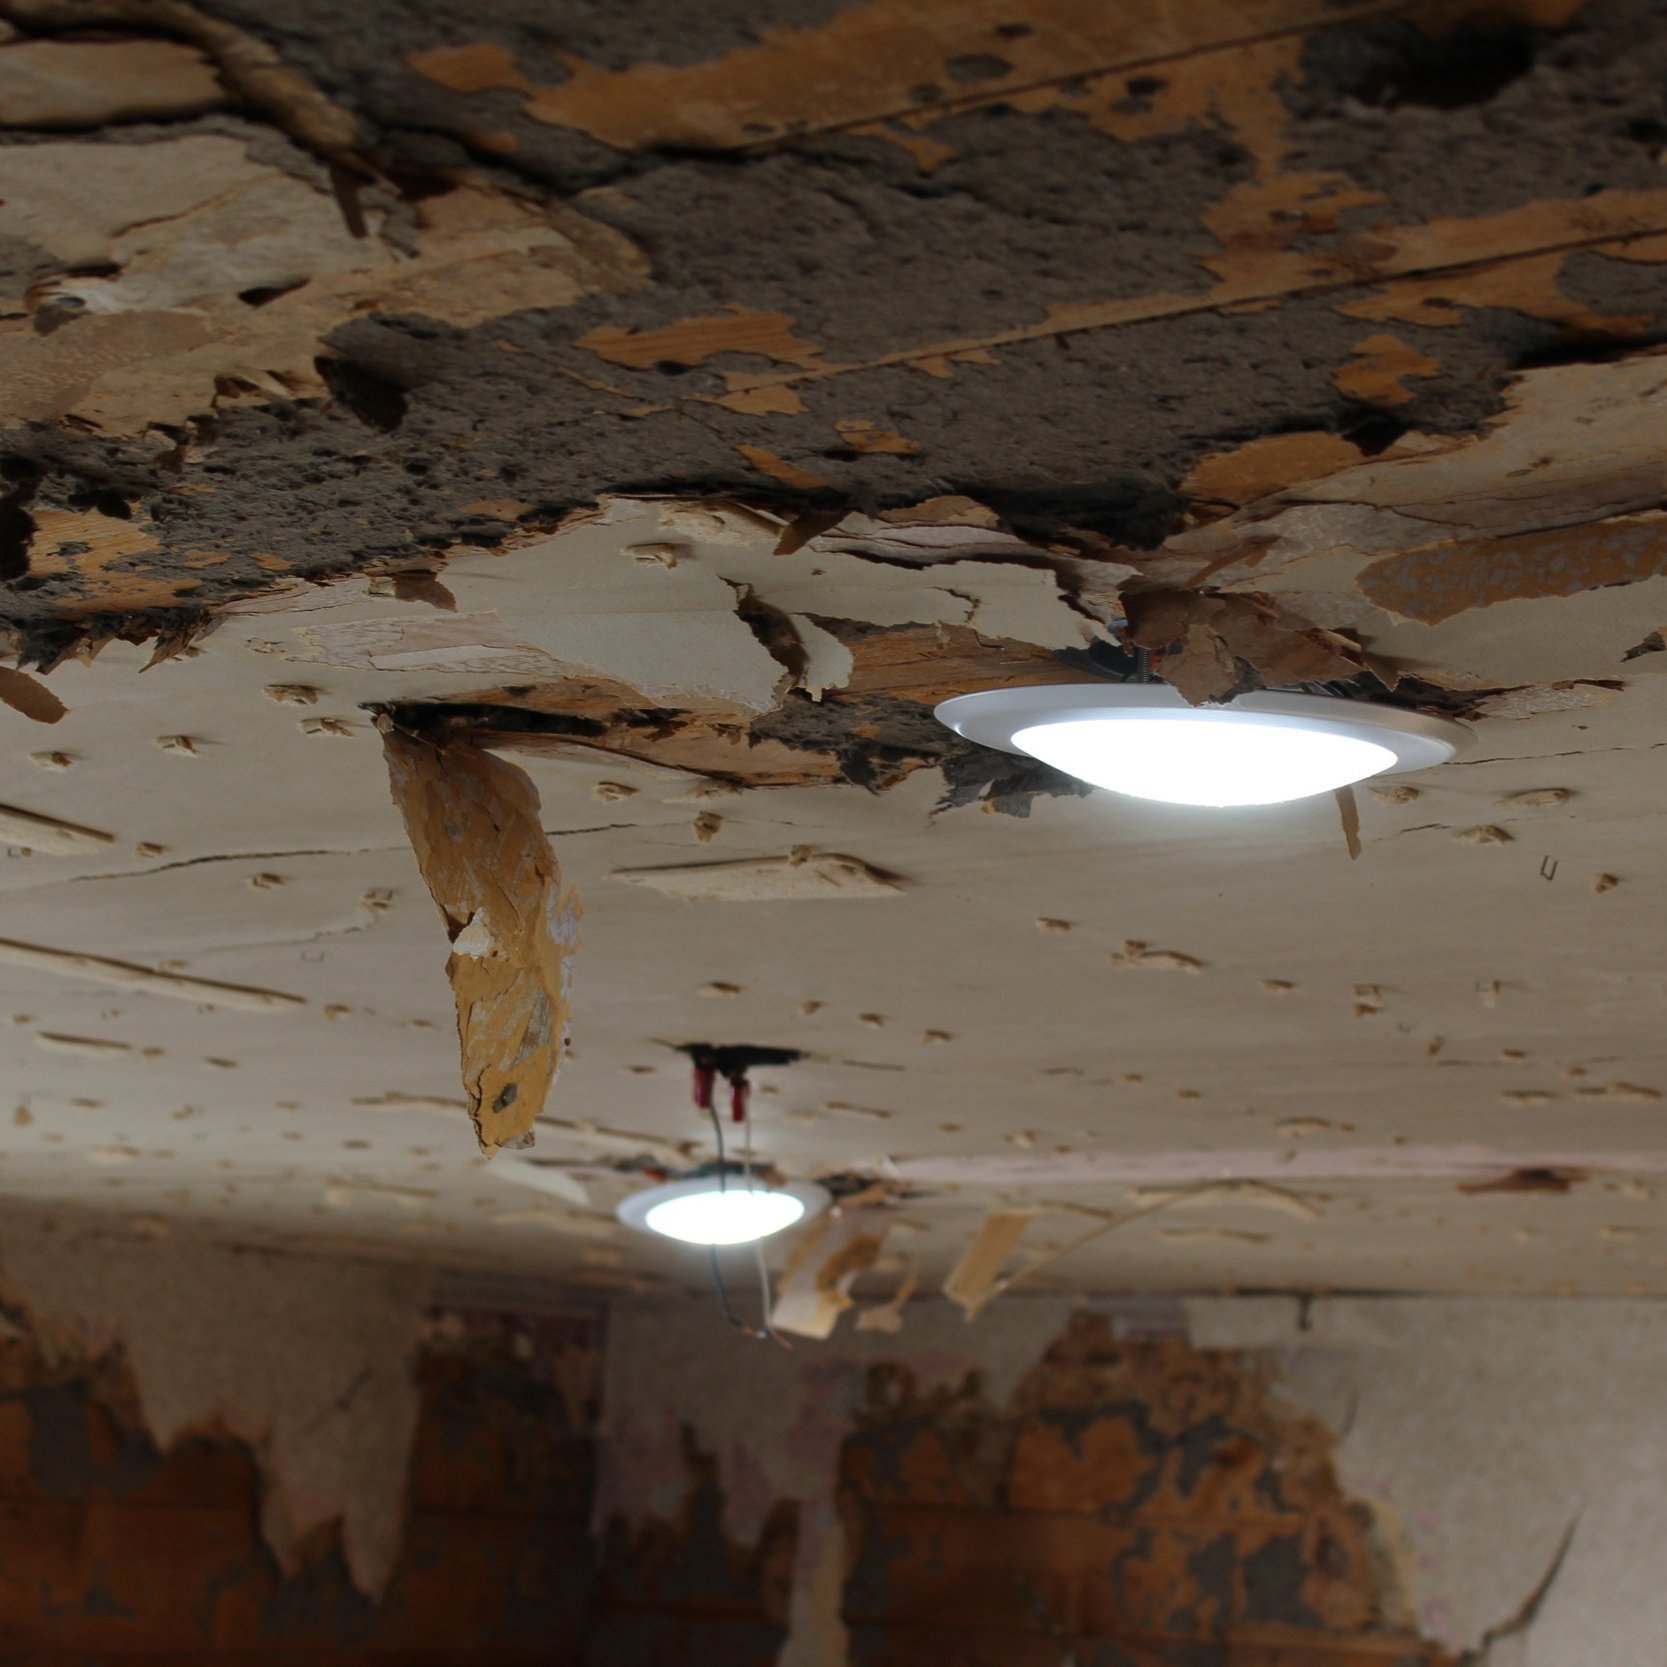
One of the very first issues we ran into (which affected almost all other aspects of our build and renovation project) was Covid-related shortages. Our small hometown didn’t have enough light boxes in the size we needed, and neither did the neighboring towns. We had friends and family run to a couple different stores for us when they were on their way up for a visit, and a couple relatives had extras left over from various builds and projects. It took a couple weeks, but we finally got enough together to start installing lights throughout the house.
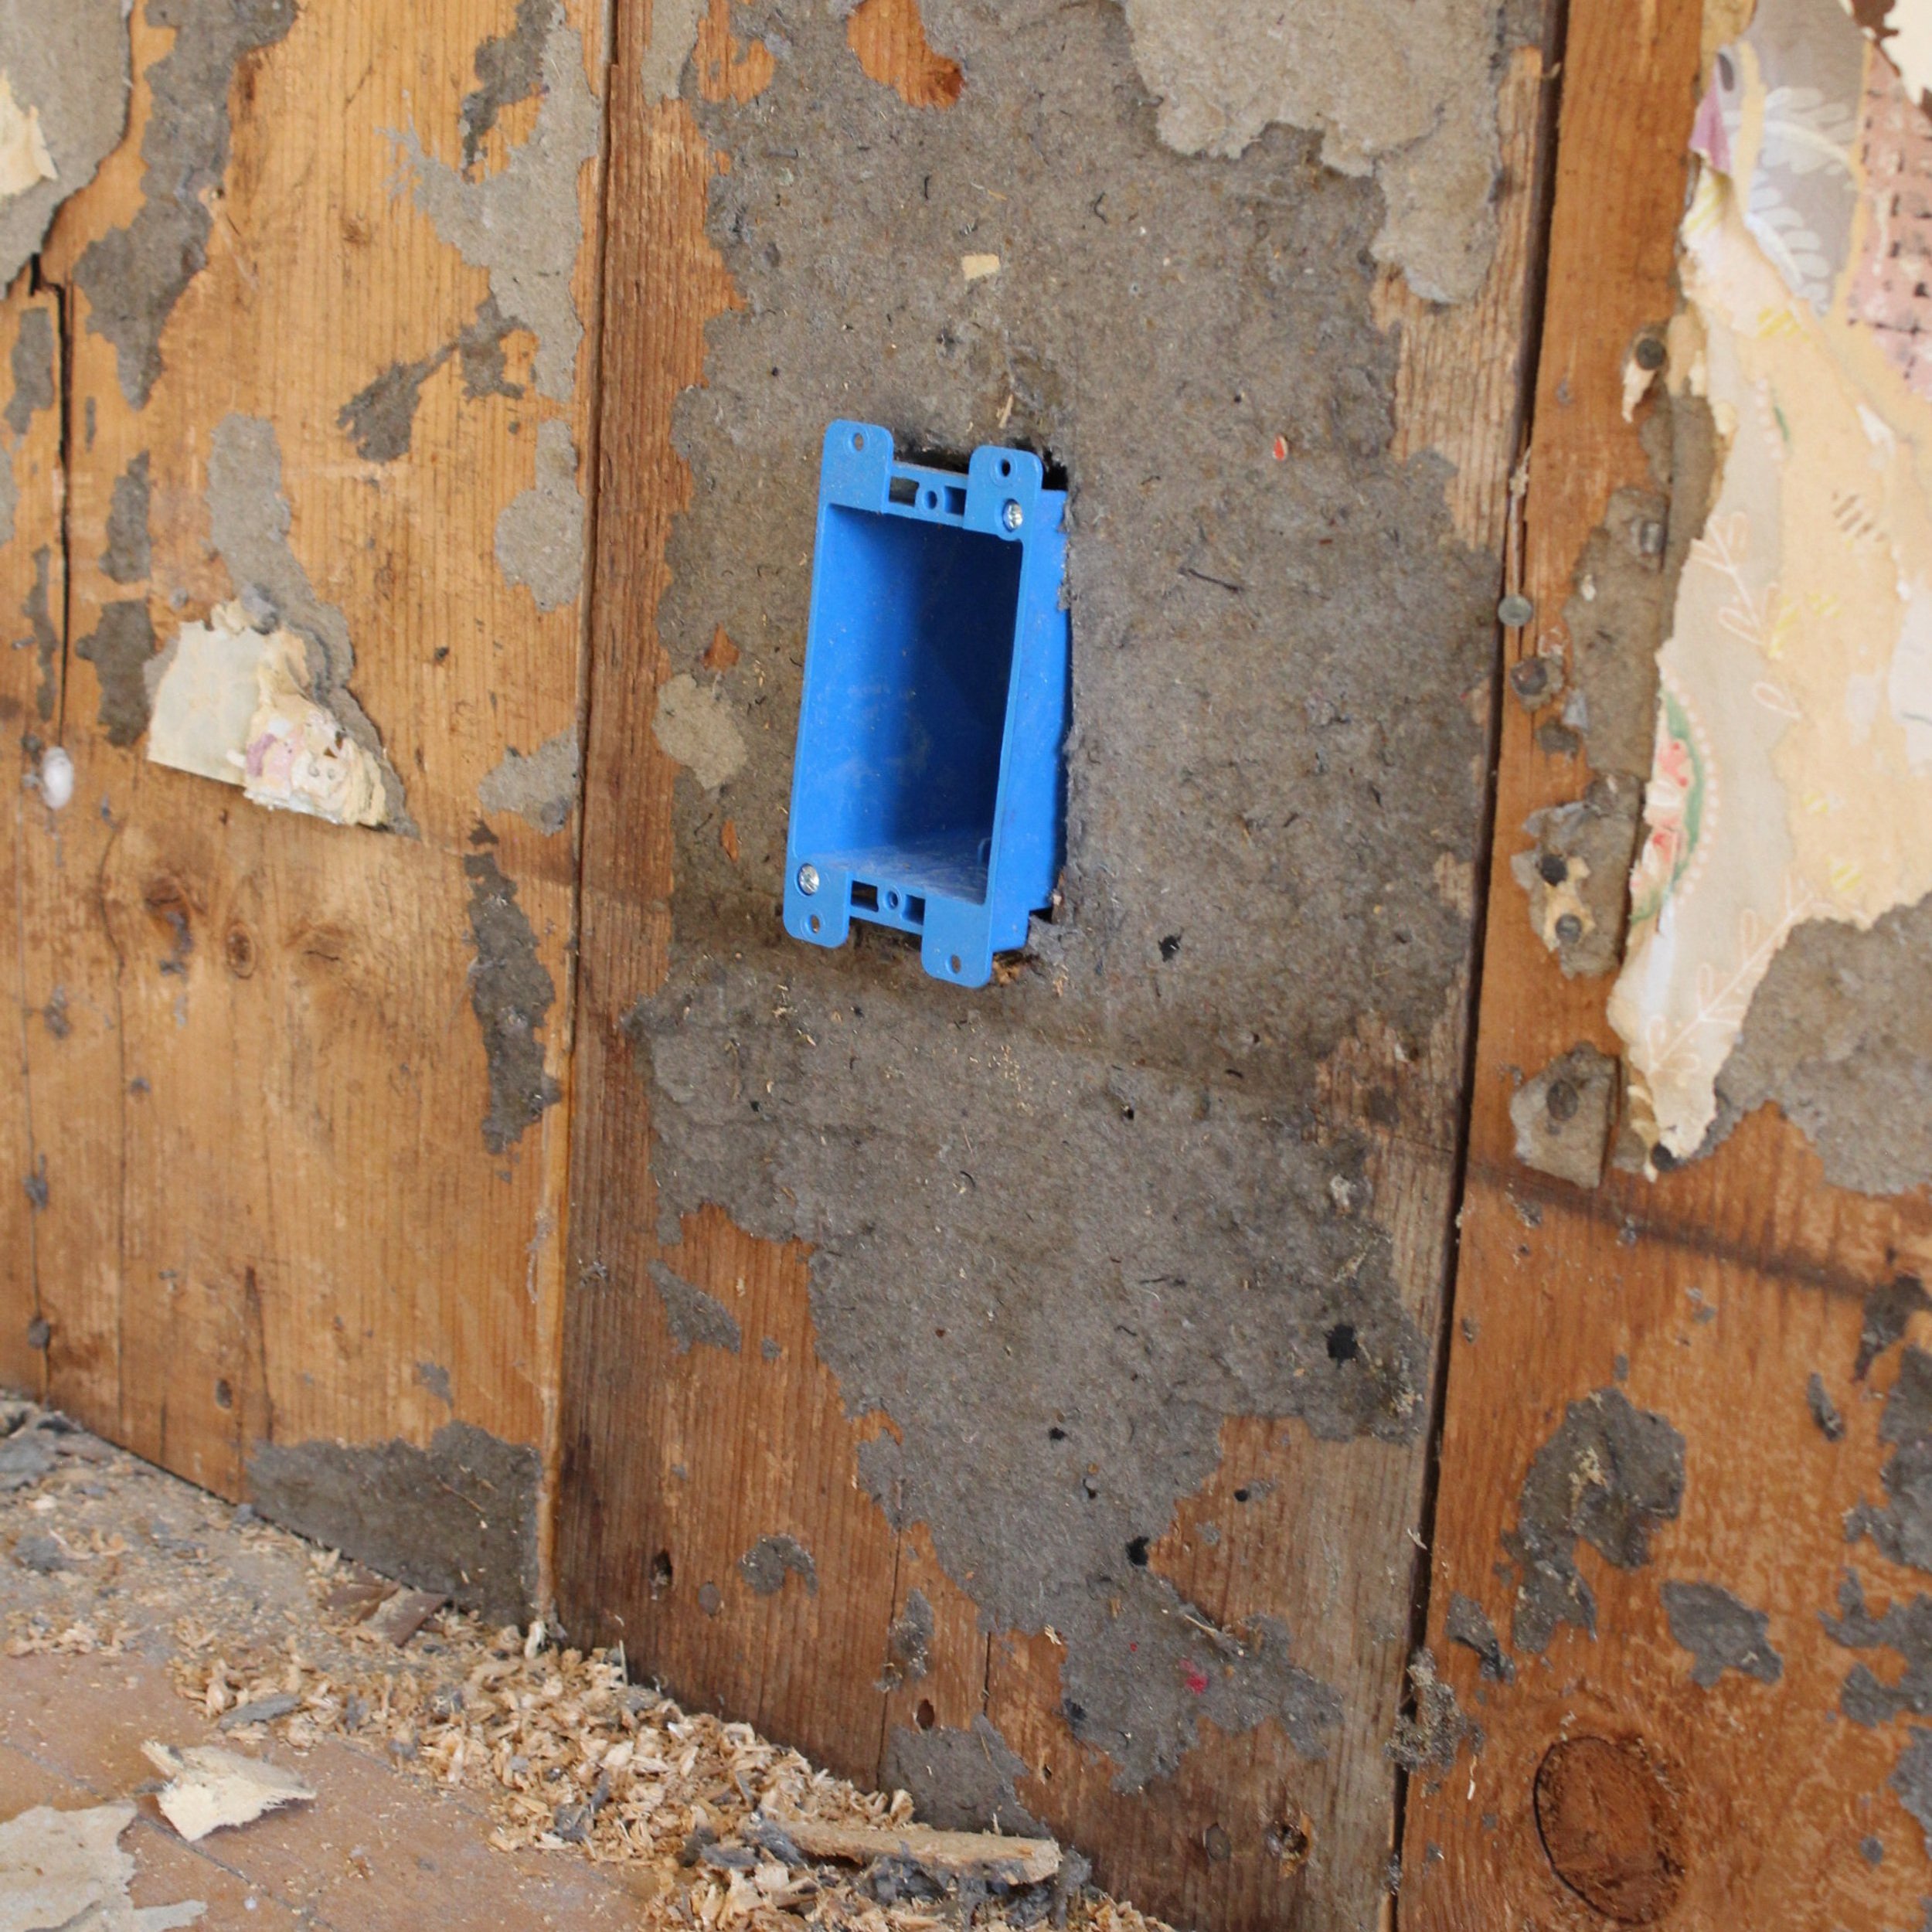
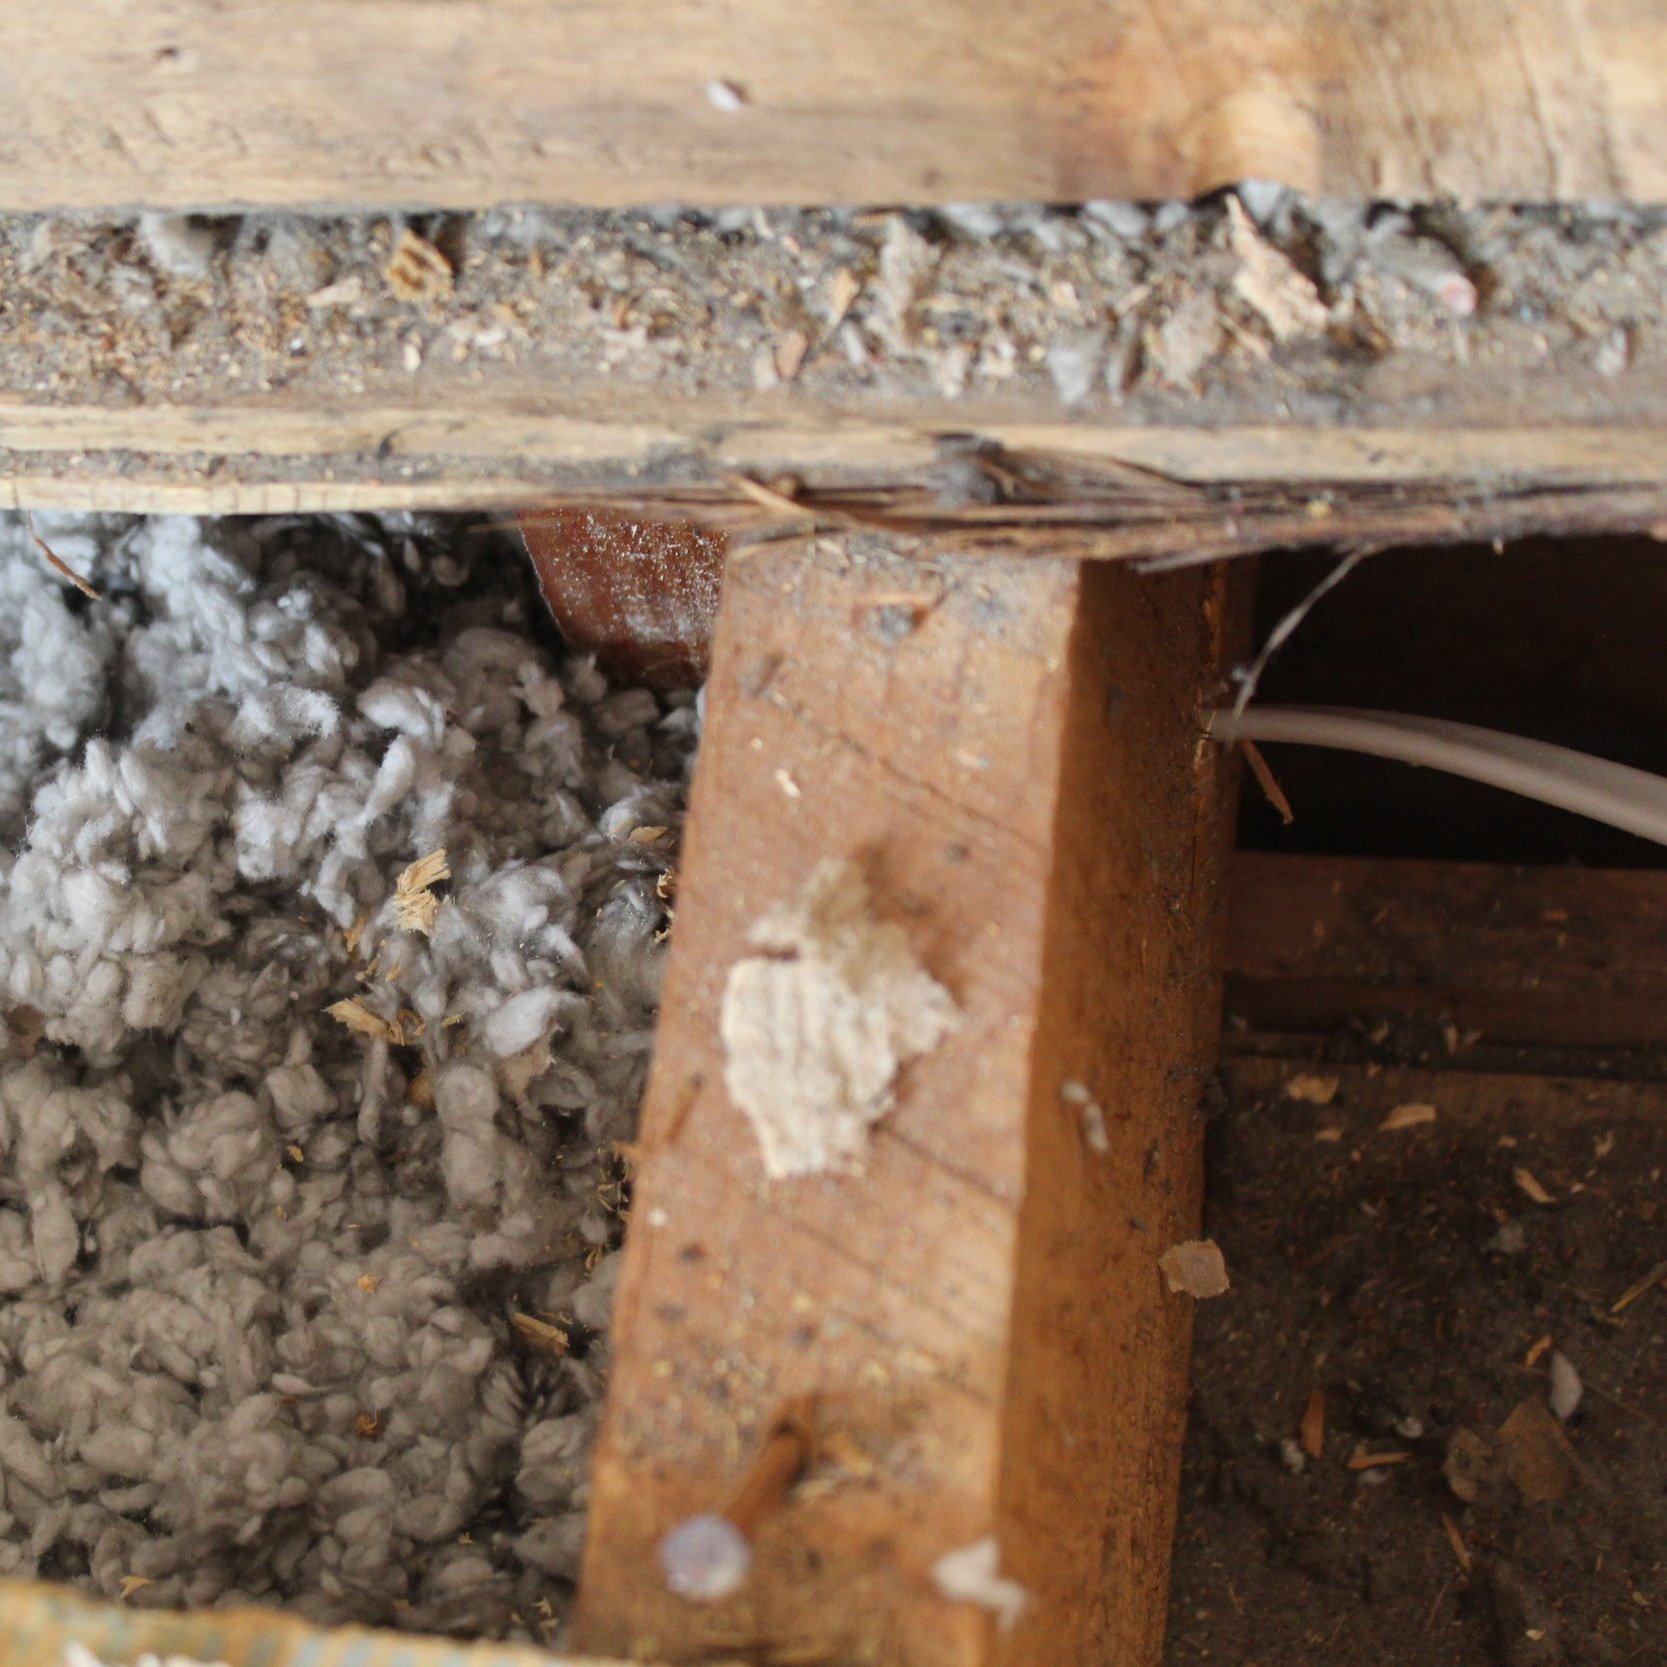
Once we figured out we were going to have to re-wire the whole house, we had to figure out just how to do that. Most of the main house was ship lap, and we wanted to keep and restore it. Behind the shiplap was blown-in insulation. Taking the boards off the walls to re-wire meant risking cracking the boards and loosing all the insulation. We only took a few boards off here and there, and ran as much of the wire through openings such as the chimney hole as possible. That meant ‘fishing’ the wire in between boards, which was a tedious job.
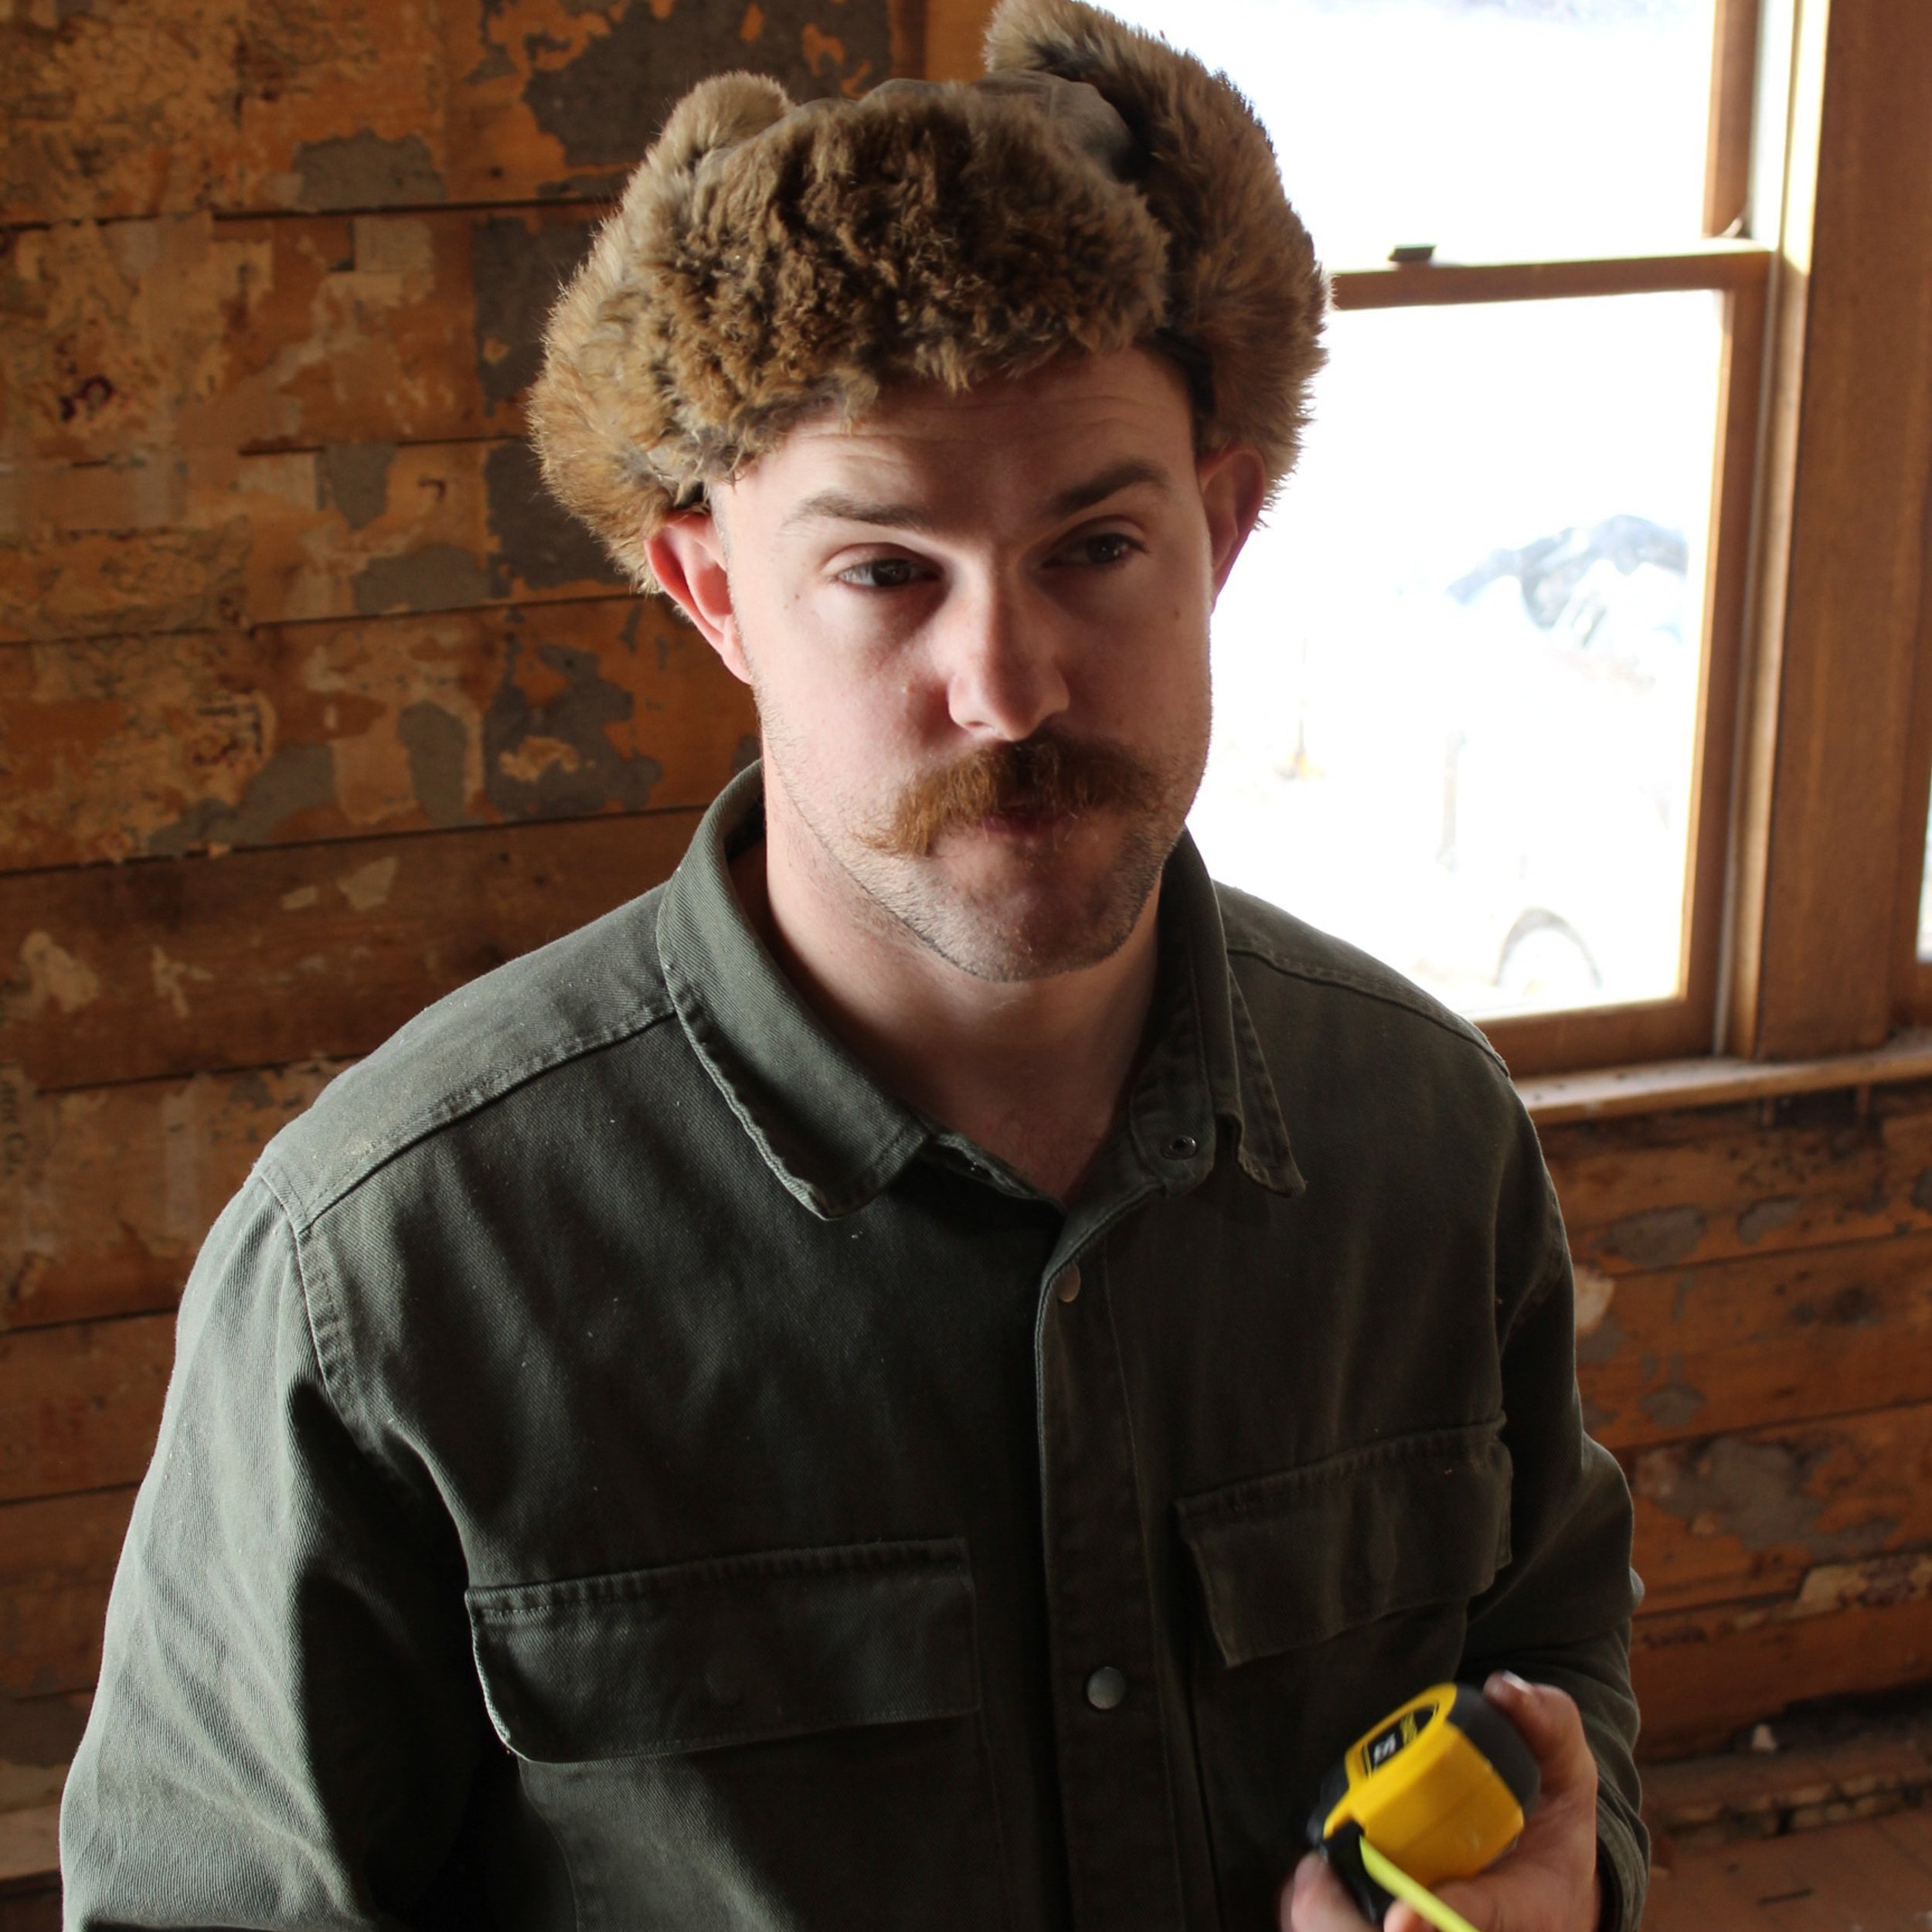
Seth’s face here says it all: how will this work? Or maybe, why am I doing this? There were plenty of times where we felt like we had bitten off more than we could chew (honestly, we still feel that way as there is still plenty of work left). He made me wait to post any pictures of the electrical until we had passed the inspection.
It’s not pictured here, but we had to move the breaker box that came with the house (we built a mechanical/utility room in the basement that we added to the house). Halfway through wiring, Seth realized he didn’t have enough breakers (because of the added basement) and we had to add a sub-panel box and move all the basement electrical to that sub-panel box (which was a majority of the lines already ran). We also have an outdoor breaker box over by the camper, so Seth has gotten in plenty of practice with electrical work the last few months.
He’s said the hardest part was probably man-handling the wire from the meter to the house box (and outdoor box). It was a beast of a wire, as it was run over a hundred feet from the meter to the RV which meant it had to be super thick (does 4/0 mean anything to you?).

We live in northern Minnesota, which adds its own set of difficulties and problems. The race against the coming snowstorms didn’t just apply to weather-proofing the house. We also had to trench in our wires which we managed to do in time. What we didn’t account for were the grounding rods. By the time we got them (and got them in) the ground was frozen. A drill and a hammer solved that problem, but there was some breath-holding for more reasons than just the frigid air that day.
We celebrated the electrical inspection results with a trip to South Dakota and Iowa, enjoying the lack of snow and the sunshine. Since we’ve come back home, we’ve made a little more progress on the house. But there’s quite a bit that has to wait until the weather warms up.