Weather-proofing Our House
With snow possible by Halloween in Northern Minnesota, we were racing against the calendar to get our house weather-proof before winter.

In August, we were able to start seriously working on the house. Seth had wrapped up the season at camp and his schedule of events with Engage Outreach Ministries slowed down. With the camper parked on our land, any down time was able to be spent on the house. However, there was a lot of learning and researching that was necessary as neither Seth nor I had ever tackled a project like this. And while I have a family of construction professionals, moving an old farmhouse and adding a basement underneath was outside of everyone’s expertise.
The house was already sheathed, so the first step was to finish framing out the basement interior walls, windows, and door. After some research, we figured out that the way we framed the south window on the basement could accommodate an exterior door, and so we decided to make the basement a walk out. This has made it so much easier to work on the house, as we don’t have exterior access to the main house yet.The white door has been moved to the north entrance to the main house, and we were able to get a glass door for the basement so we don’t lose that view of our south tree line.
Using the basement as a workshop space has been incredible, as it is now protected from the elements. Seth is glad he tackled this project in August/September, while the weather was nice. We were able to make a few ‘big’ changes to the exterior of the house in the fall, and some of those pictures are below.
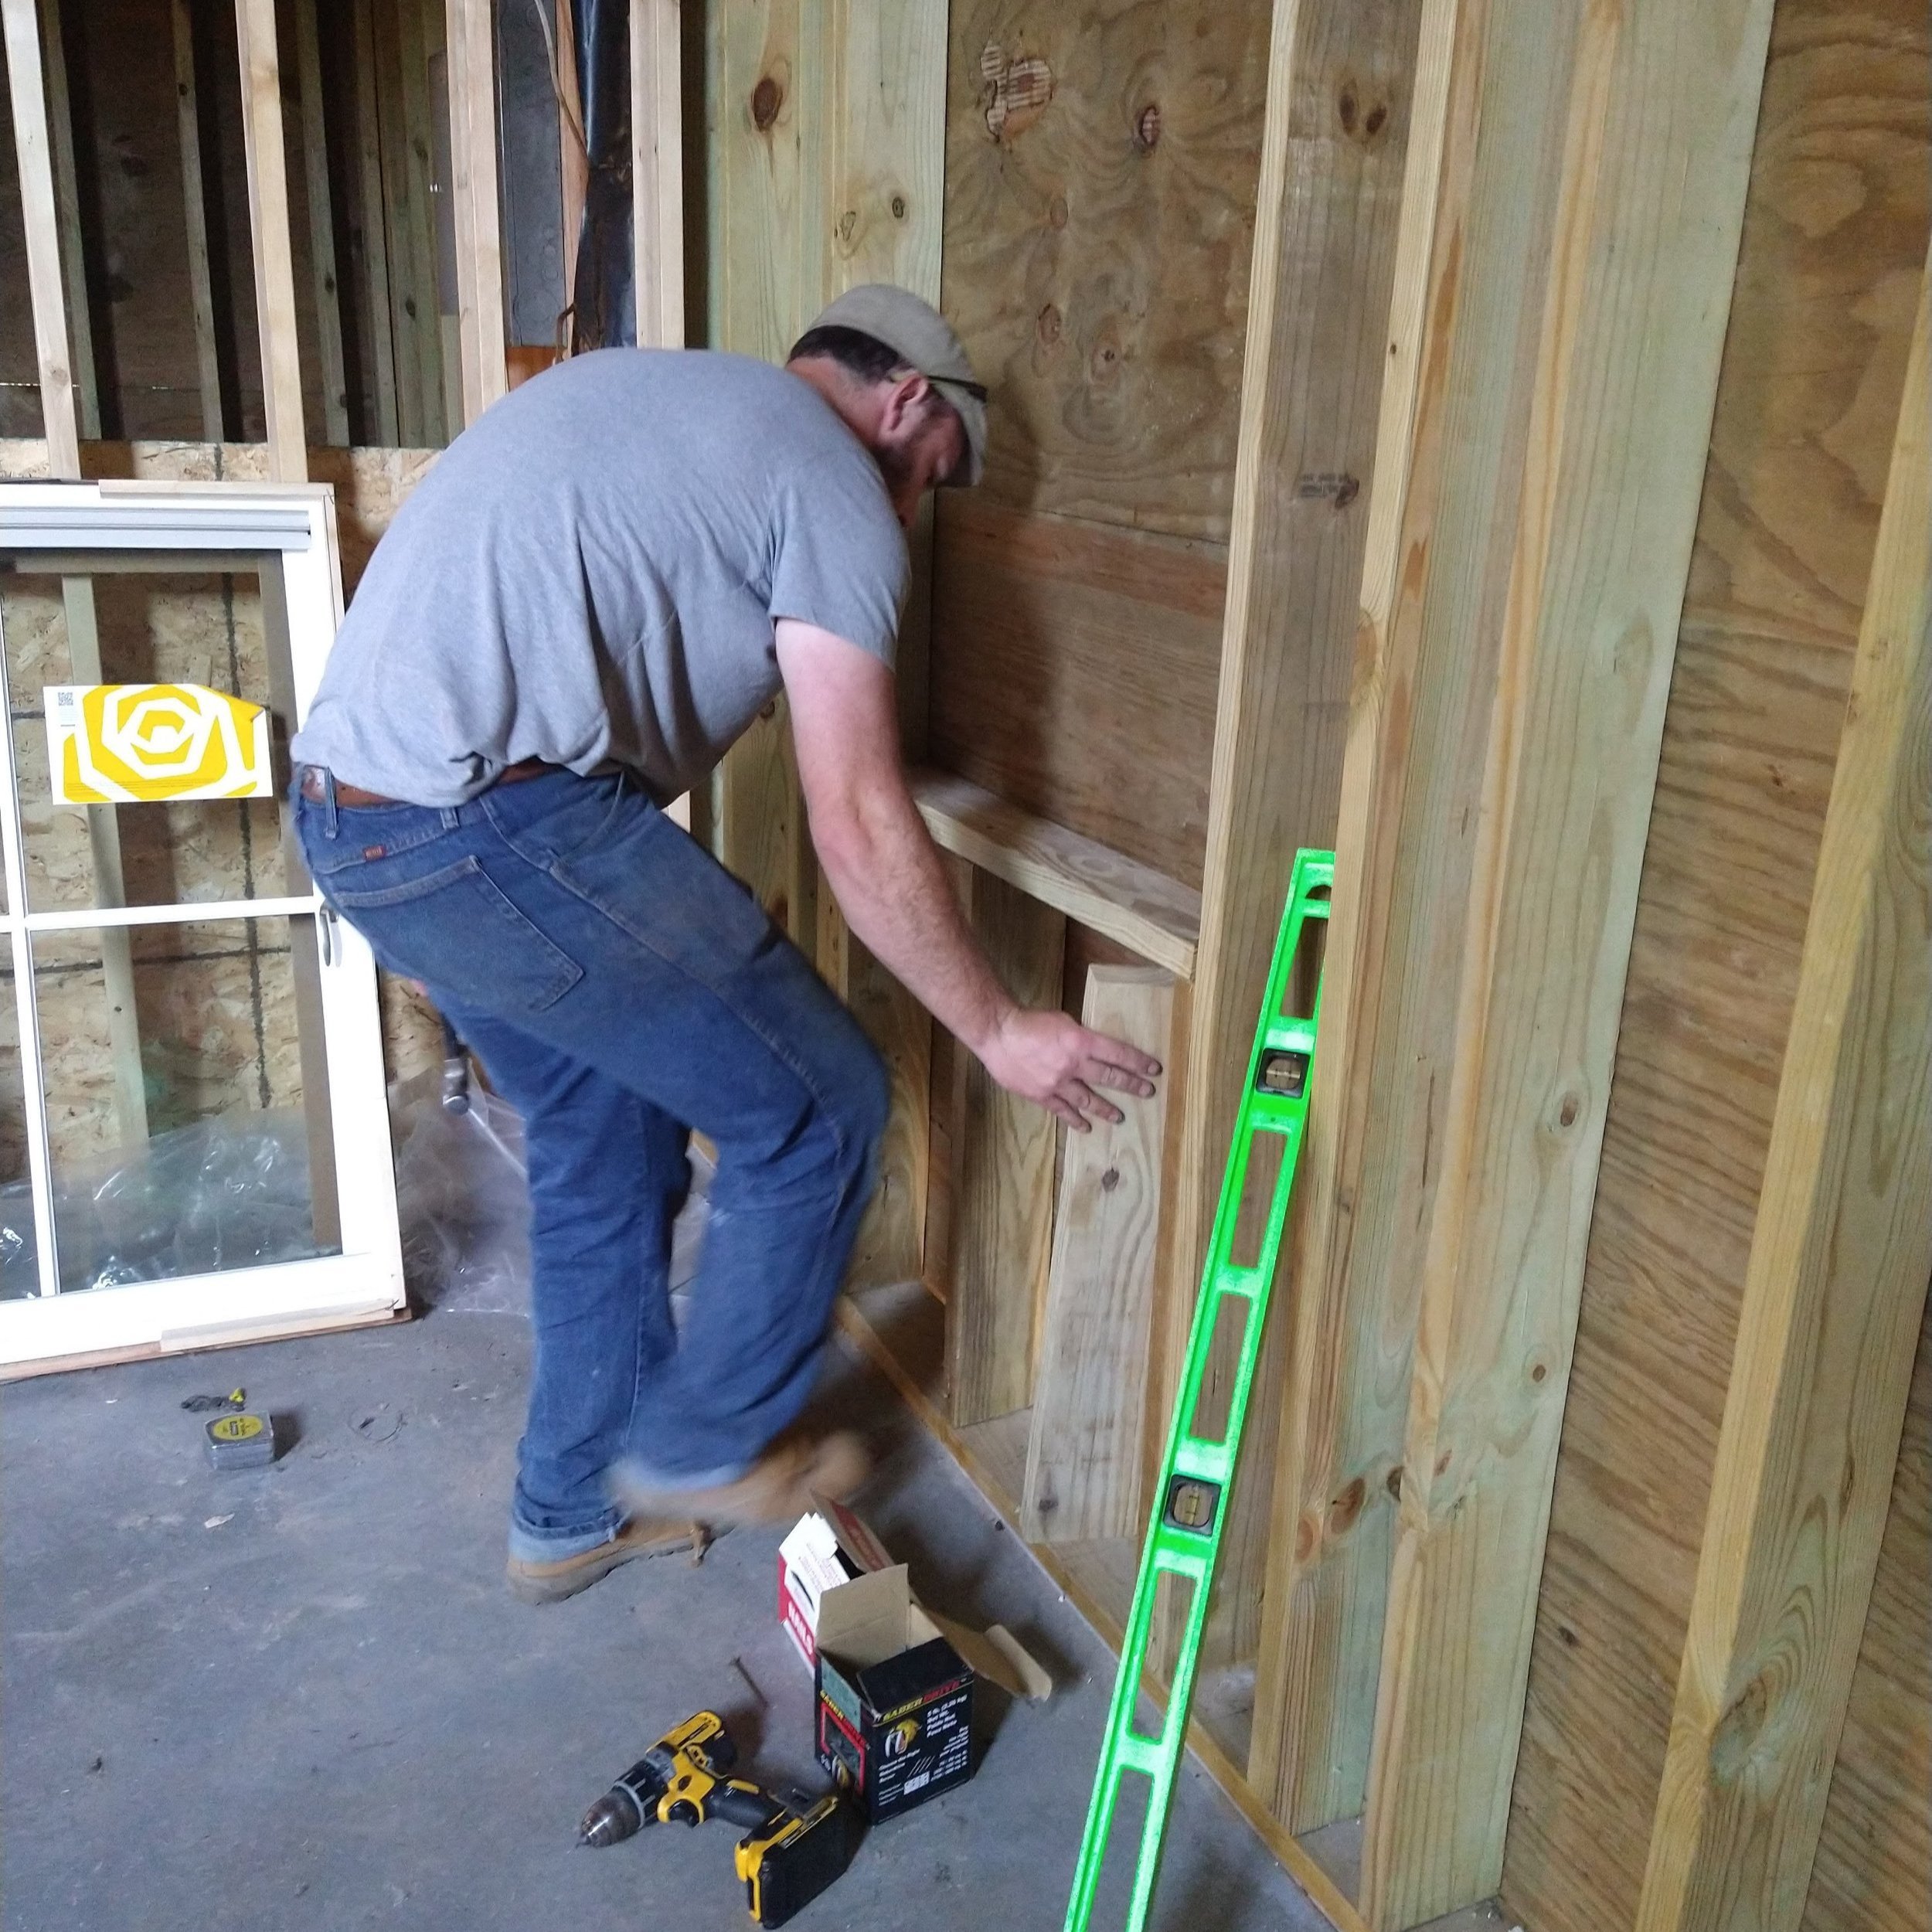
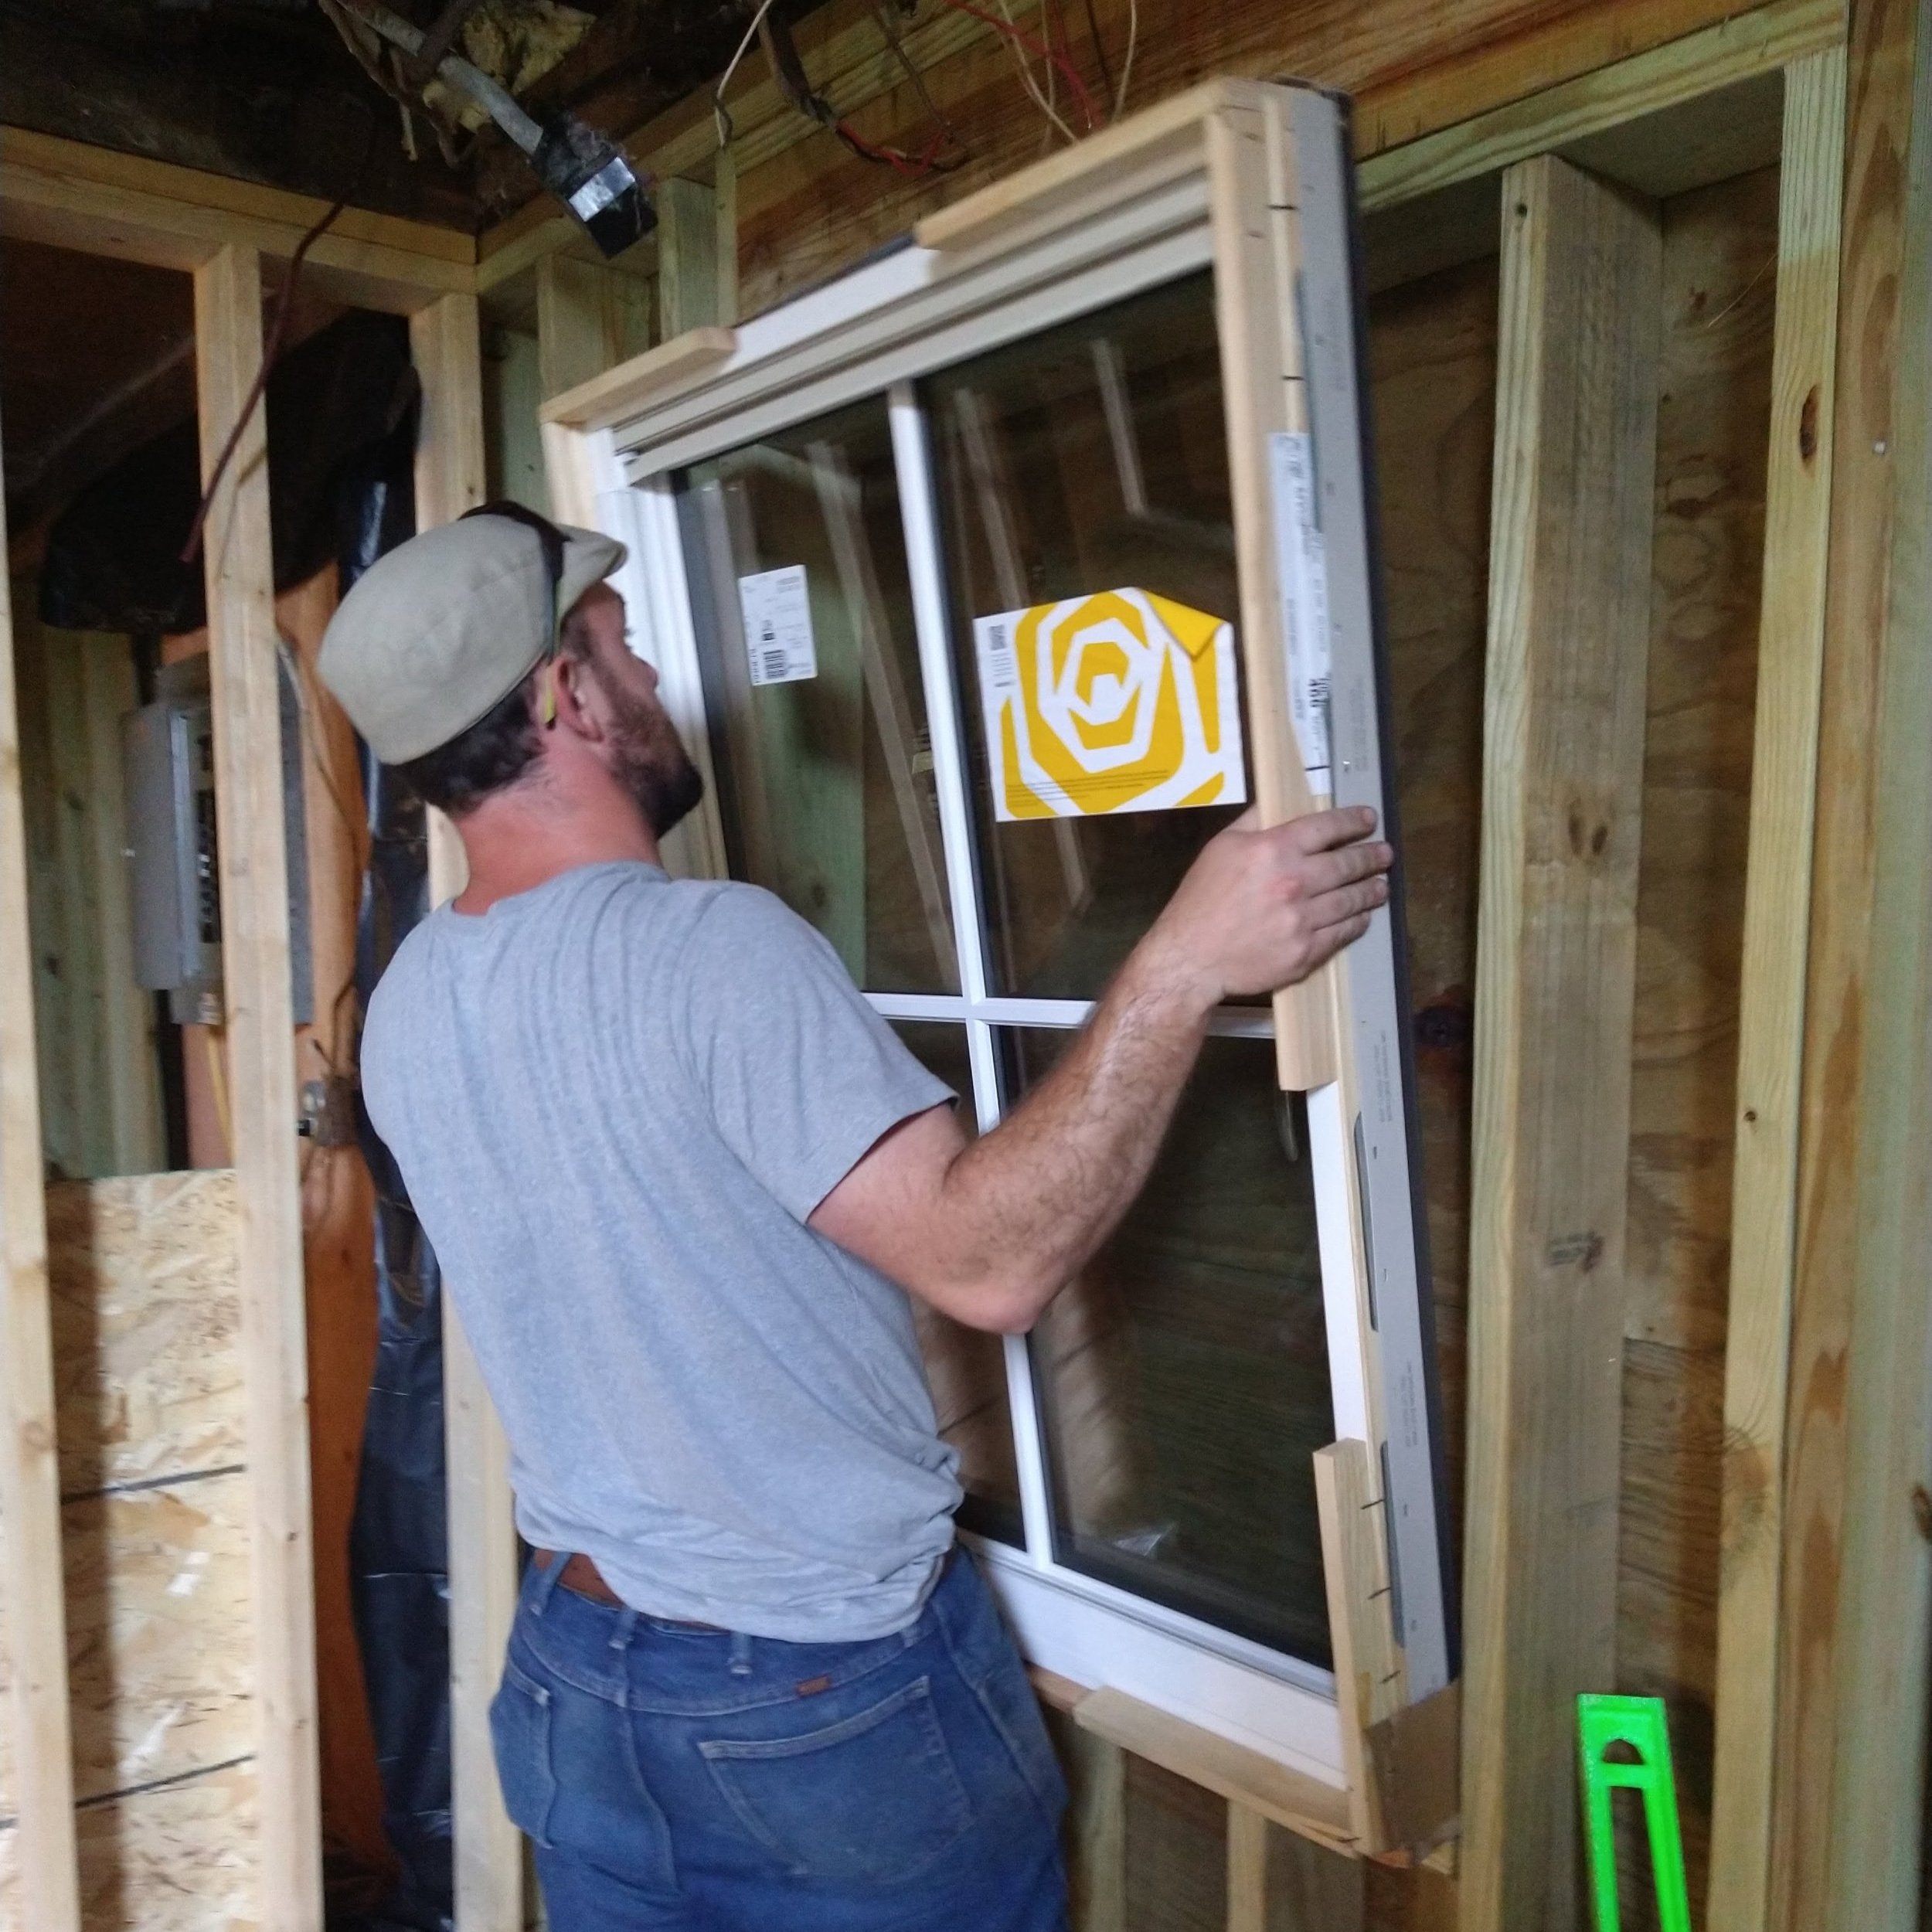
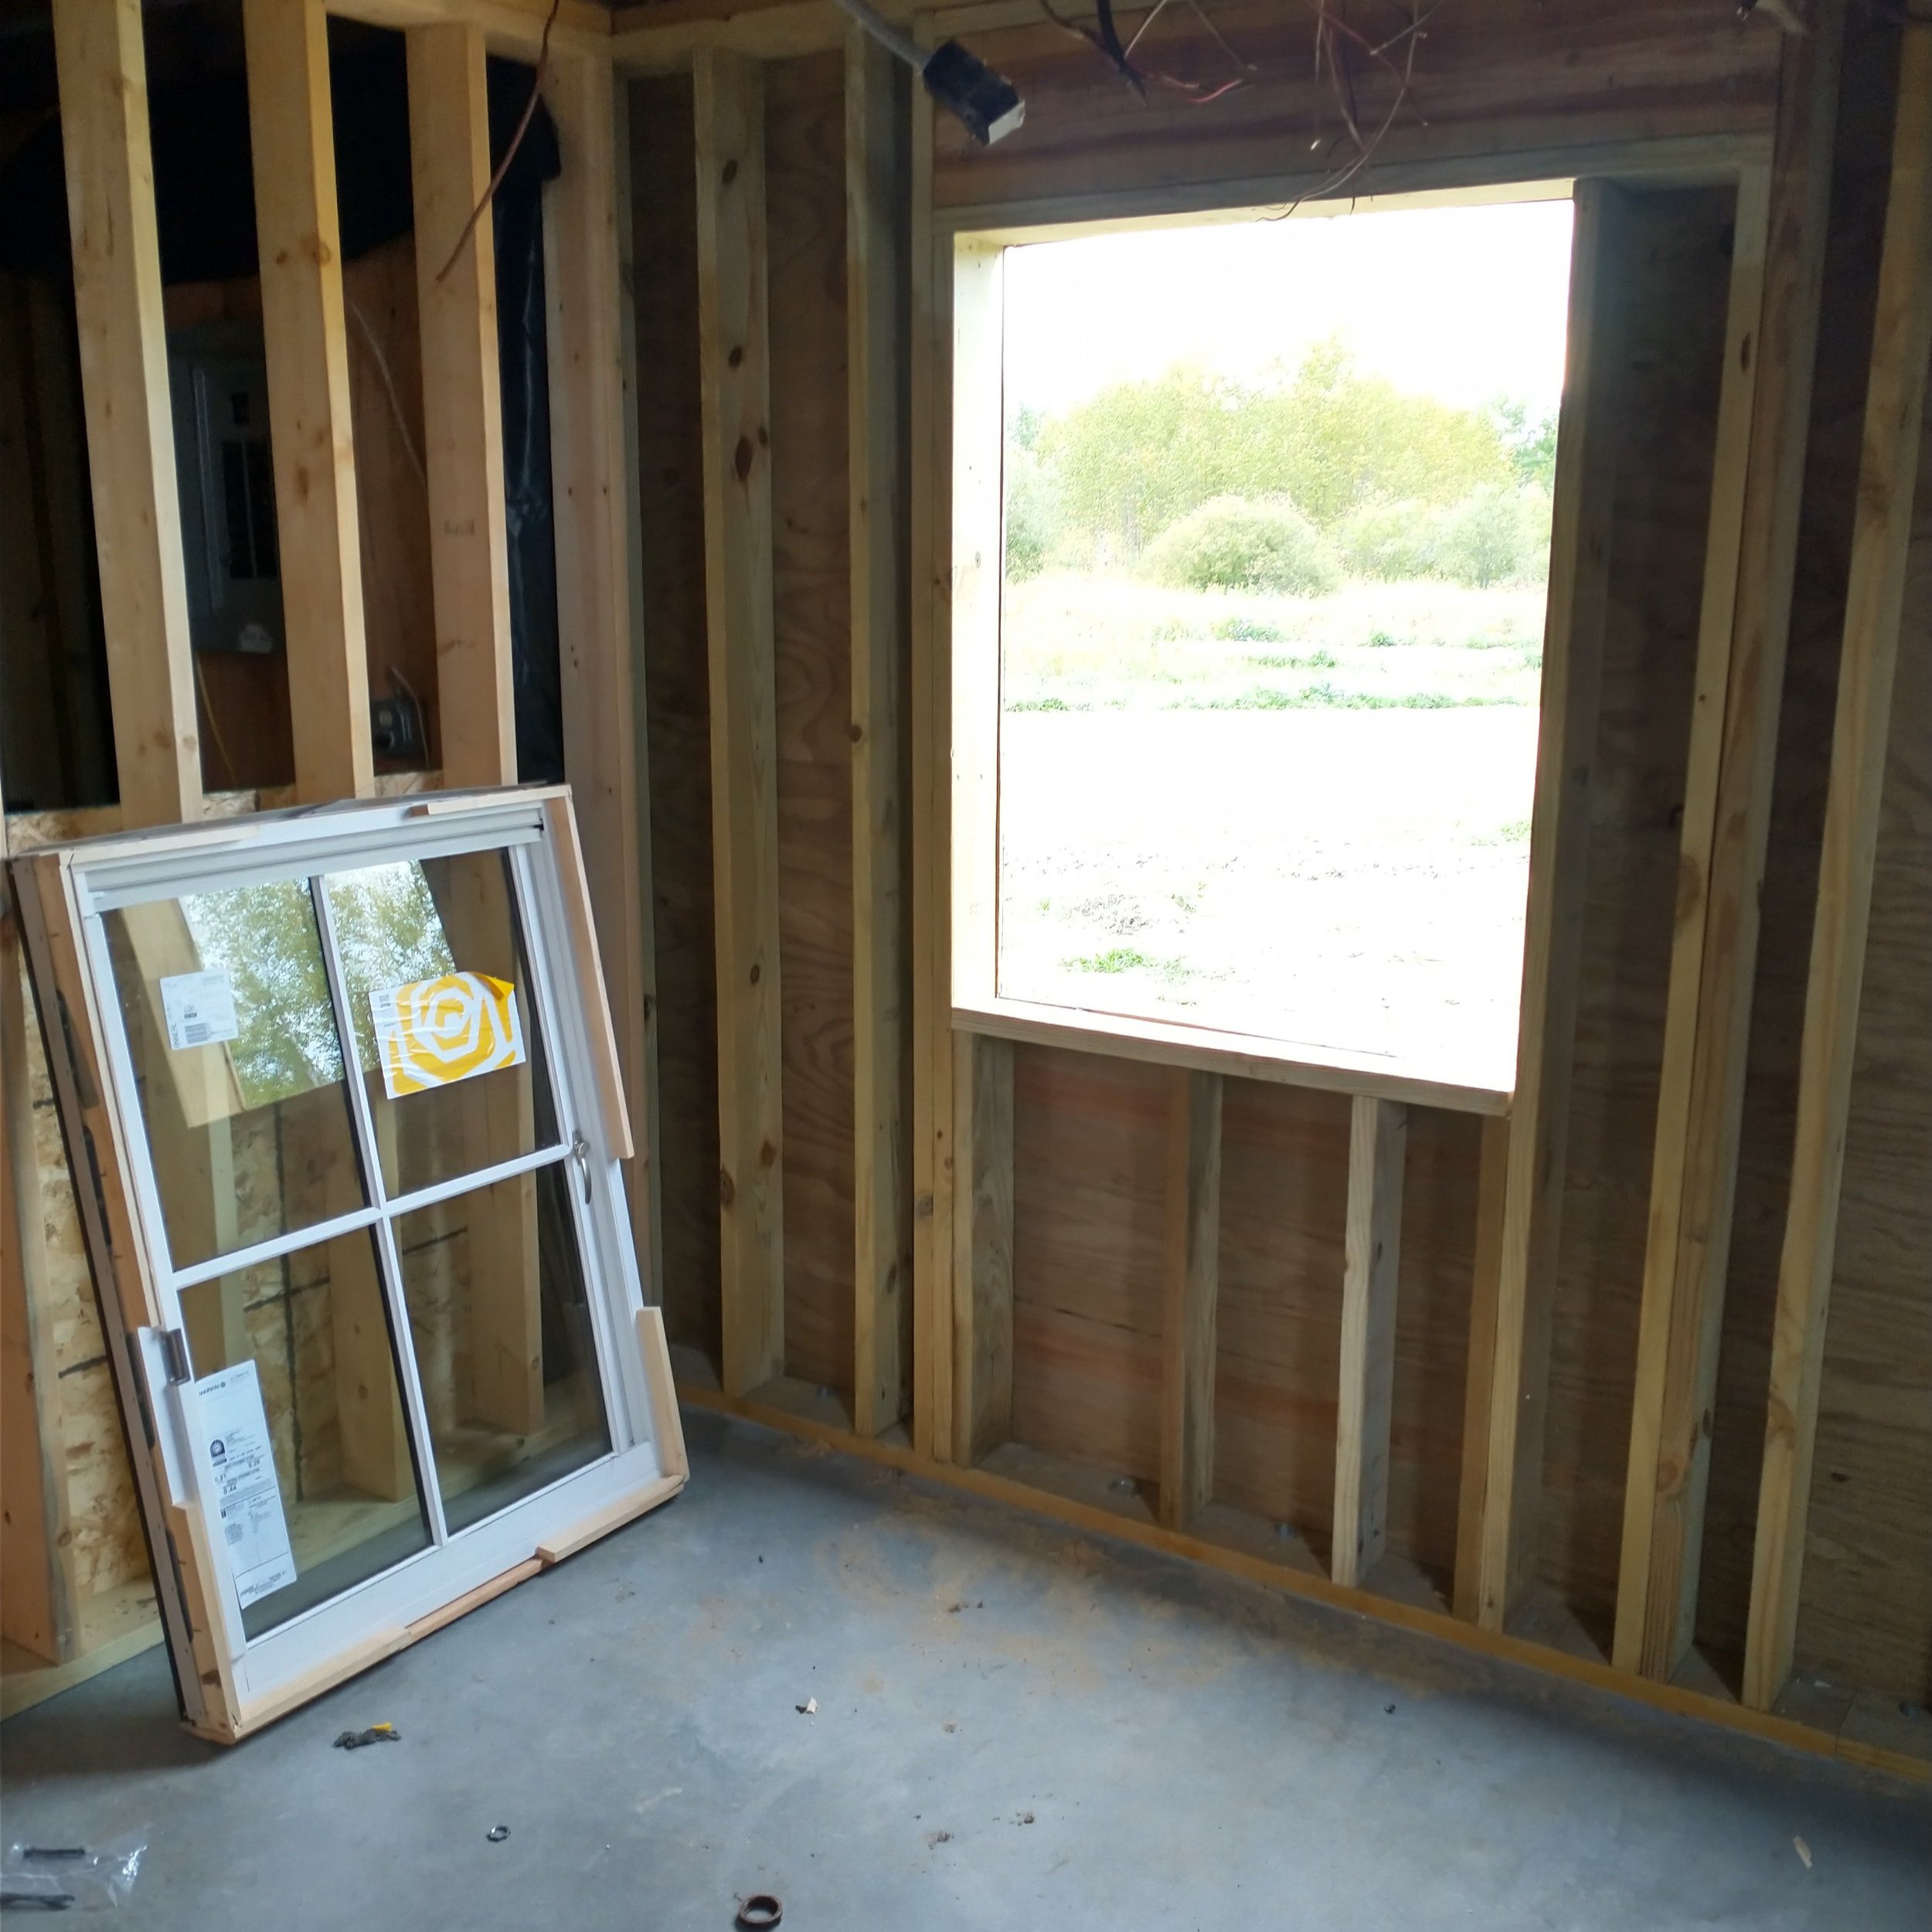
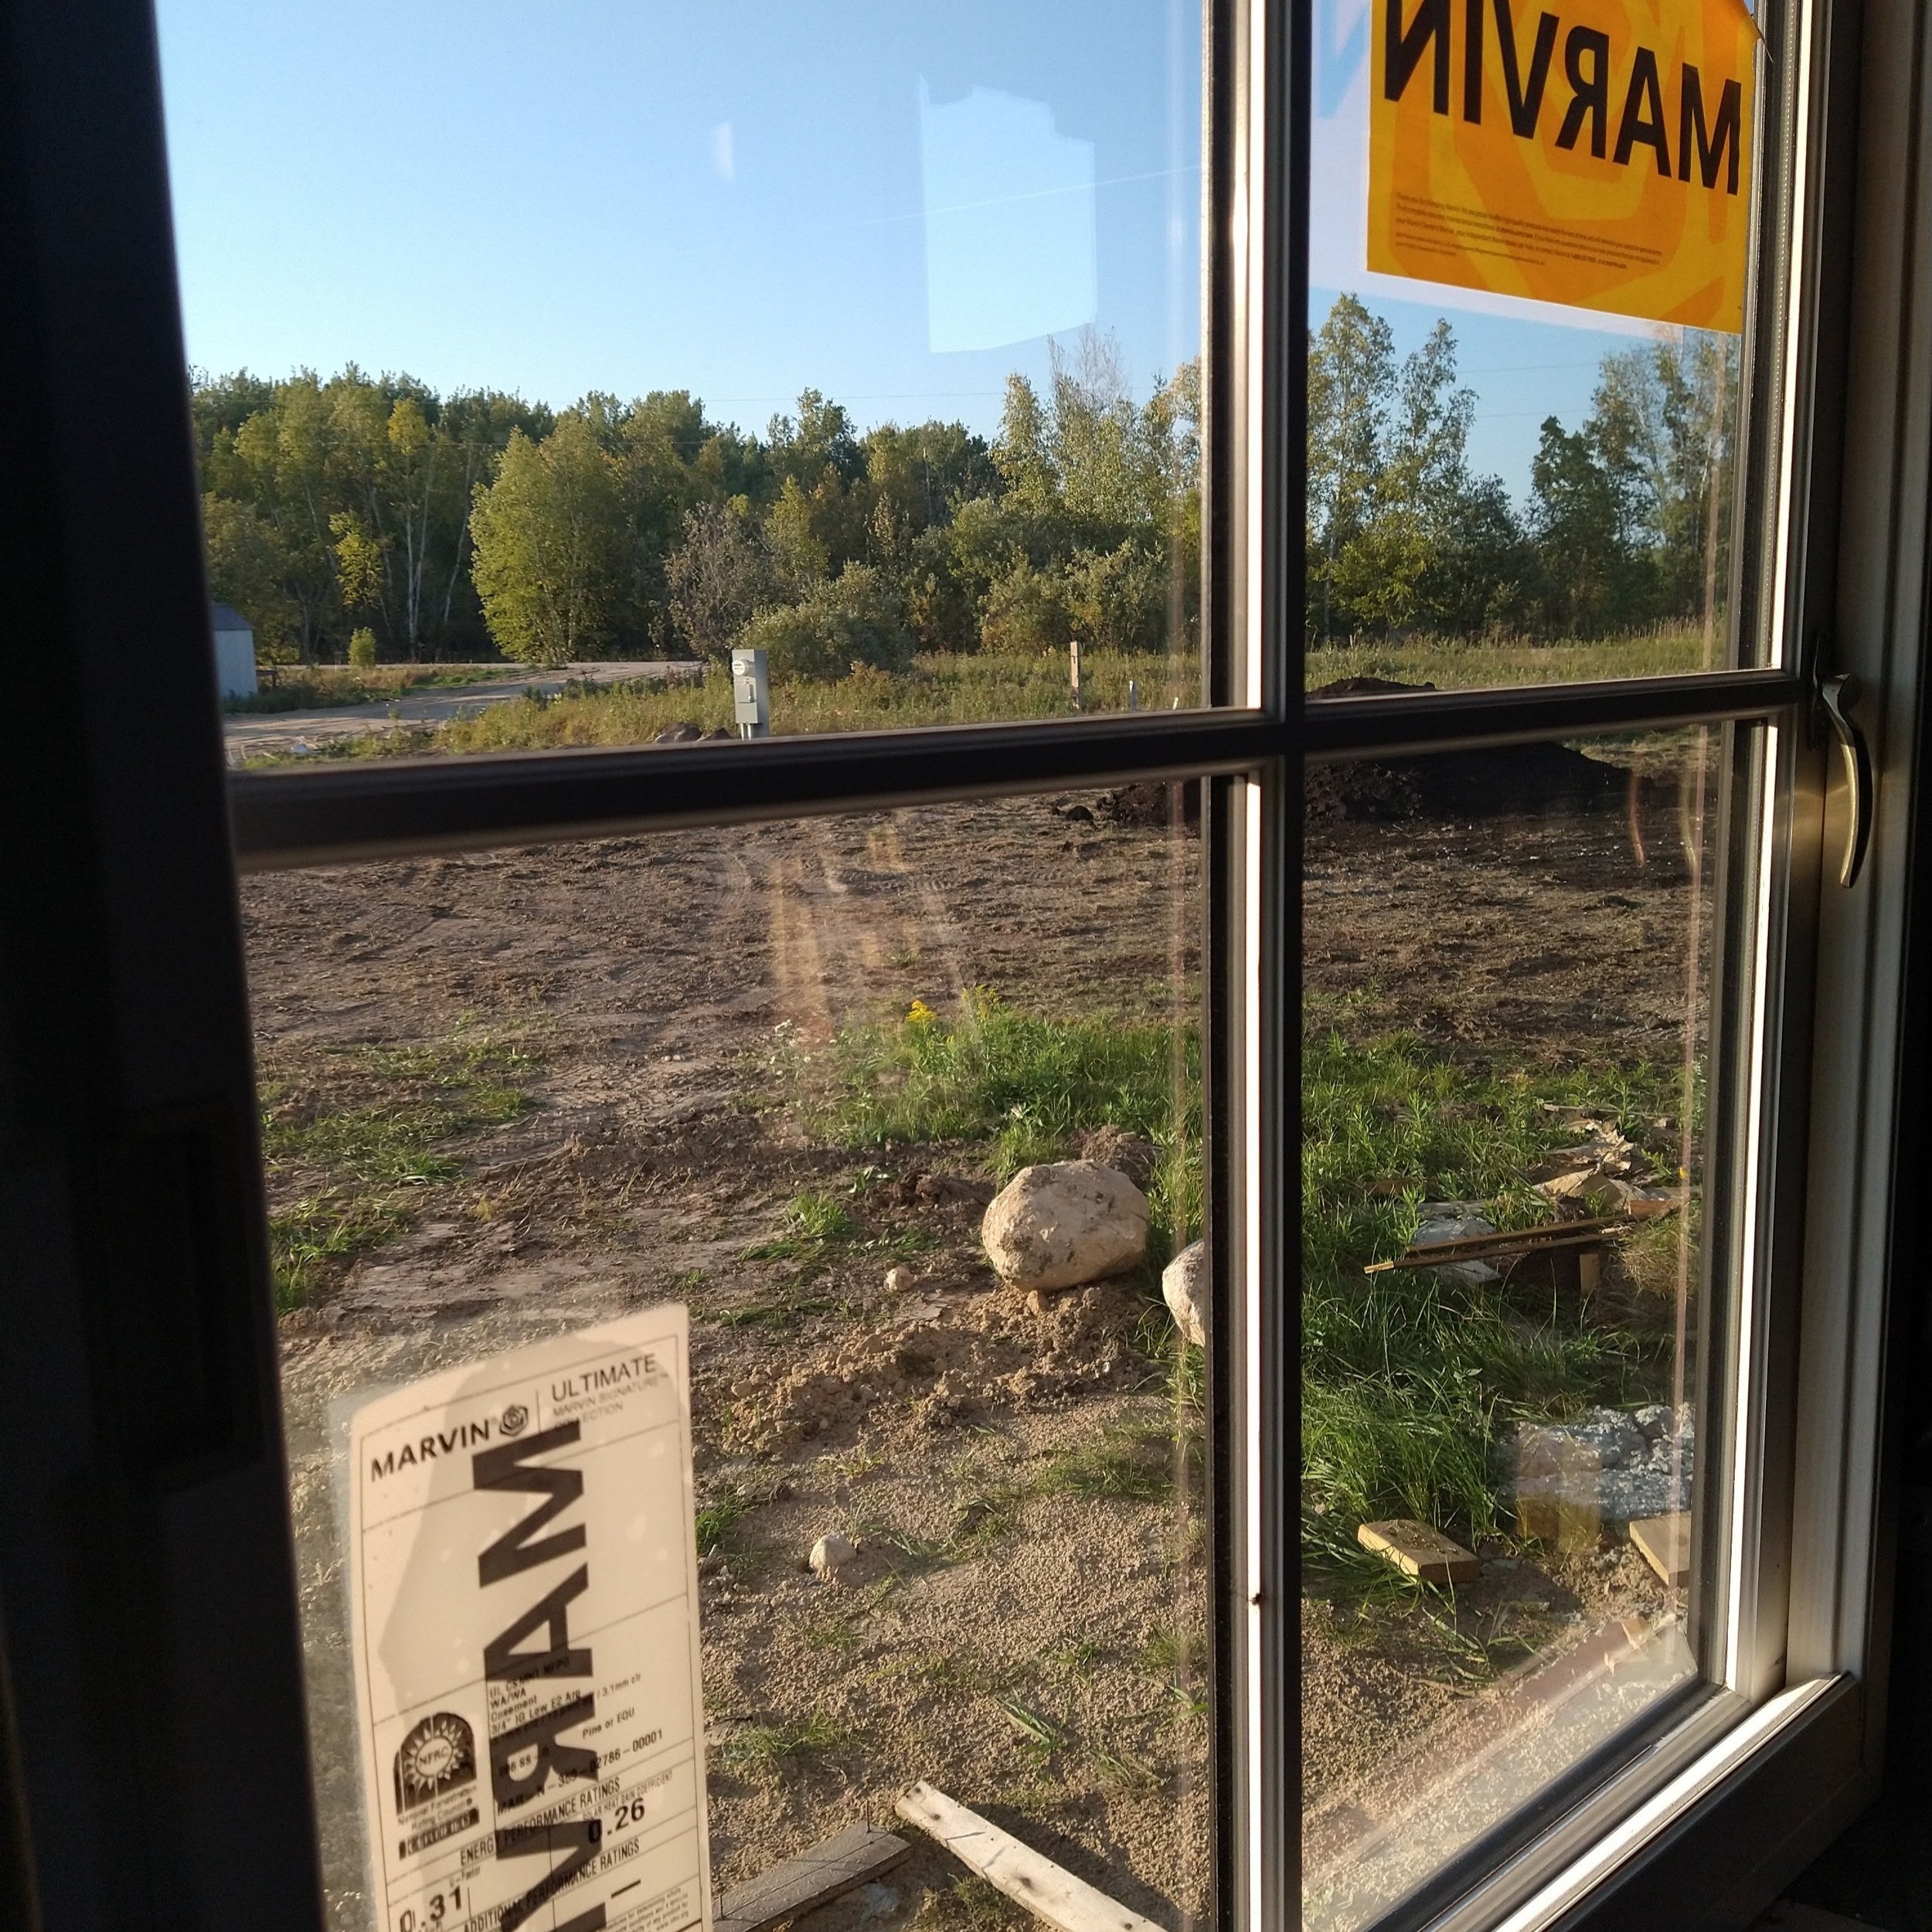
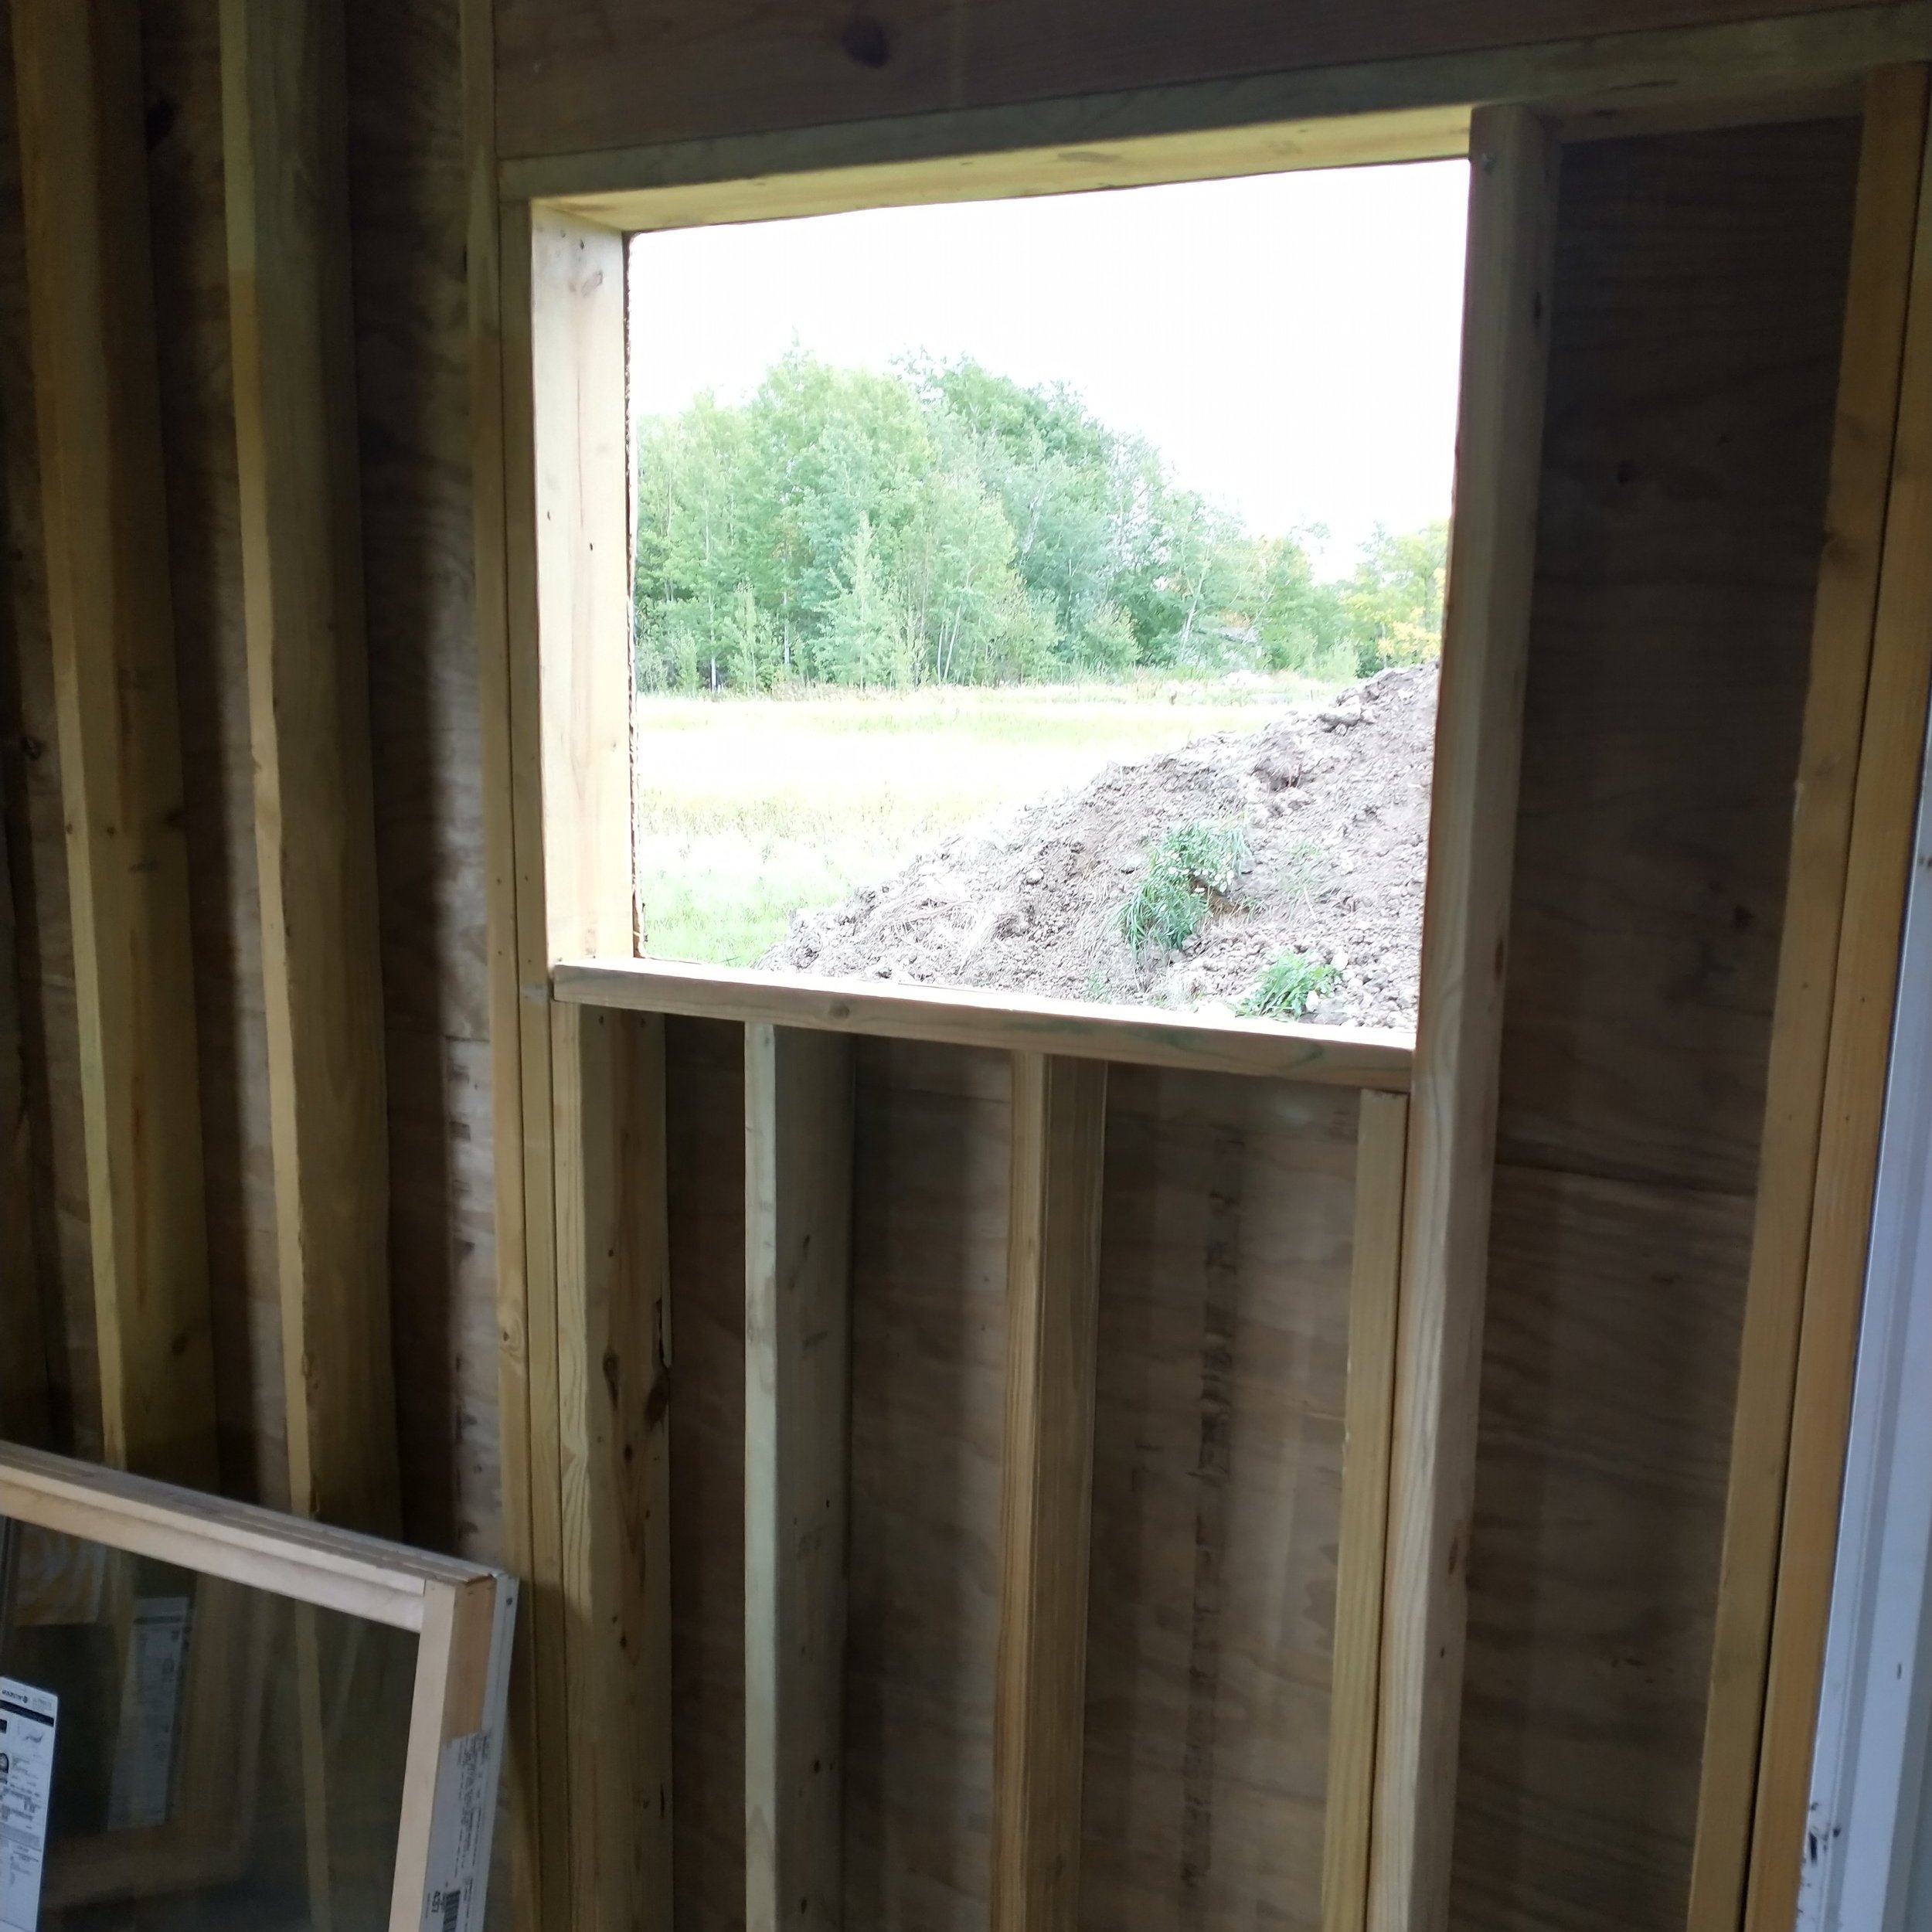
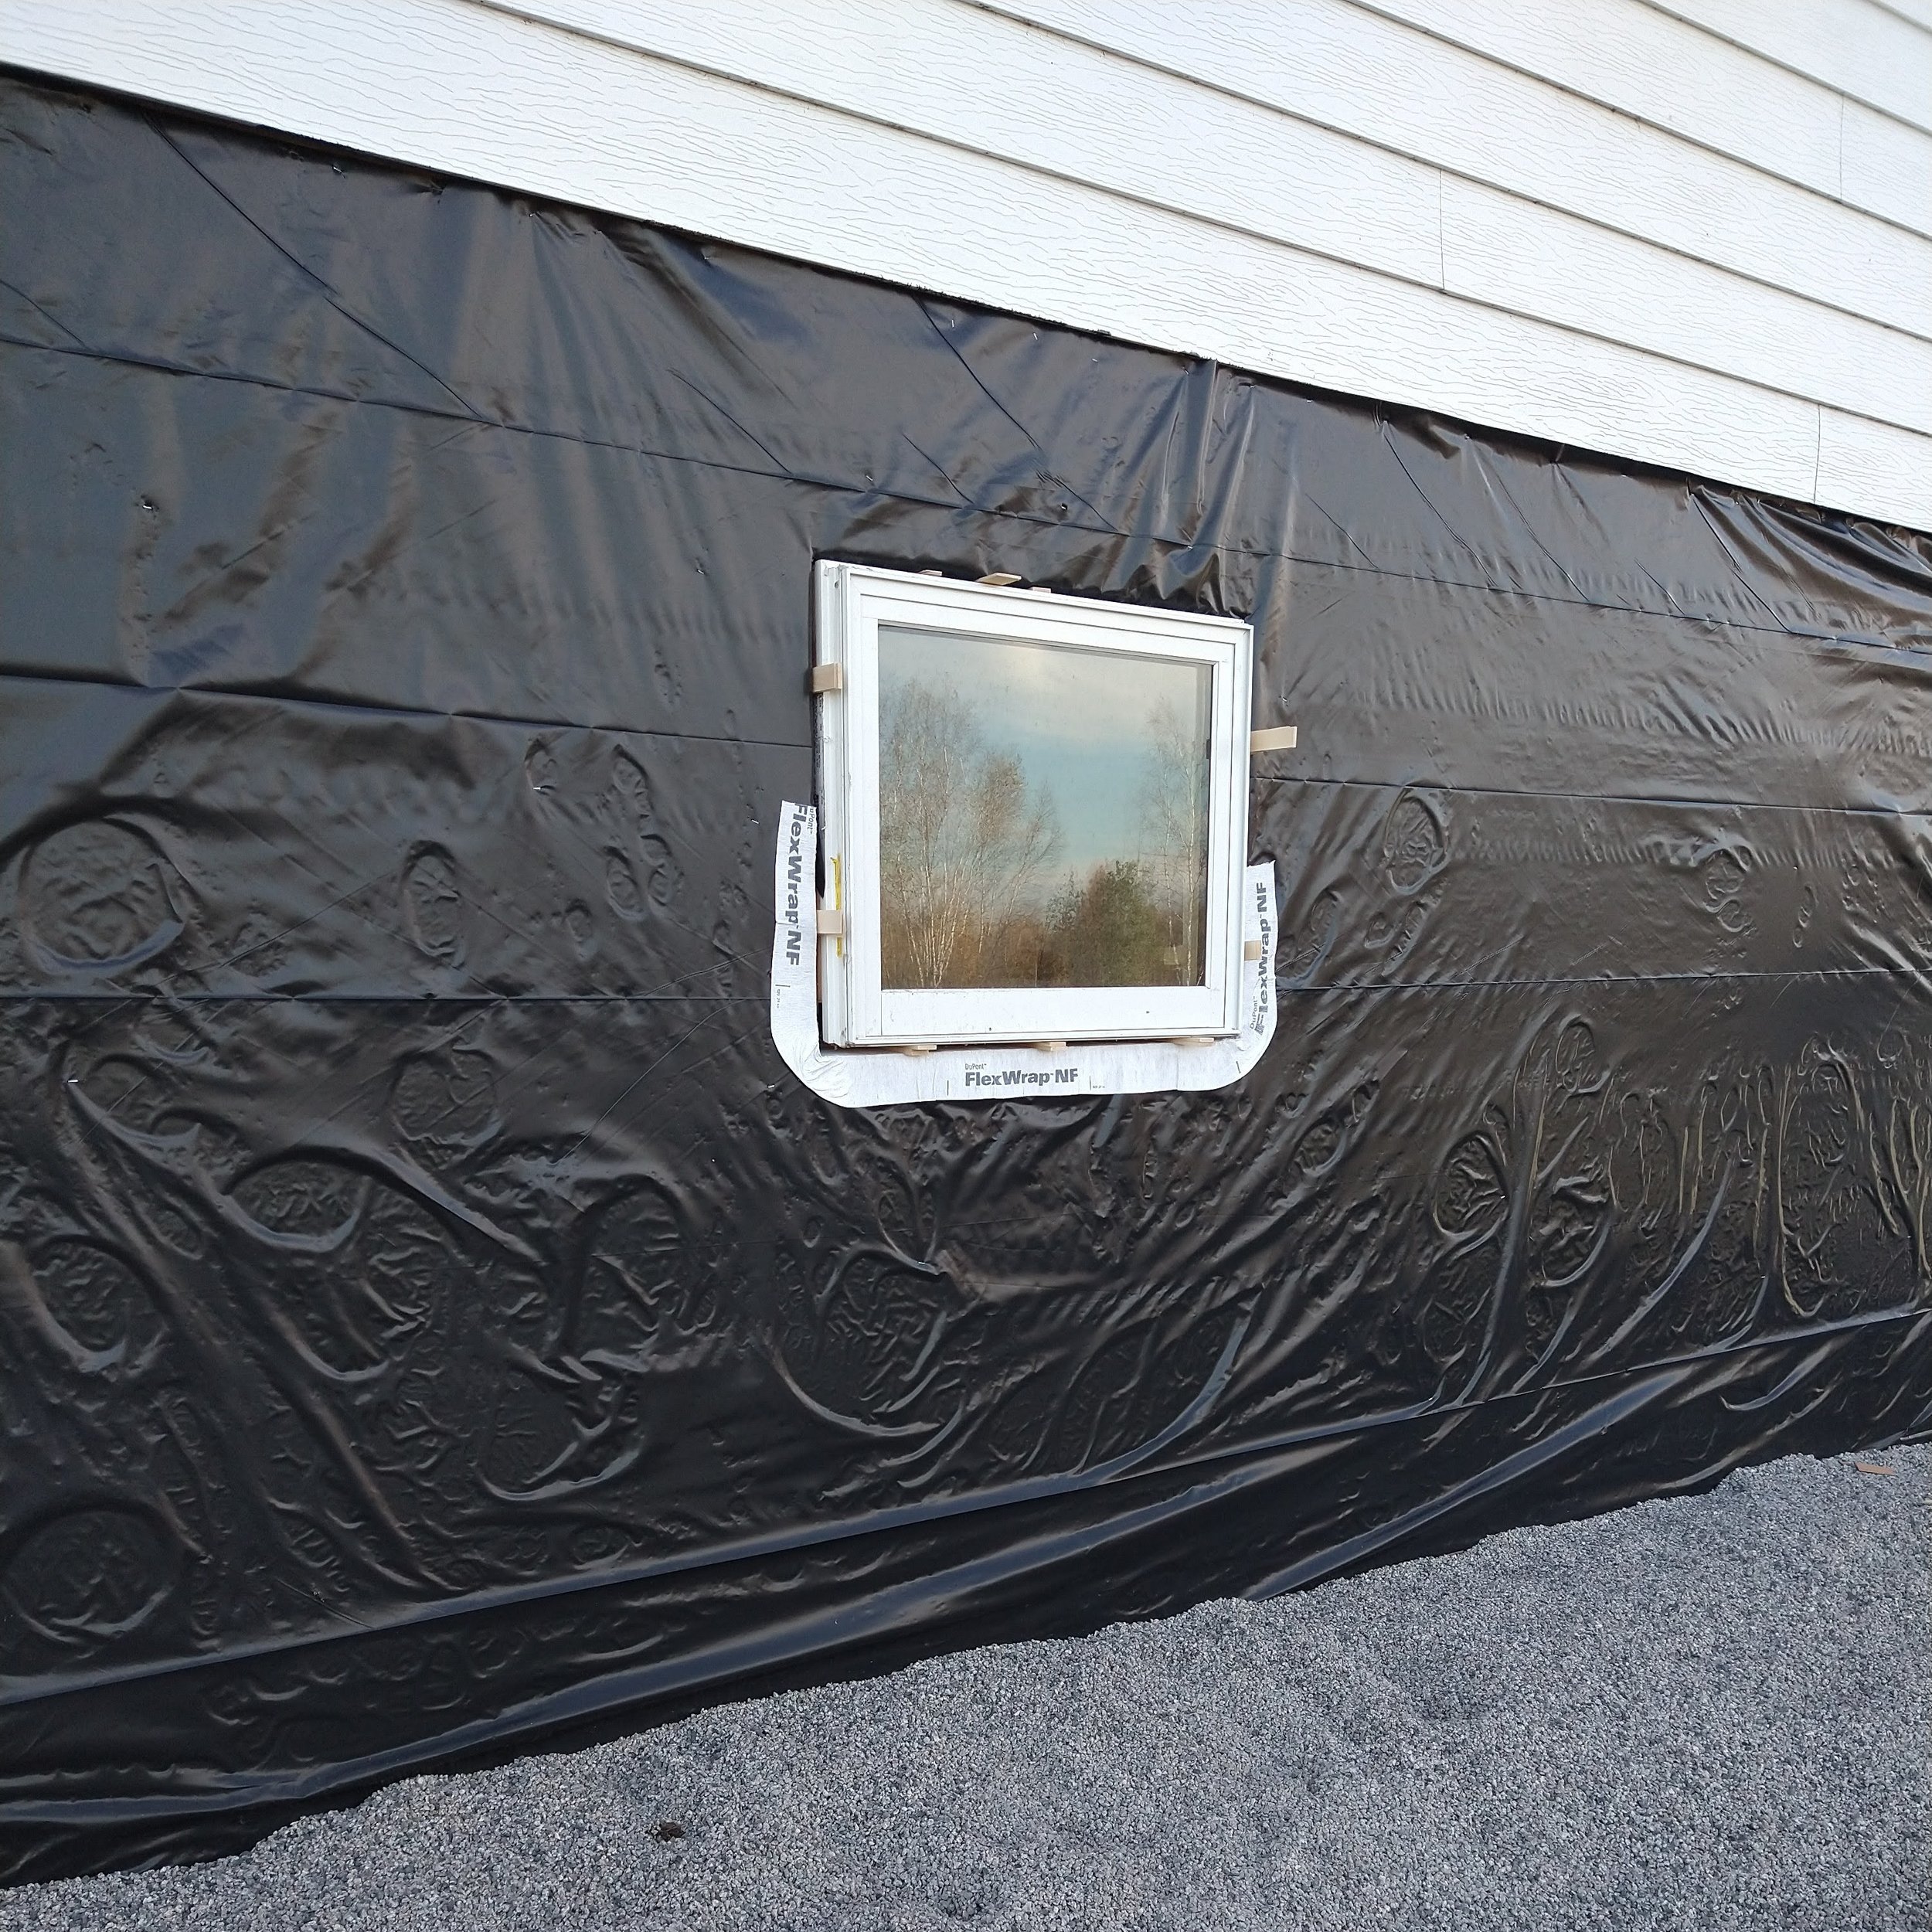
This (above) will eventually become the master bedroom, although it may be a few years. We only budgeted our loan to remodel the upstairs, so we’ll have to chip away at the basement as we have the time, energy, and resources to do so. The window we were able to find in the seconds bin at Marvin Home Center. If you aren’t familiar with Warroad or Marvin, there is a plant here in town and they have a storage shed at the Home Center for extra windows. For example, if someone orders their windows in the wrong color or size, but they’ve already be made, they go to the seconds bin. Seth and I spent quite a few coffee dates perusing windows, and all three of our basement windows came from the seconds at the Home Center. The view out our window is incredible, and we can’t wait to see this space finished!
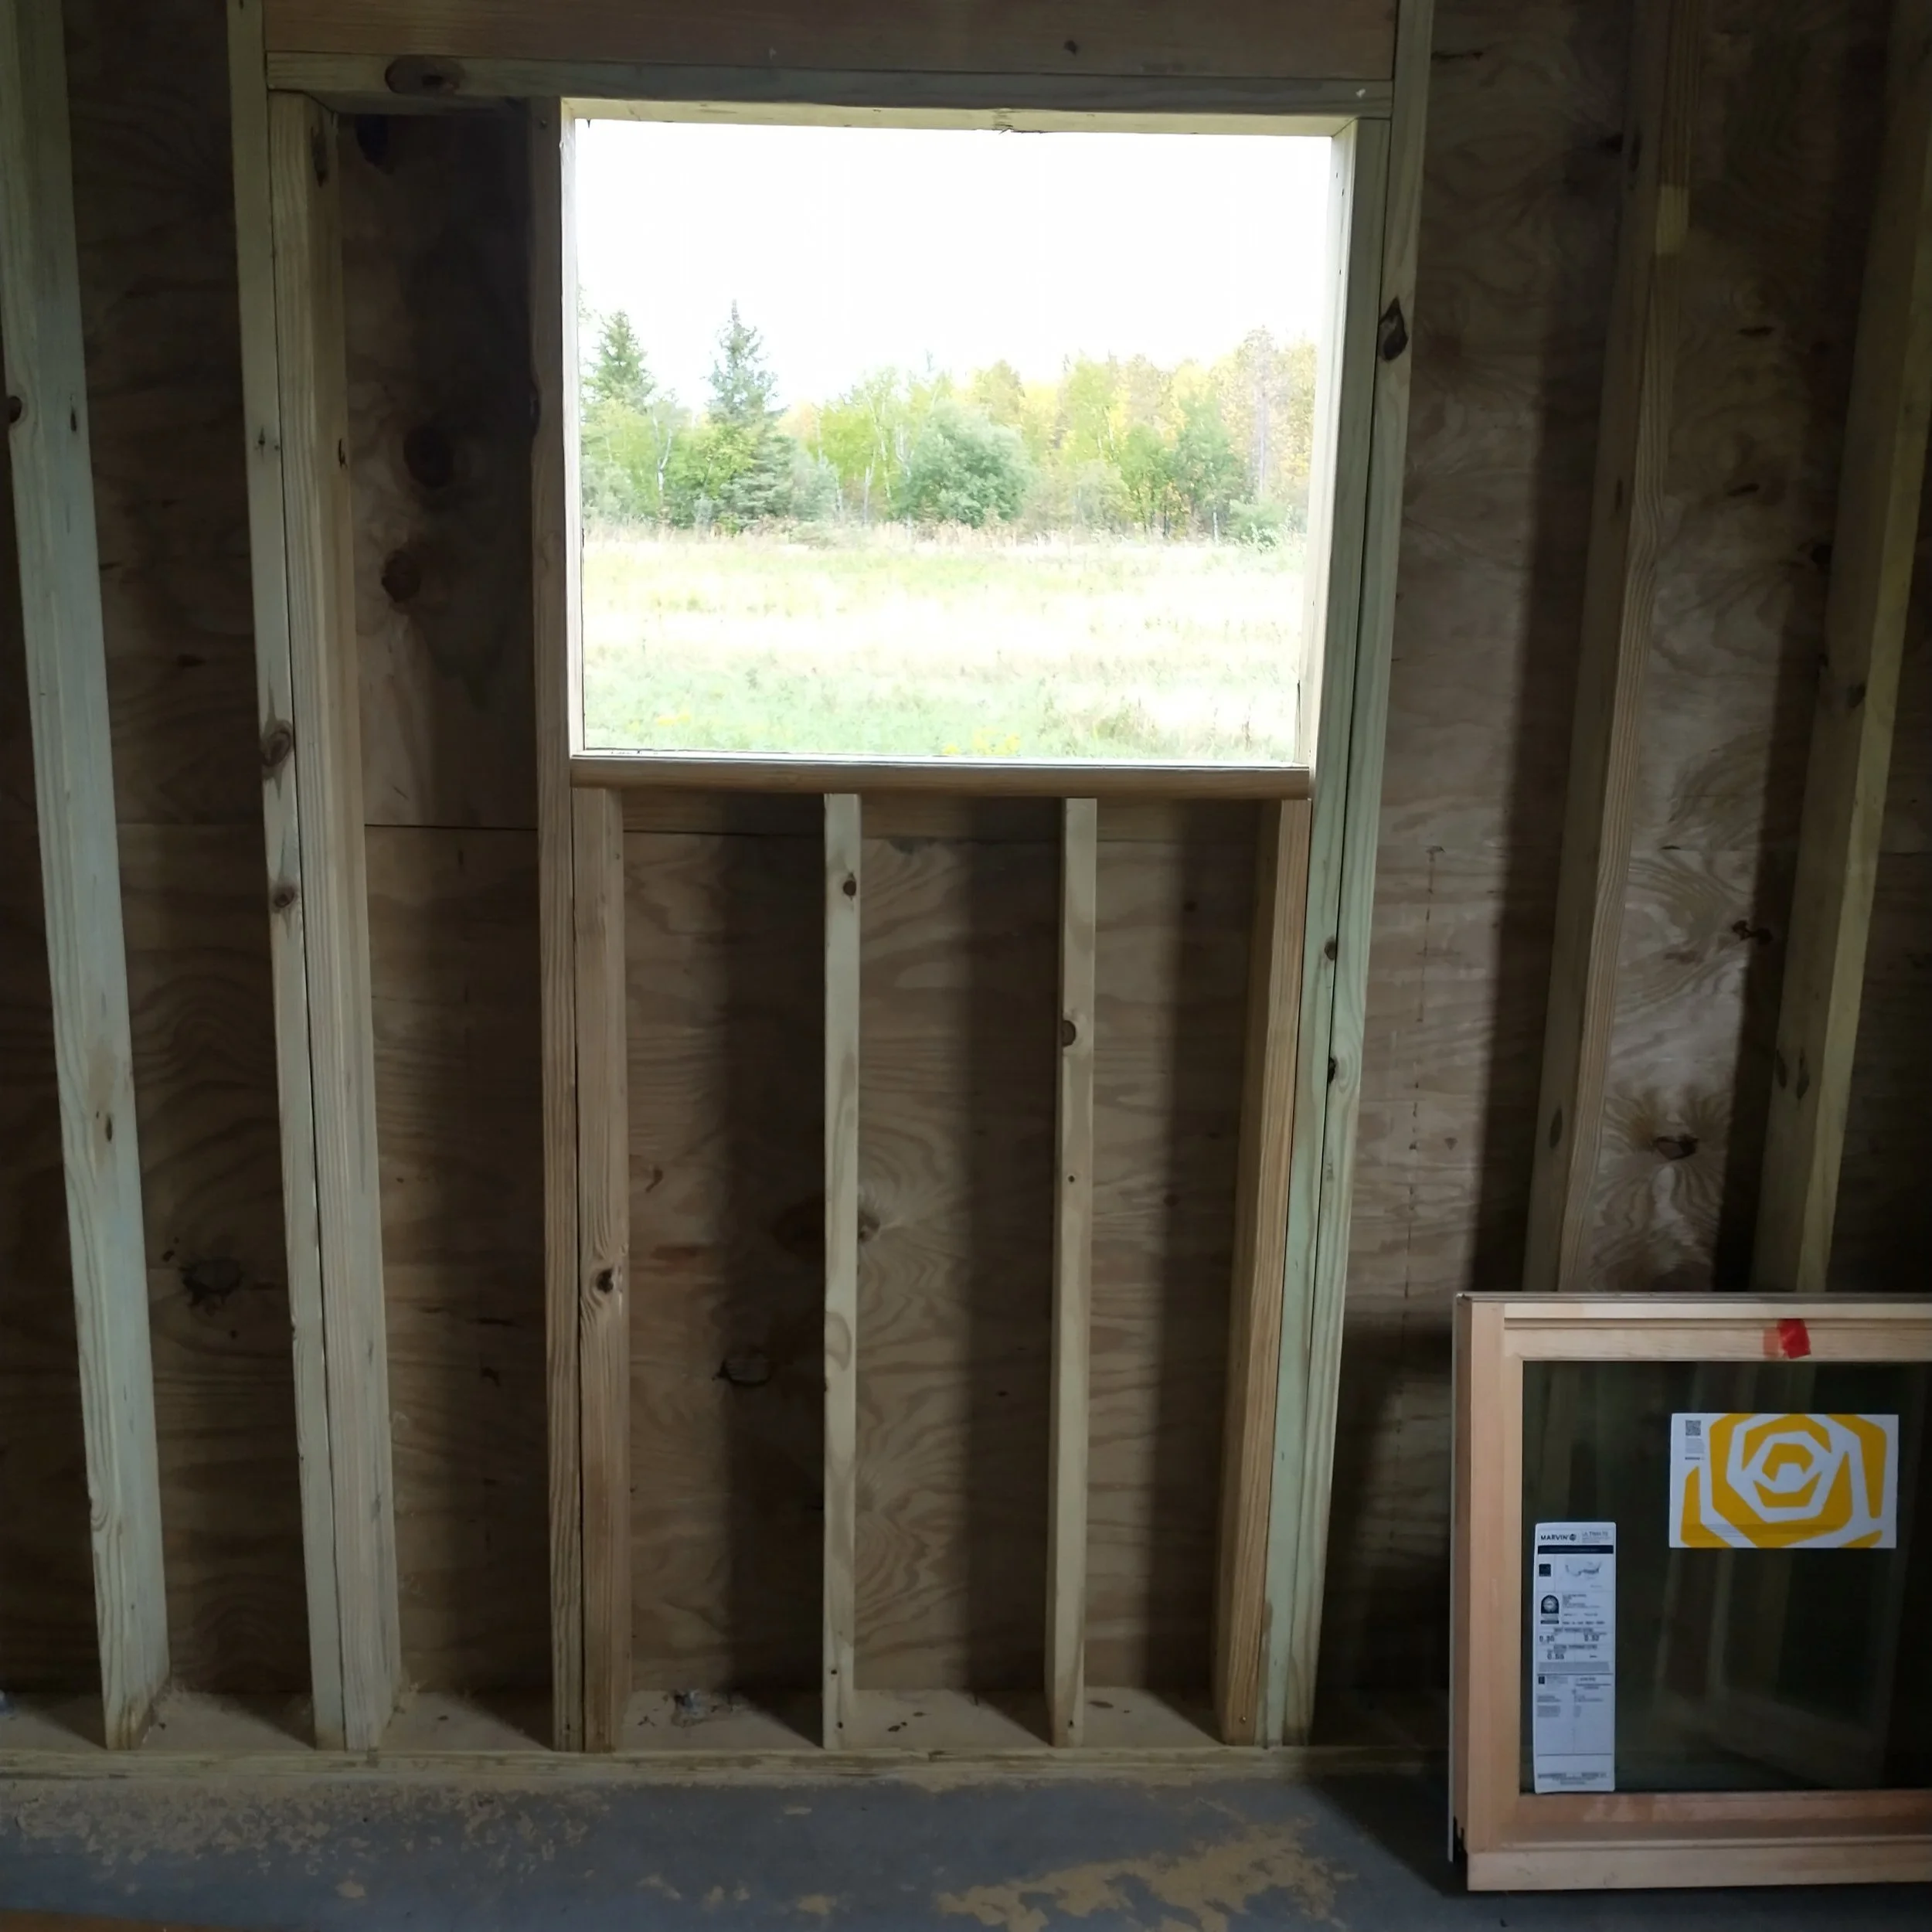
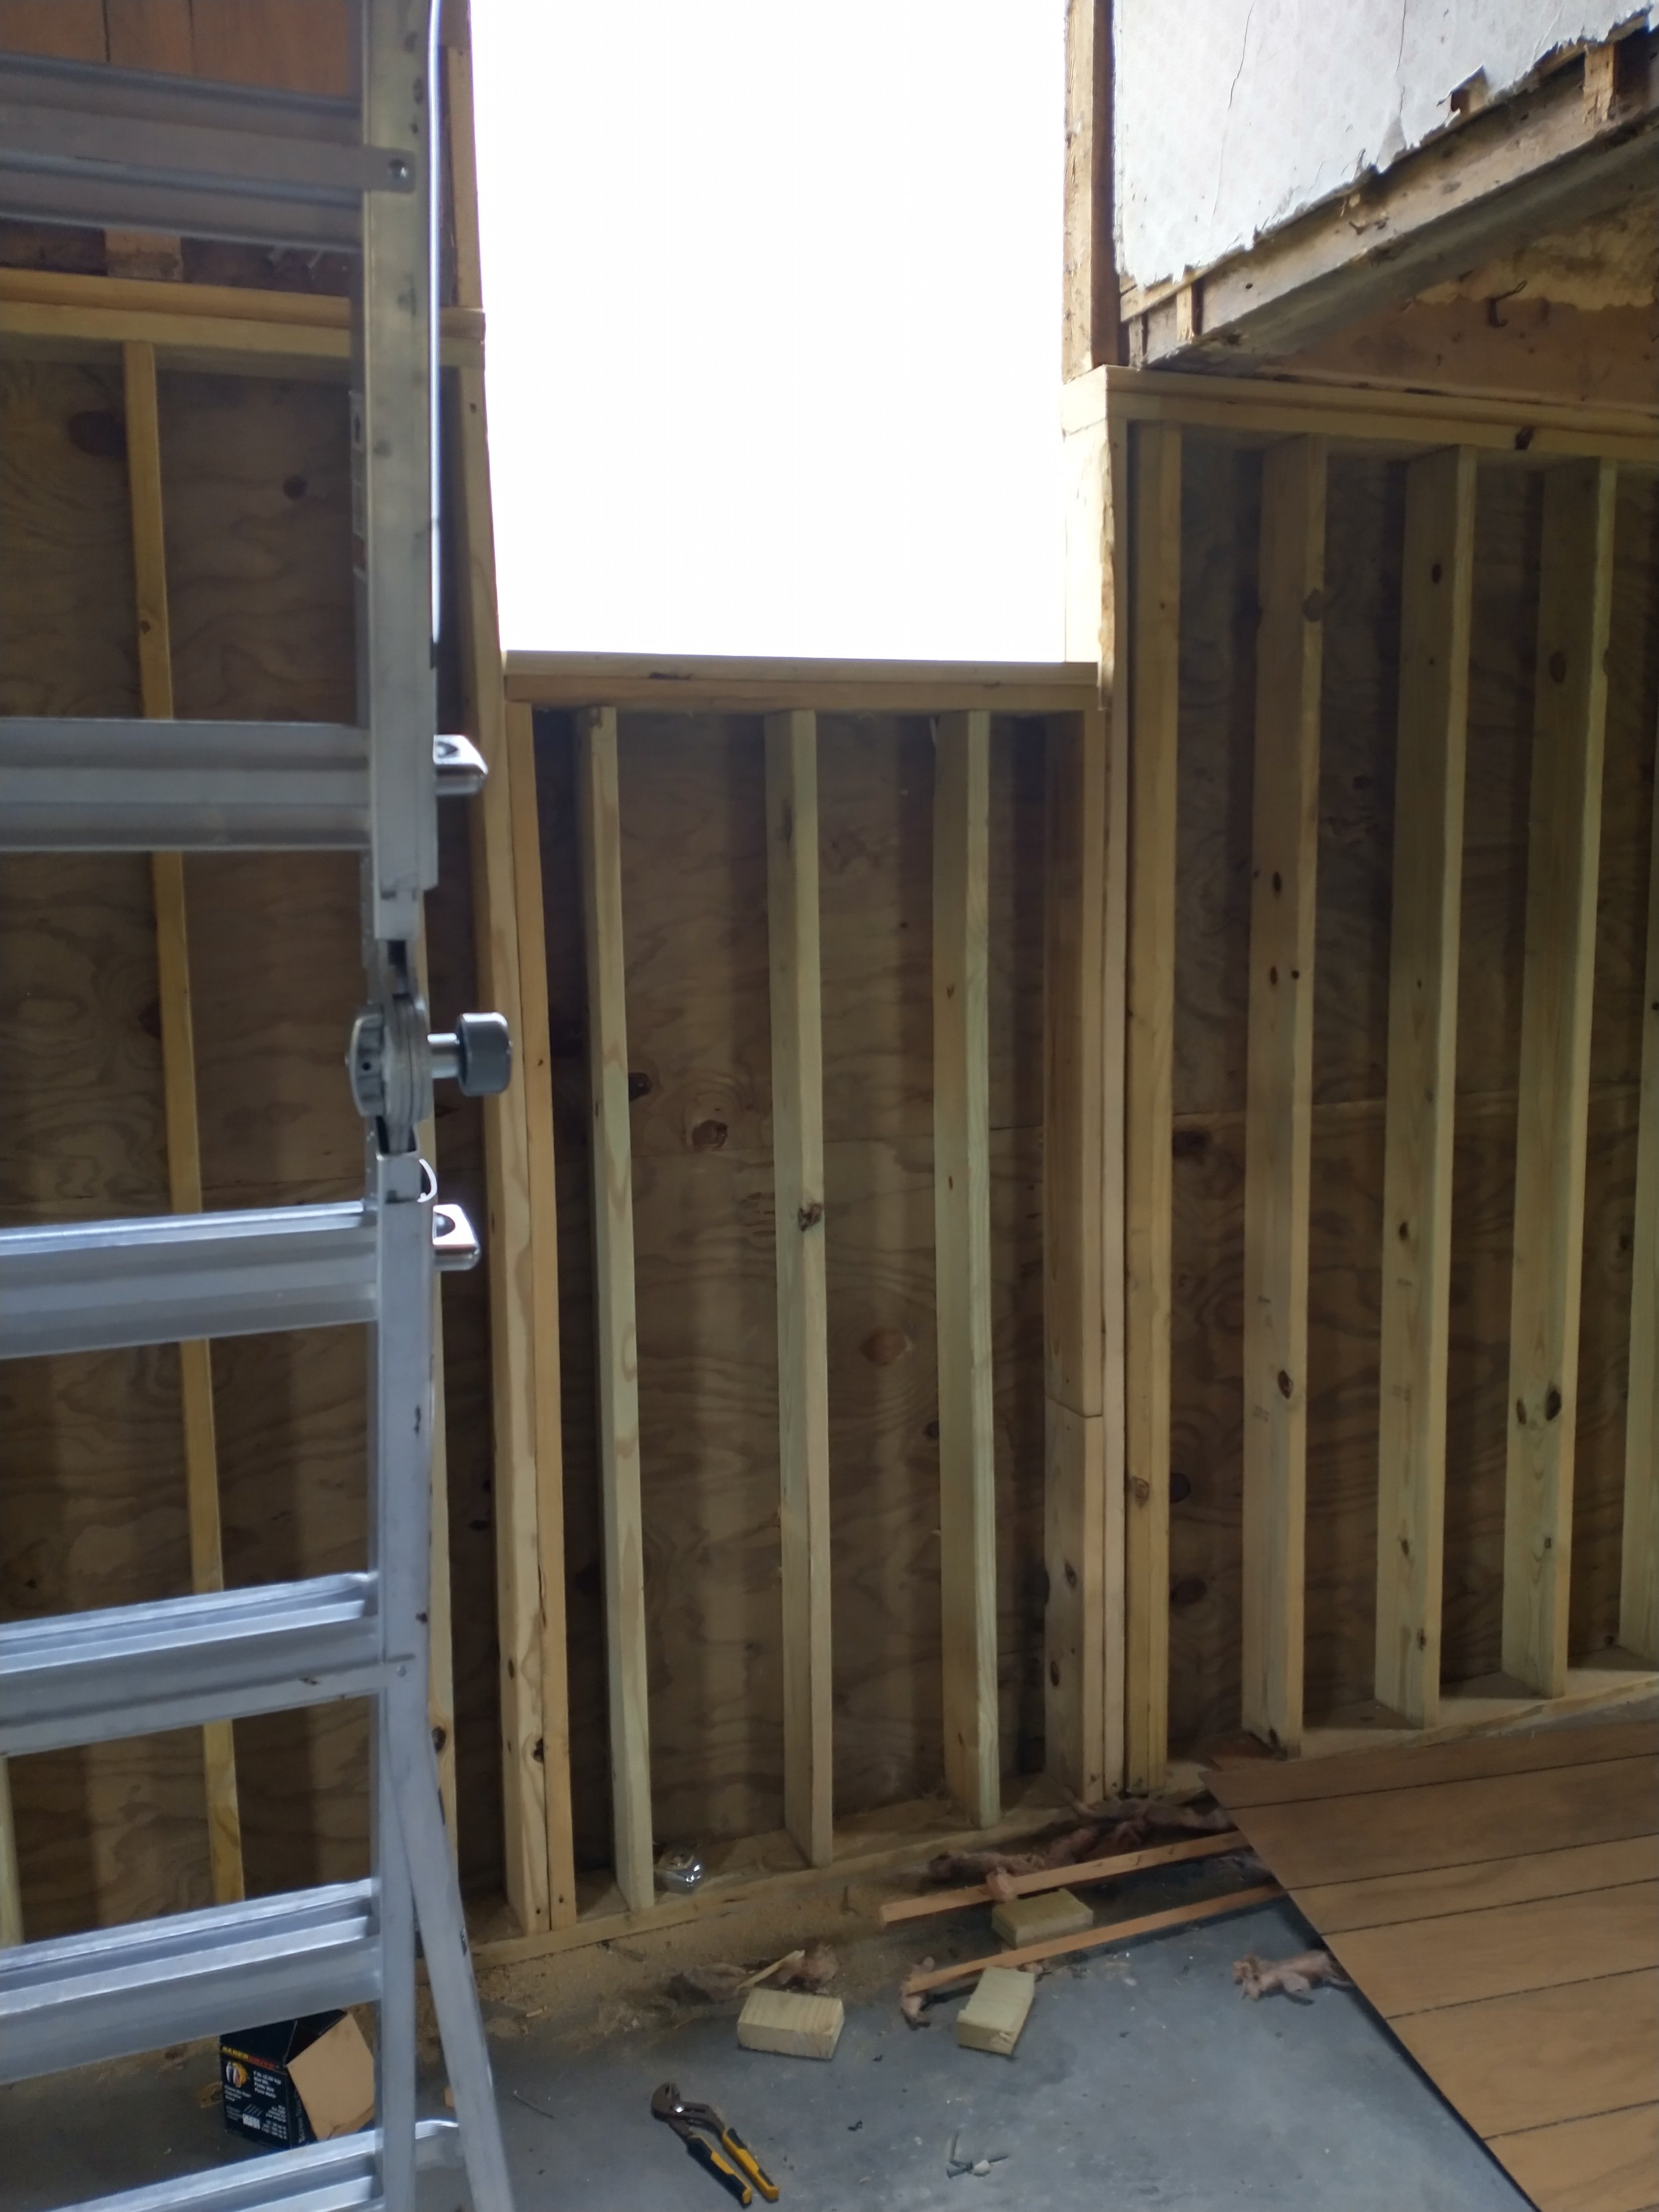

Here (above) are the north and east windows, they are in the northwest corner of the basement. We’re planning on using this area as a second living room, and putting in a coffee bar and possibly a table down here. Those are the first two pictures on the left. The two on the right are of the north entry into the main house. Because of how the house sat on the original location, the door had to be cut and we had to re-frame the area around it. Seth built a landing with his dad, and matched the stair treads from the landing to the kitchen with the originals. The originals were too full of nails, so we just measured off them.
From the landing to the basement, however, was a different story. The basement was two feet taller than the original, and so the treads didn’t match up. Seth, our parents, and I spent some time scratching our heads trying to figure out a solution. Seth and I didn’t want to cut a taller opening, as that would take out the doorway from the kitchen to the living room, which at that time was the only way to access that part of the house. Seth hadn’t yet discovered the old doorway under the paneling in the south living room. But we didn’t want a ladder either. We went with a marine-esque ladder/stair combo. It will need to be rebuilt before we move in, but the proto-type has held up so far.
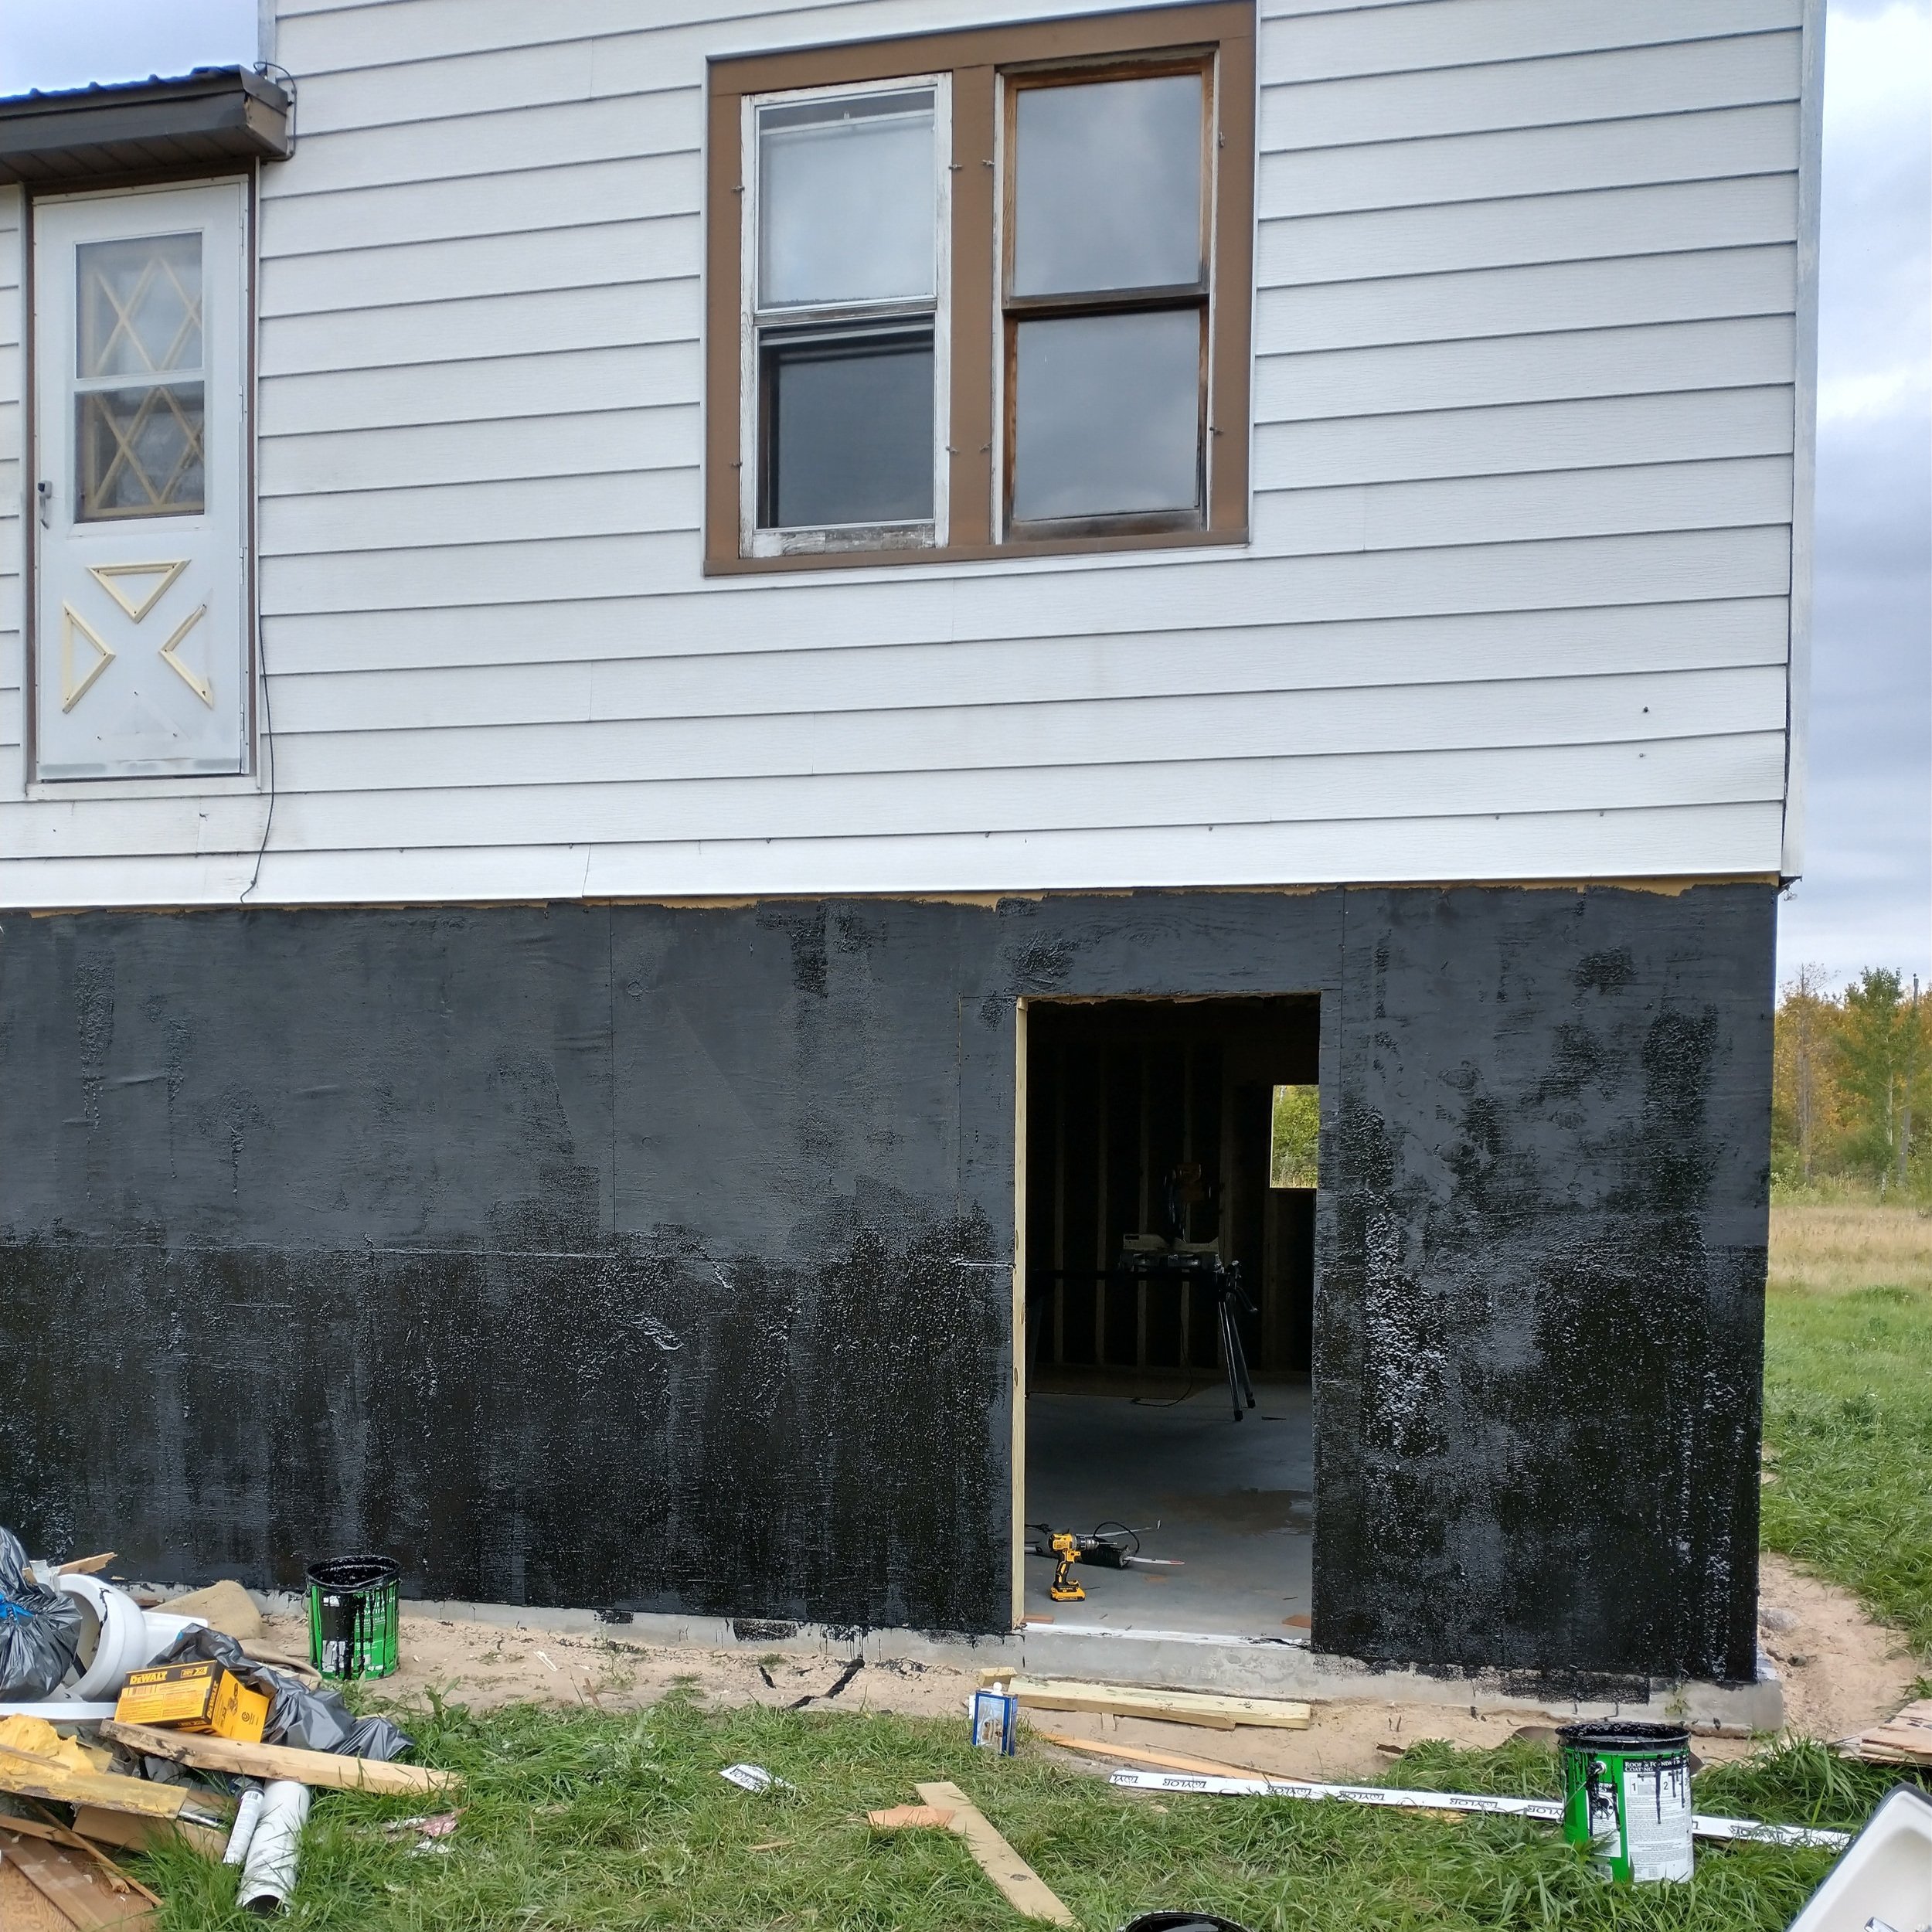
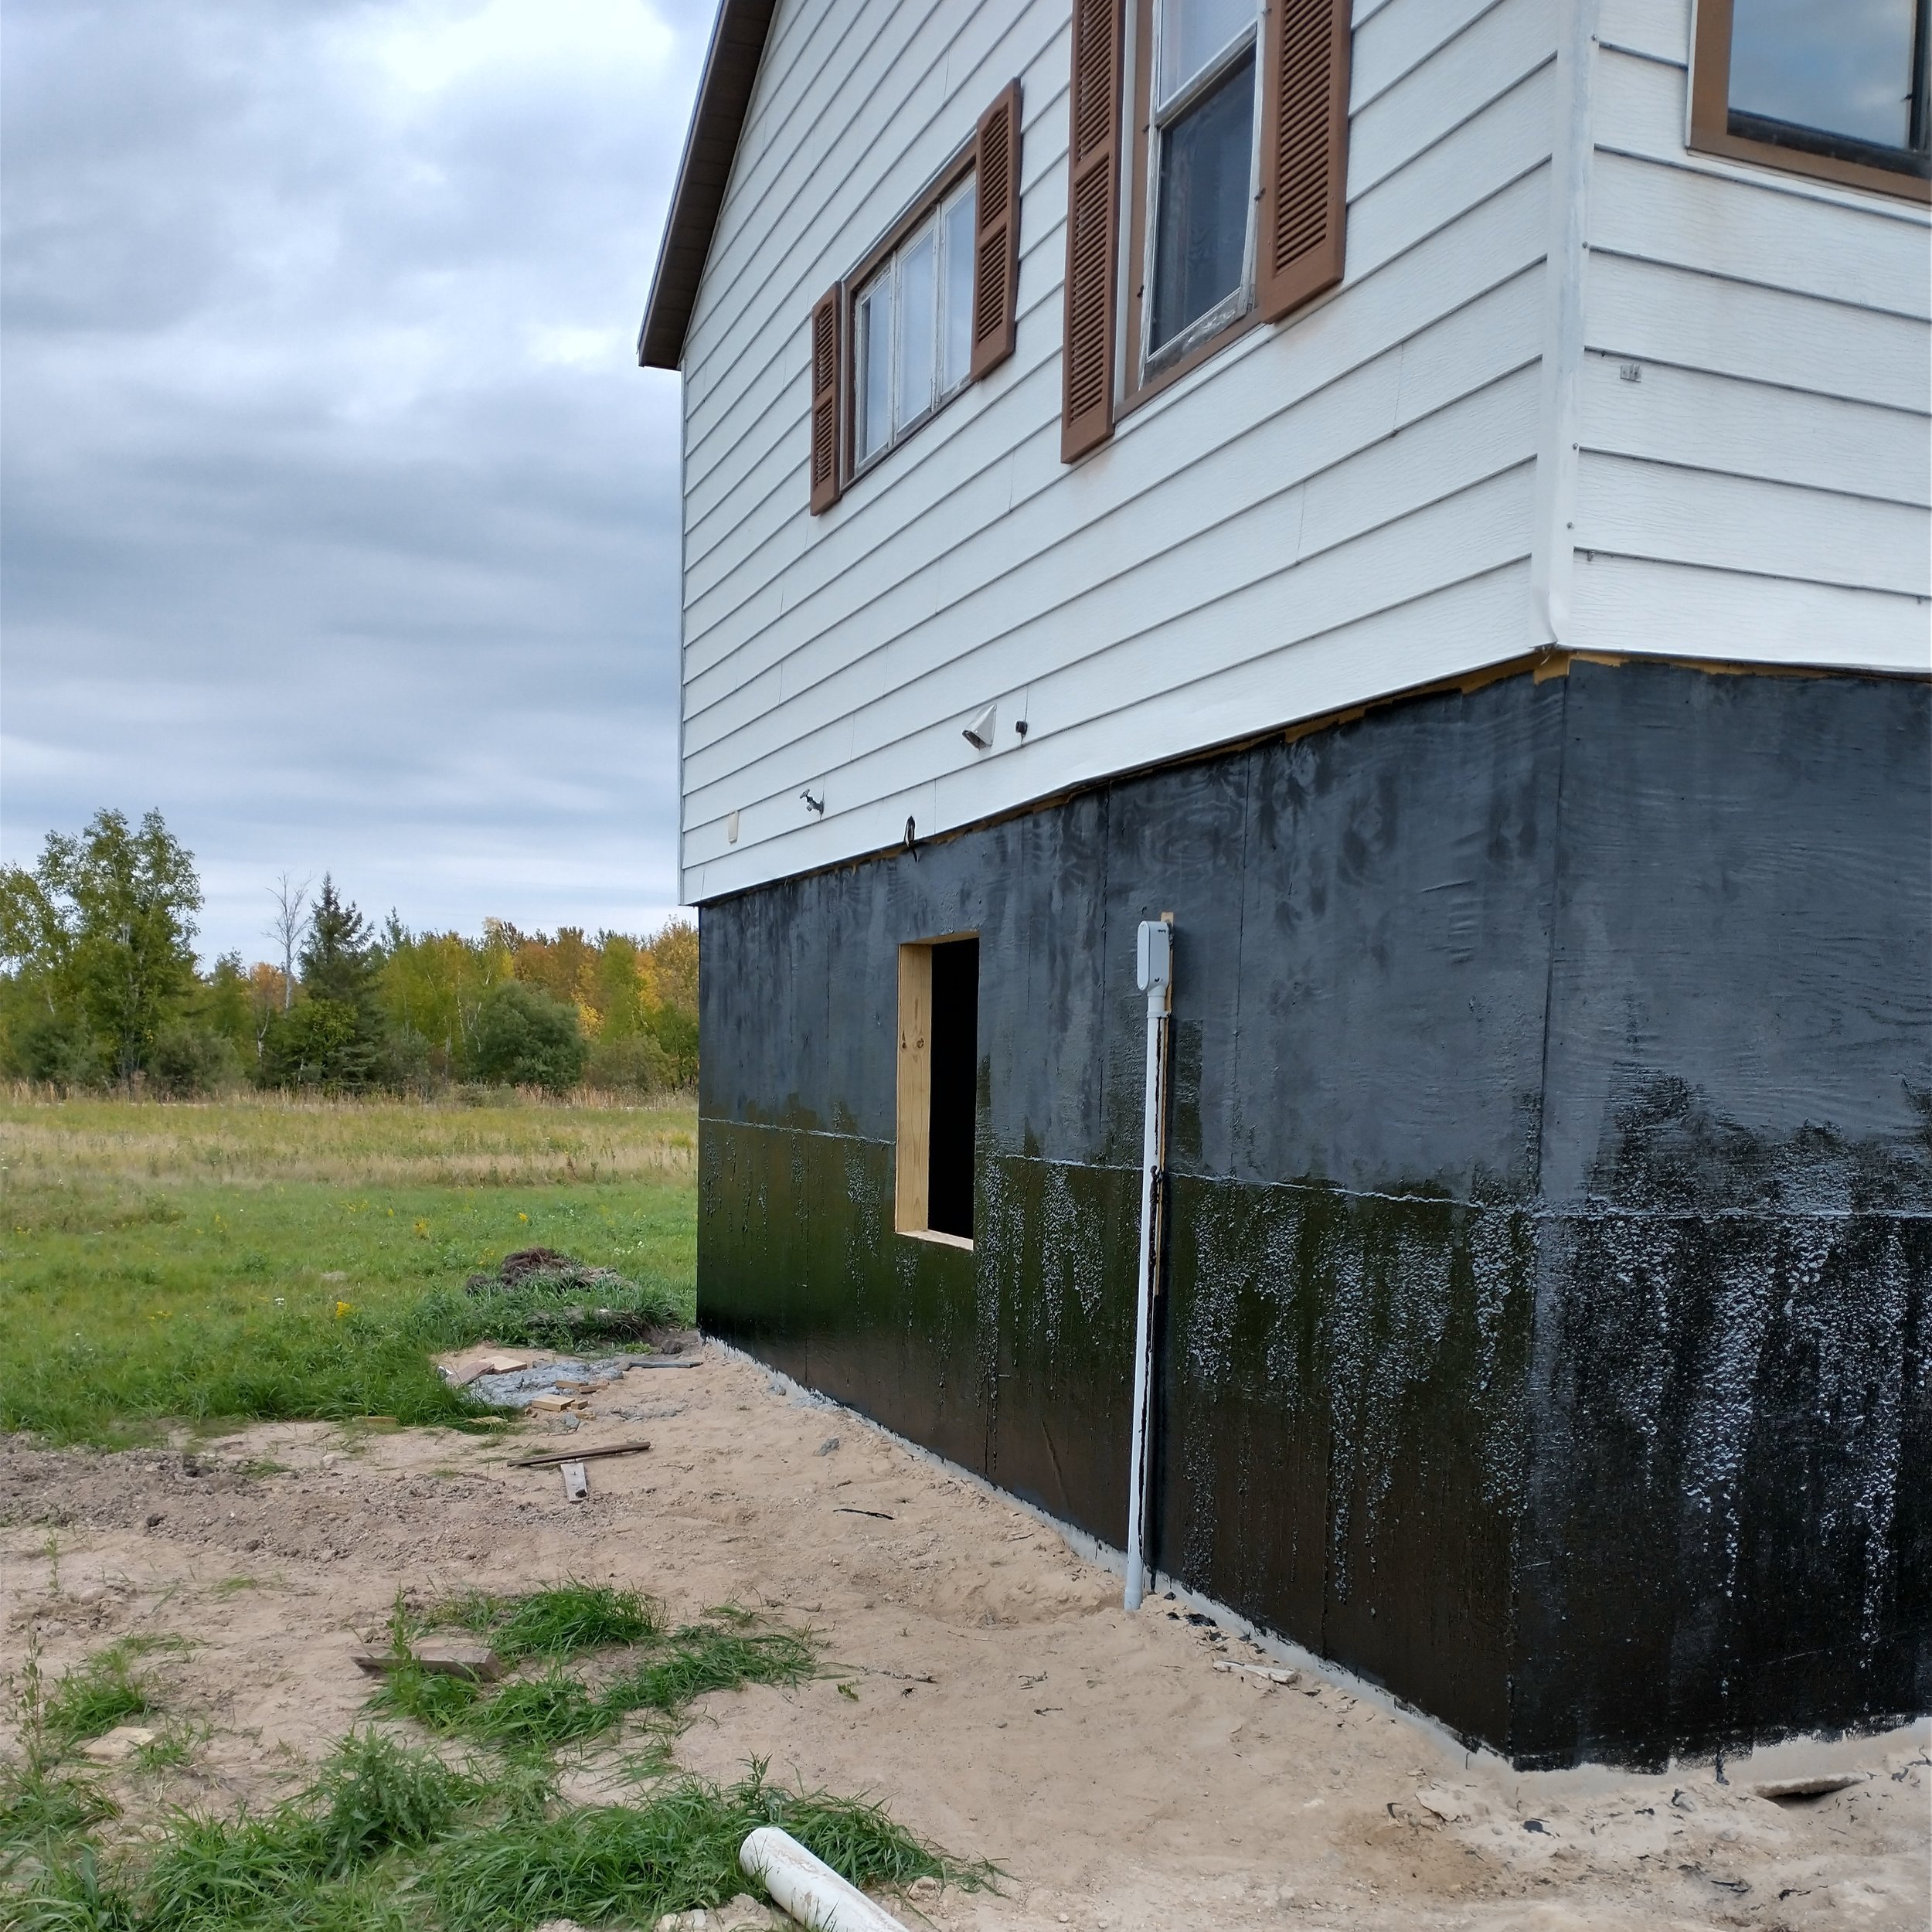
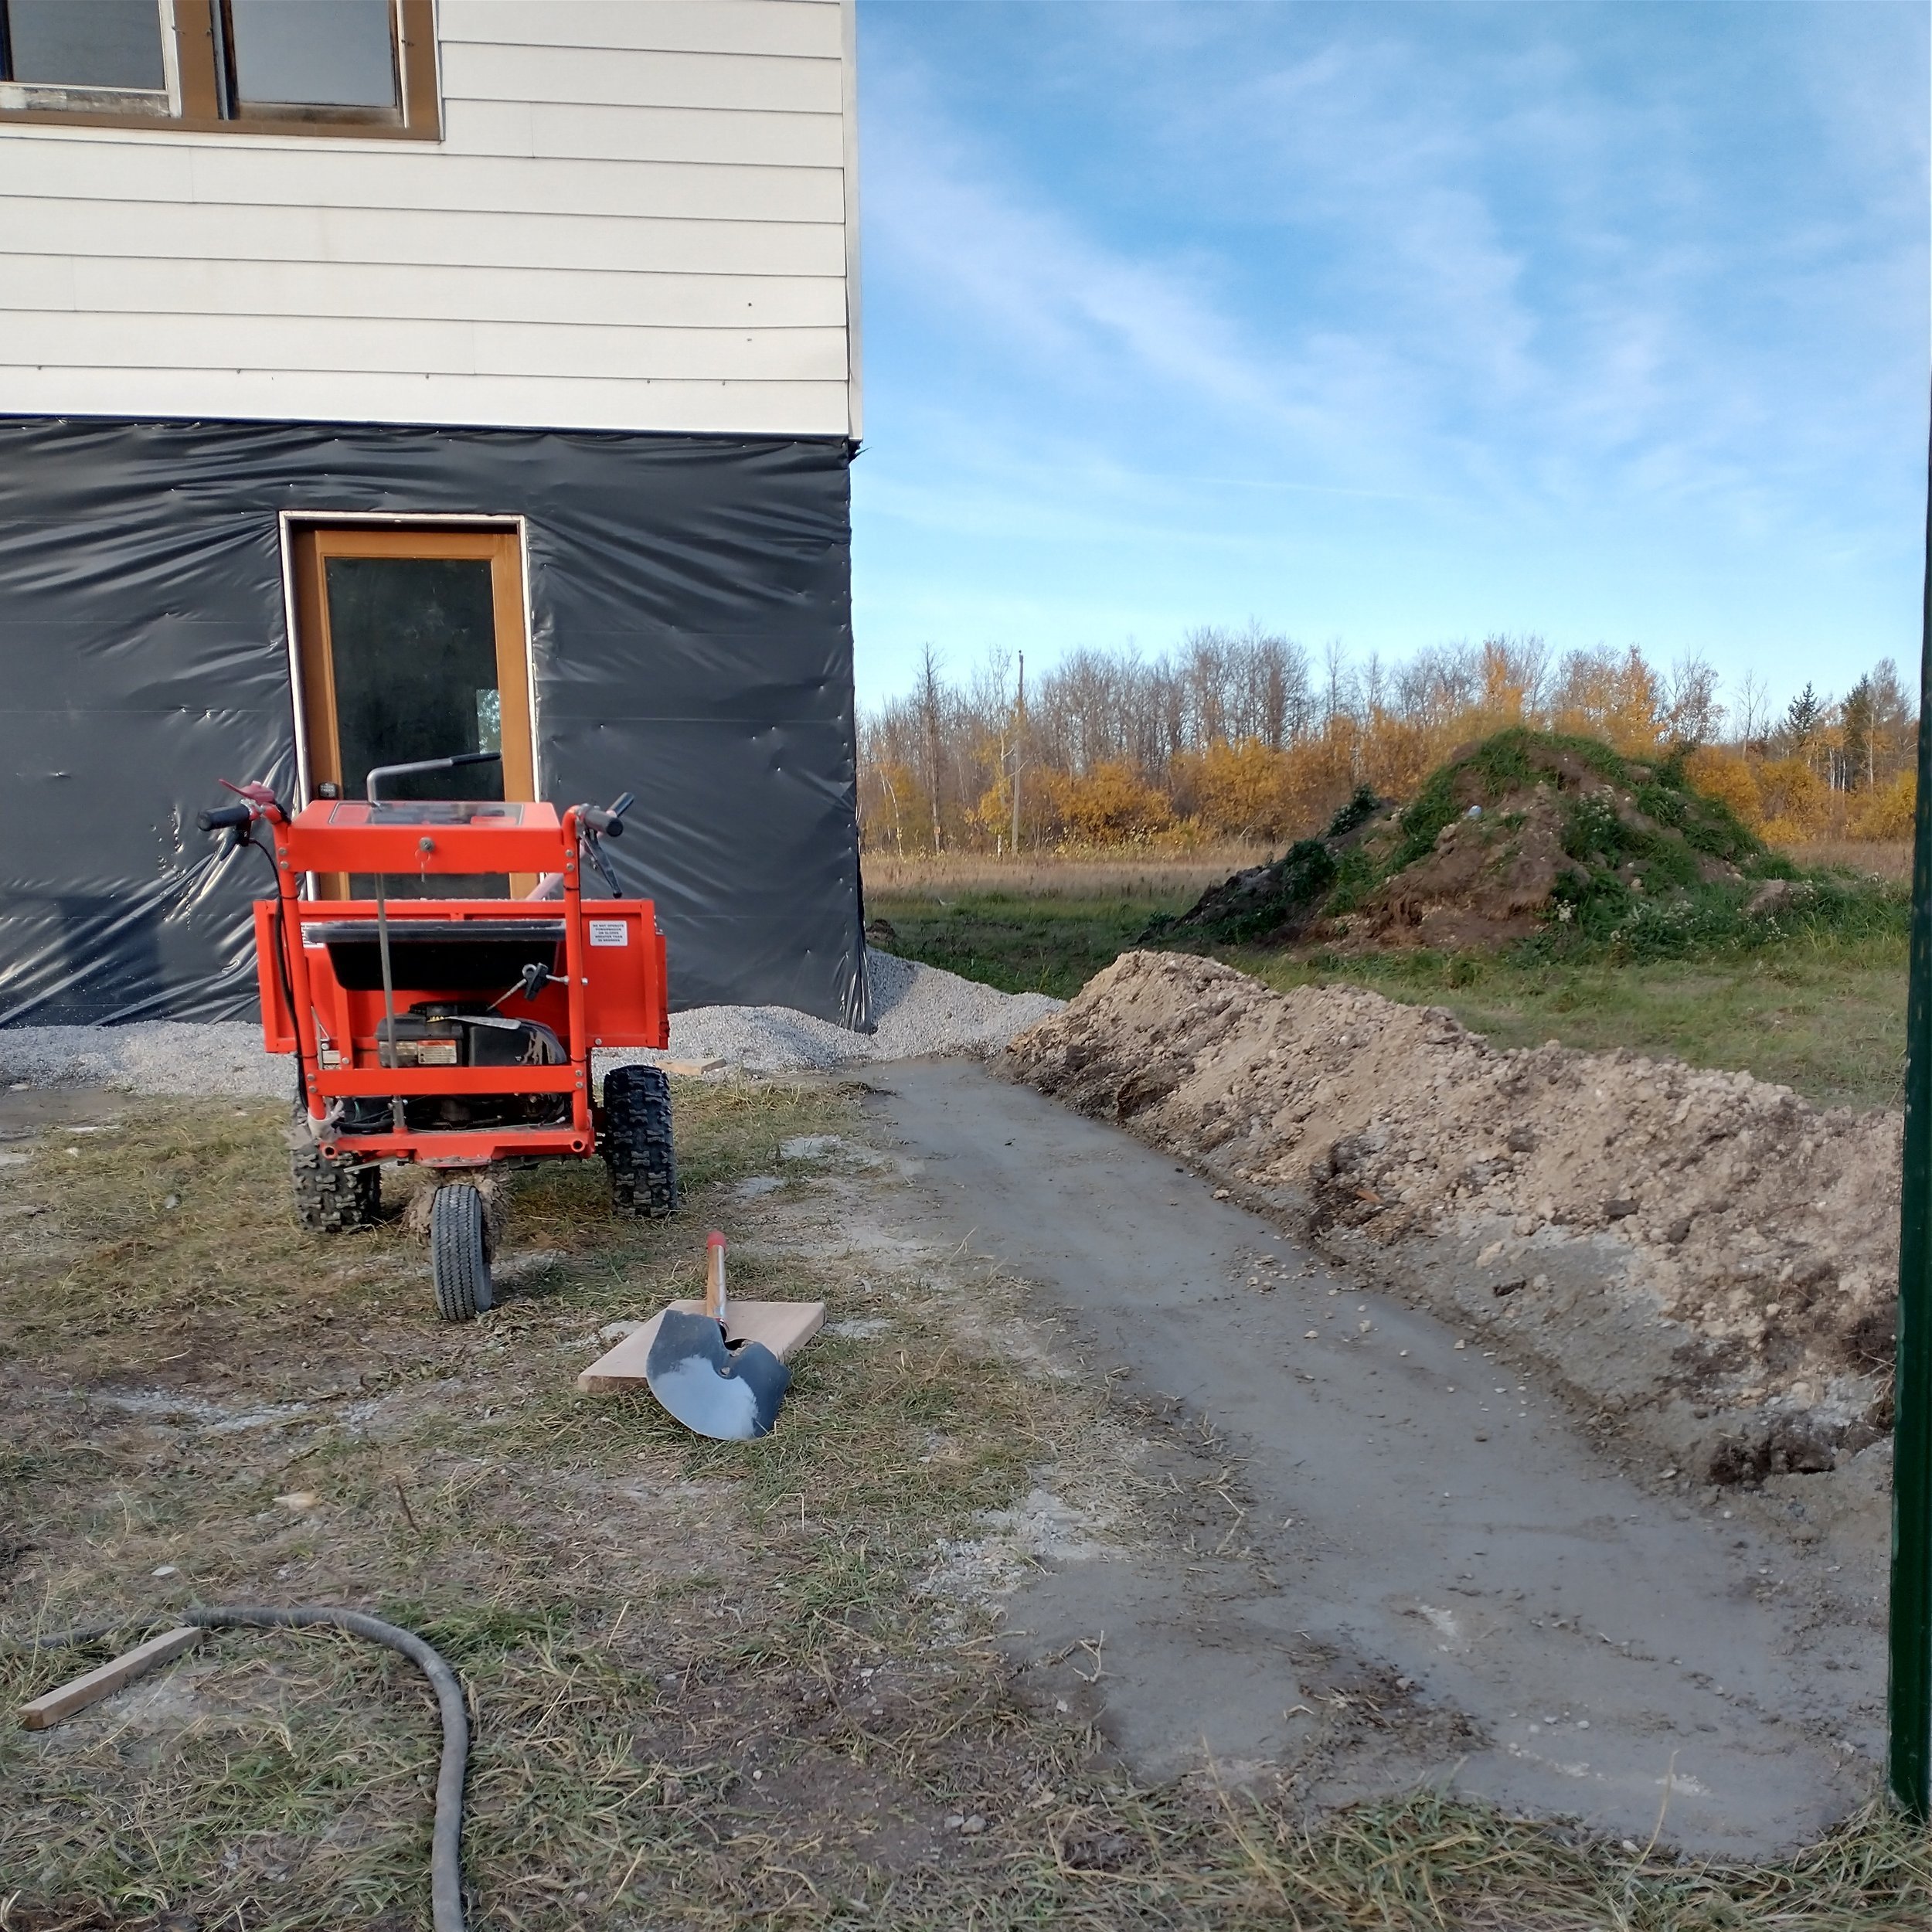
In order to back-fill our basement, there was some prep work we had to accomplish outside as well, and we were on a tight timeline. We were able to barely beat the frost to back-fill the basement. After all the gaps and seams were sealed, Seth painted the sheathing with a couple layers of tar. In the picture to the right (above) you can see our electrical line running to the box.
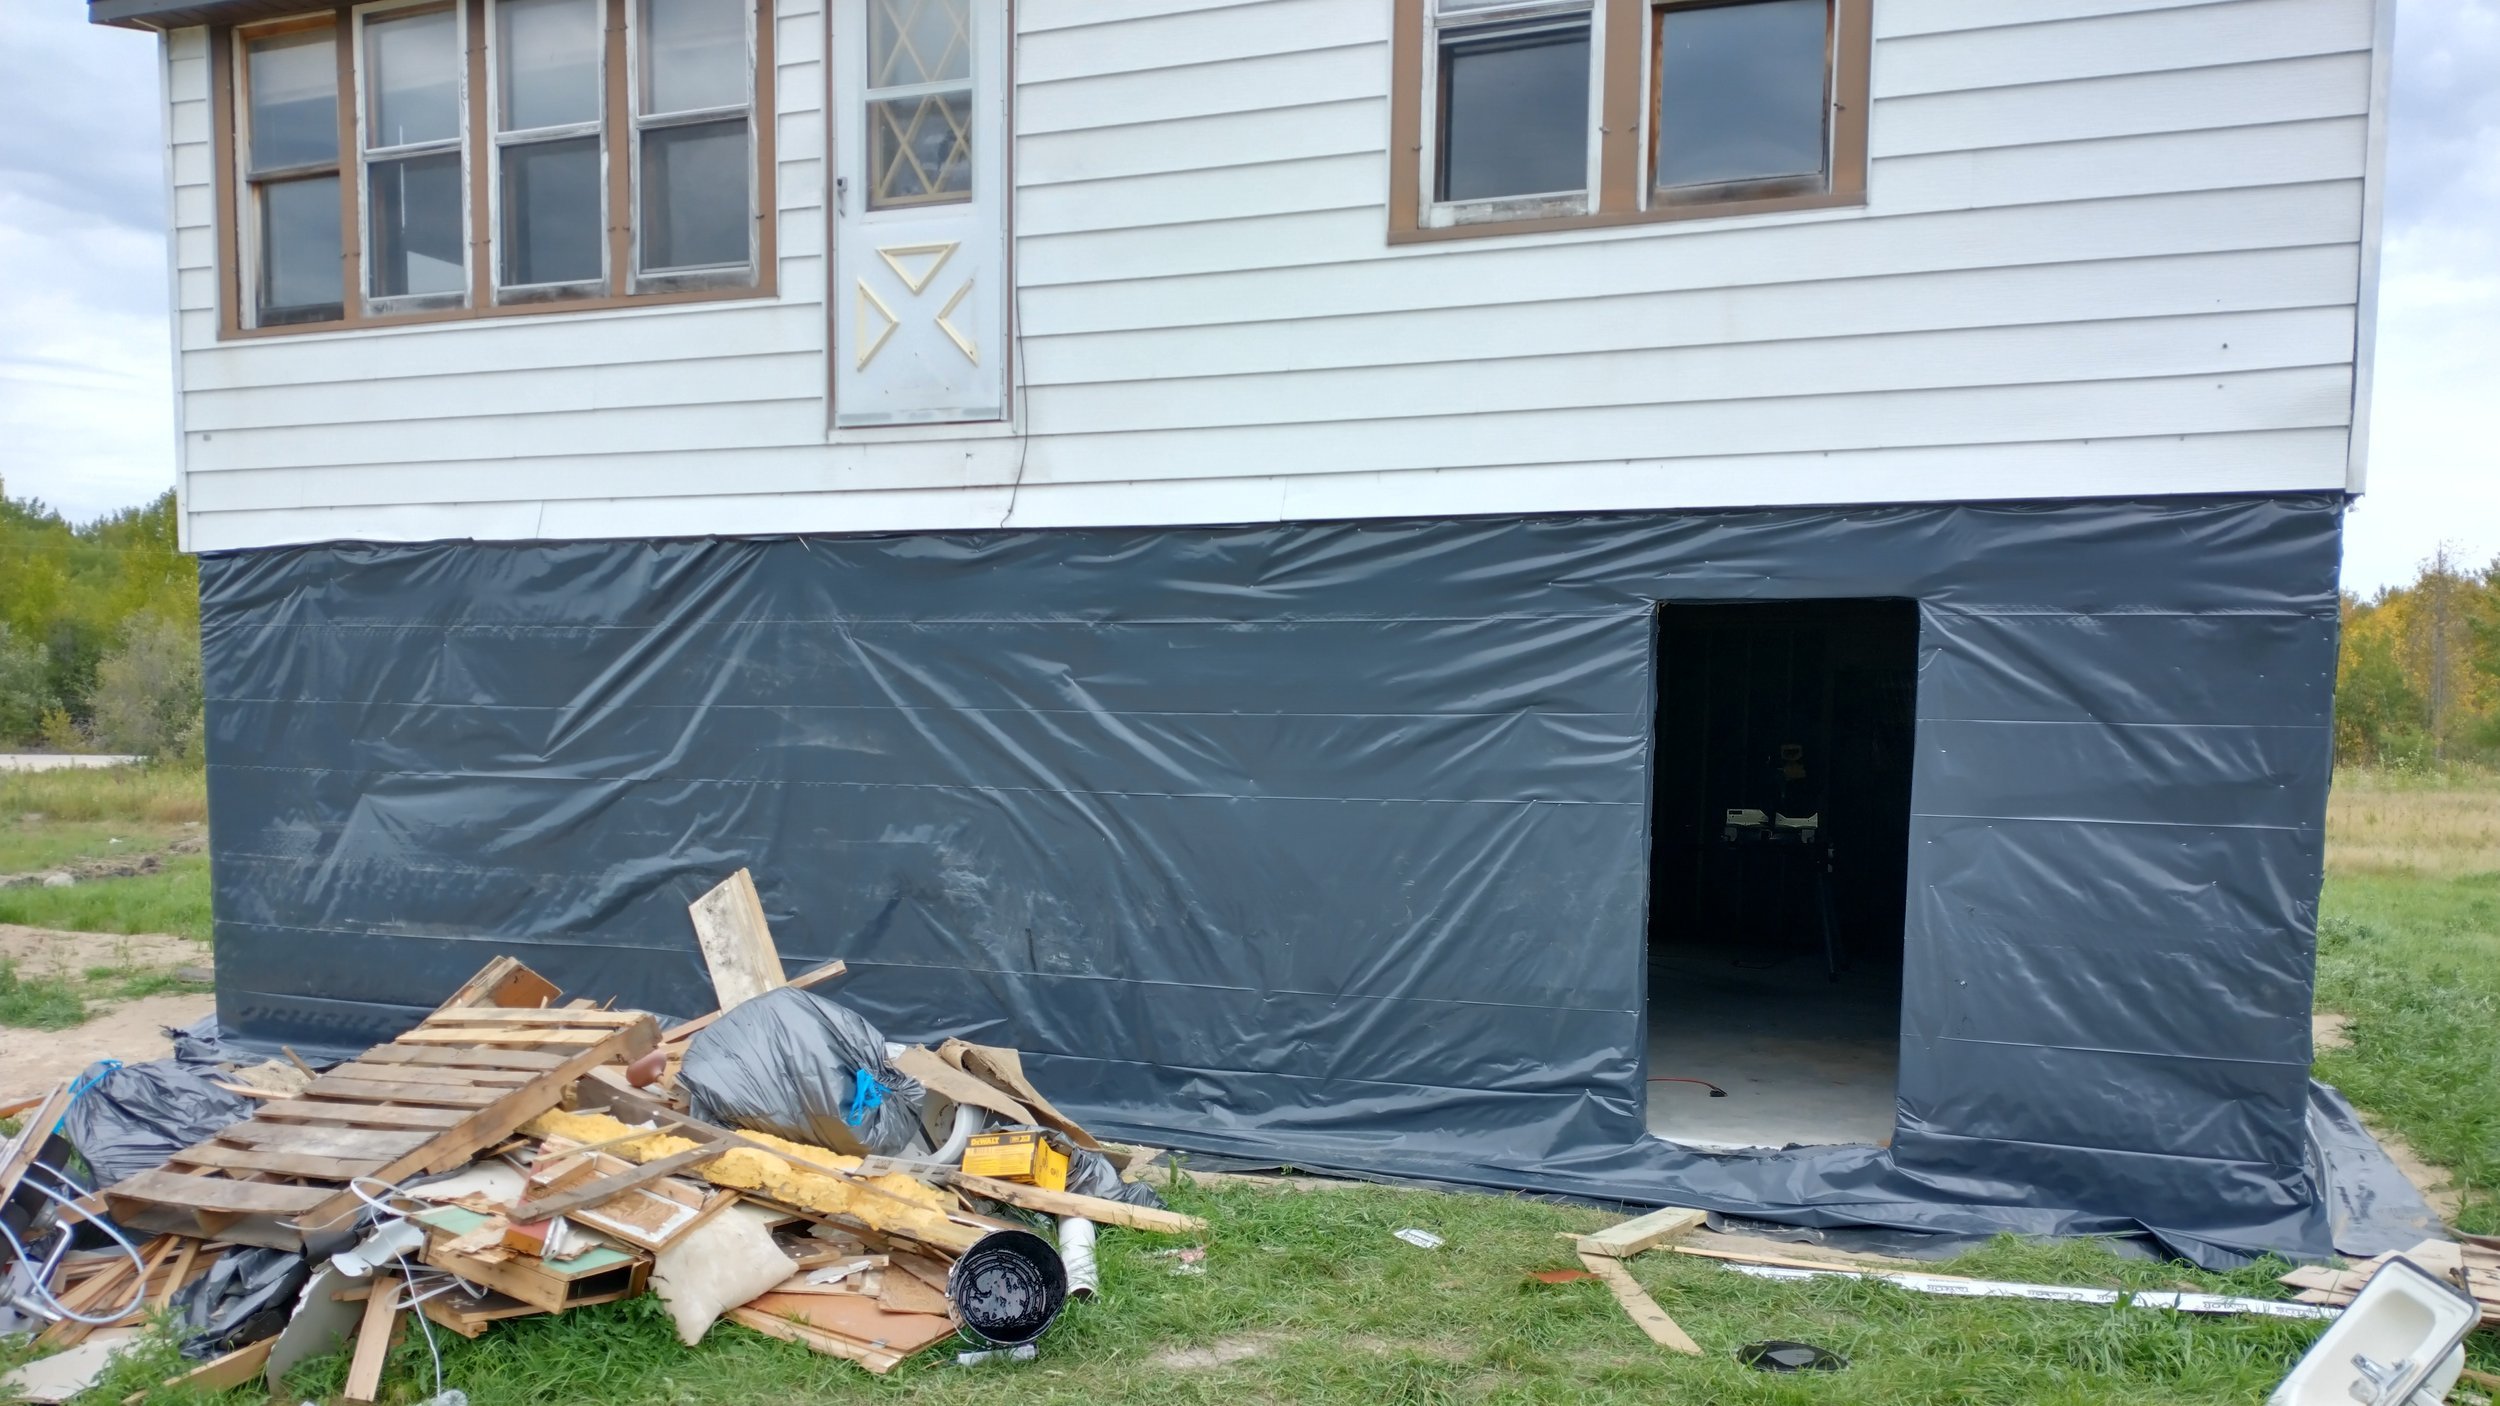
Below, you can see the wrap we used around the house. As well as our demo/debris pile. It was at least a half dozen full loads on a 16 foot trailer to the dump, and that was after we sifted through to find what we could repurpose. The post about demo is already up, and we were trying to do the two simultaneously.
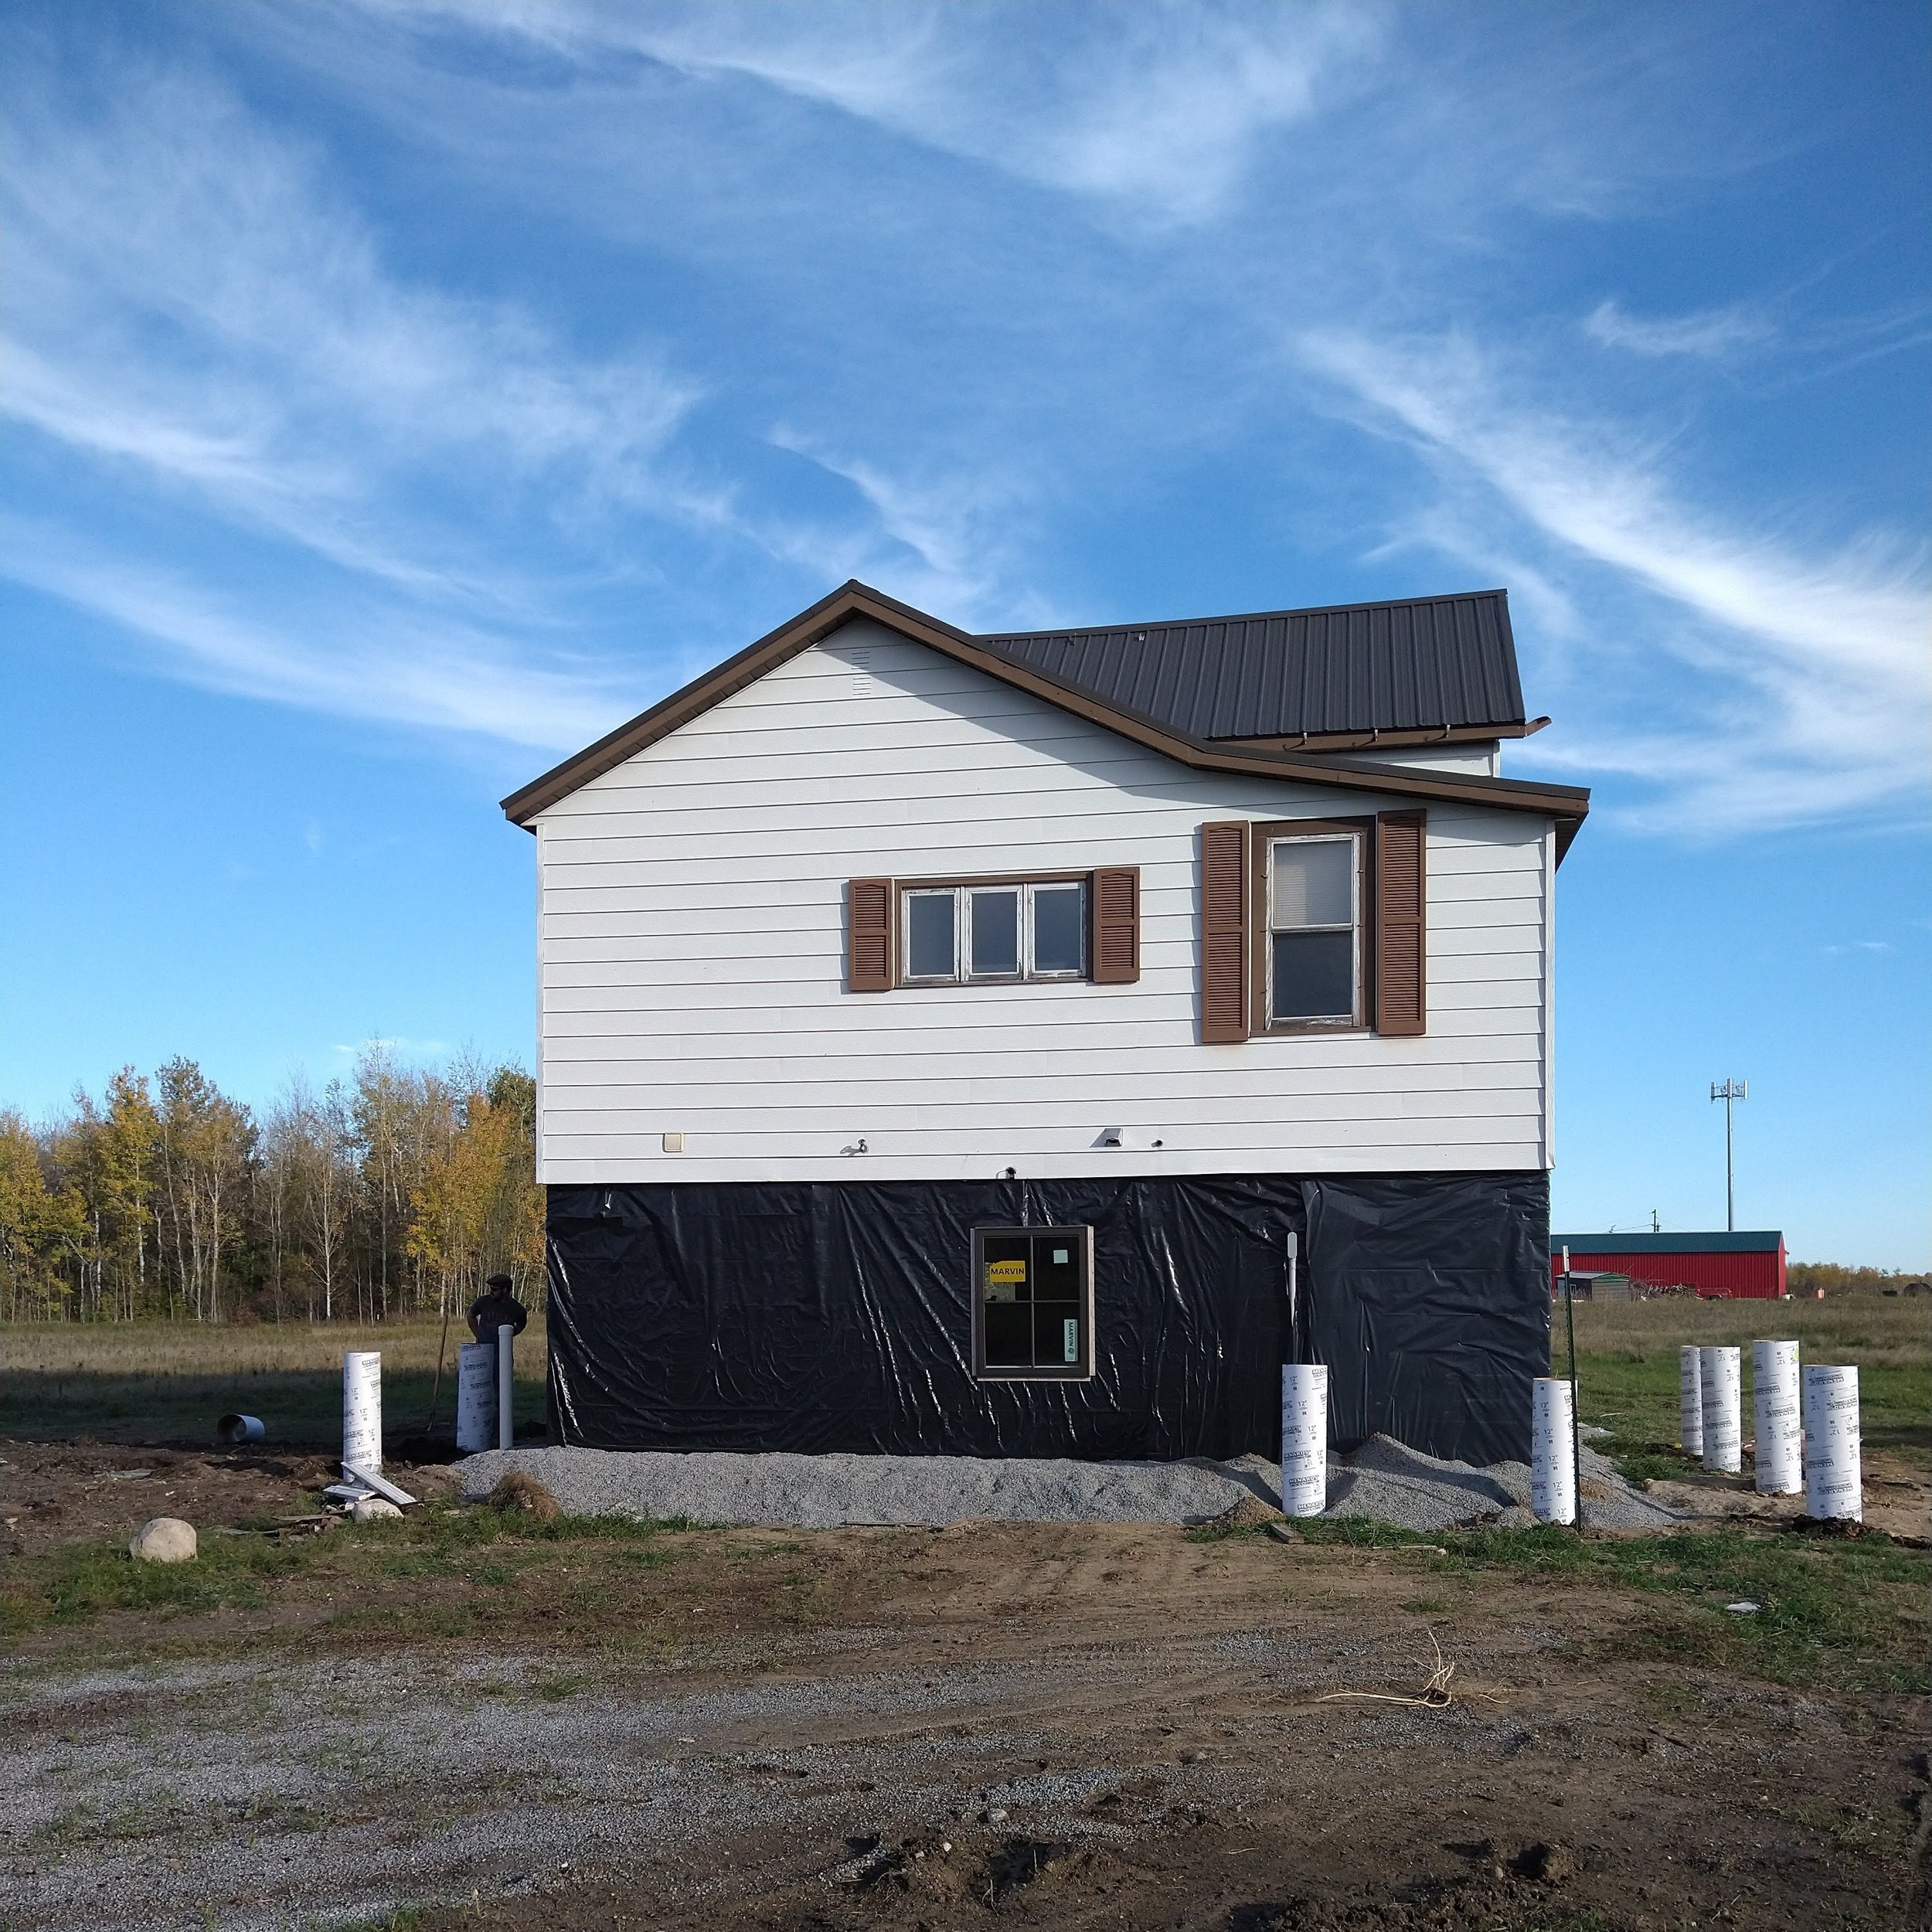
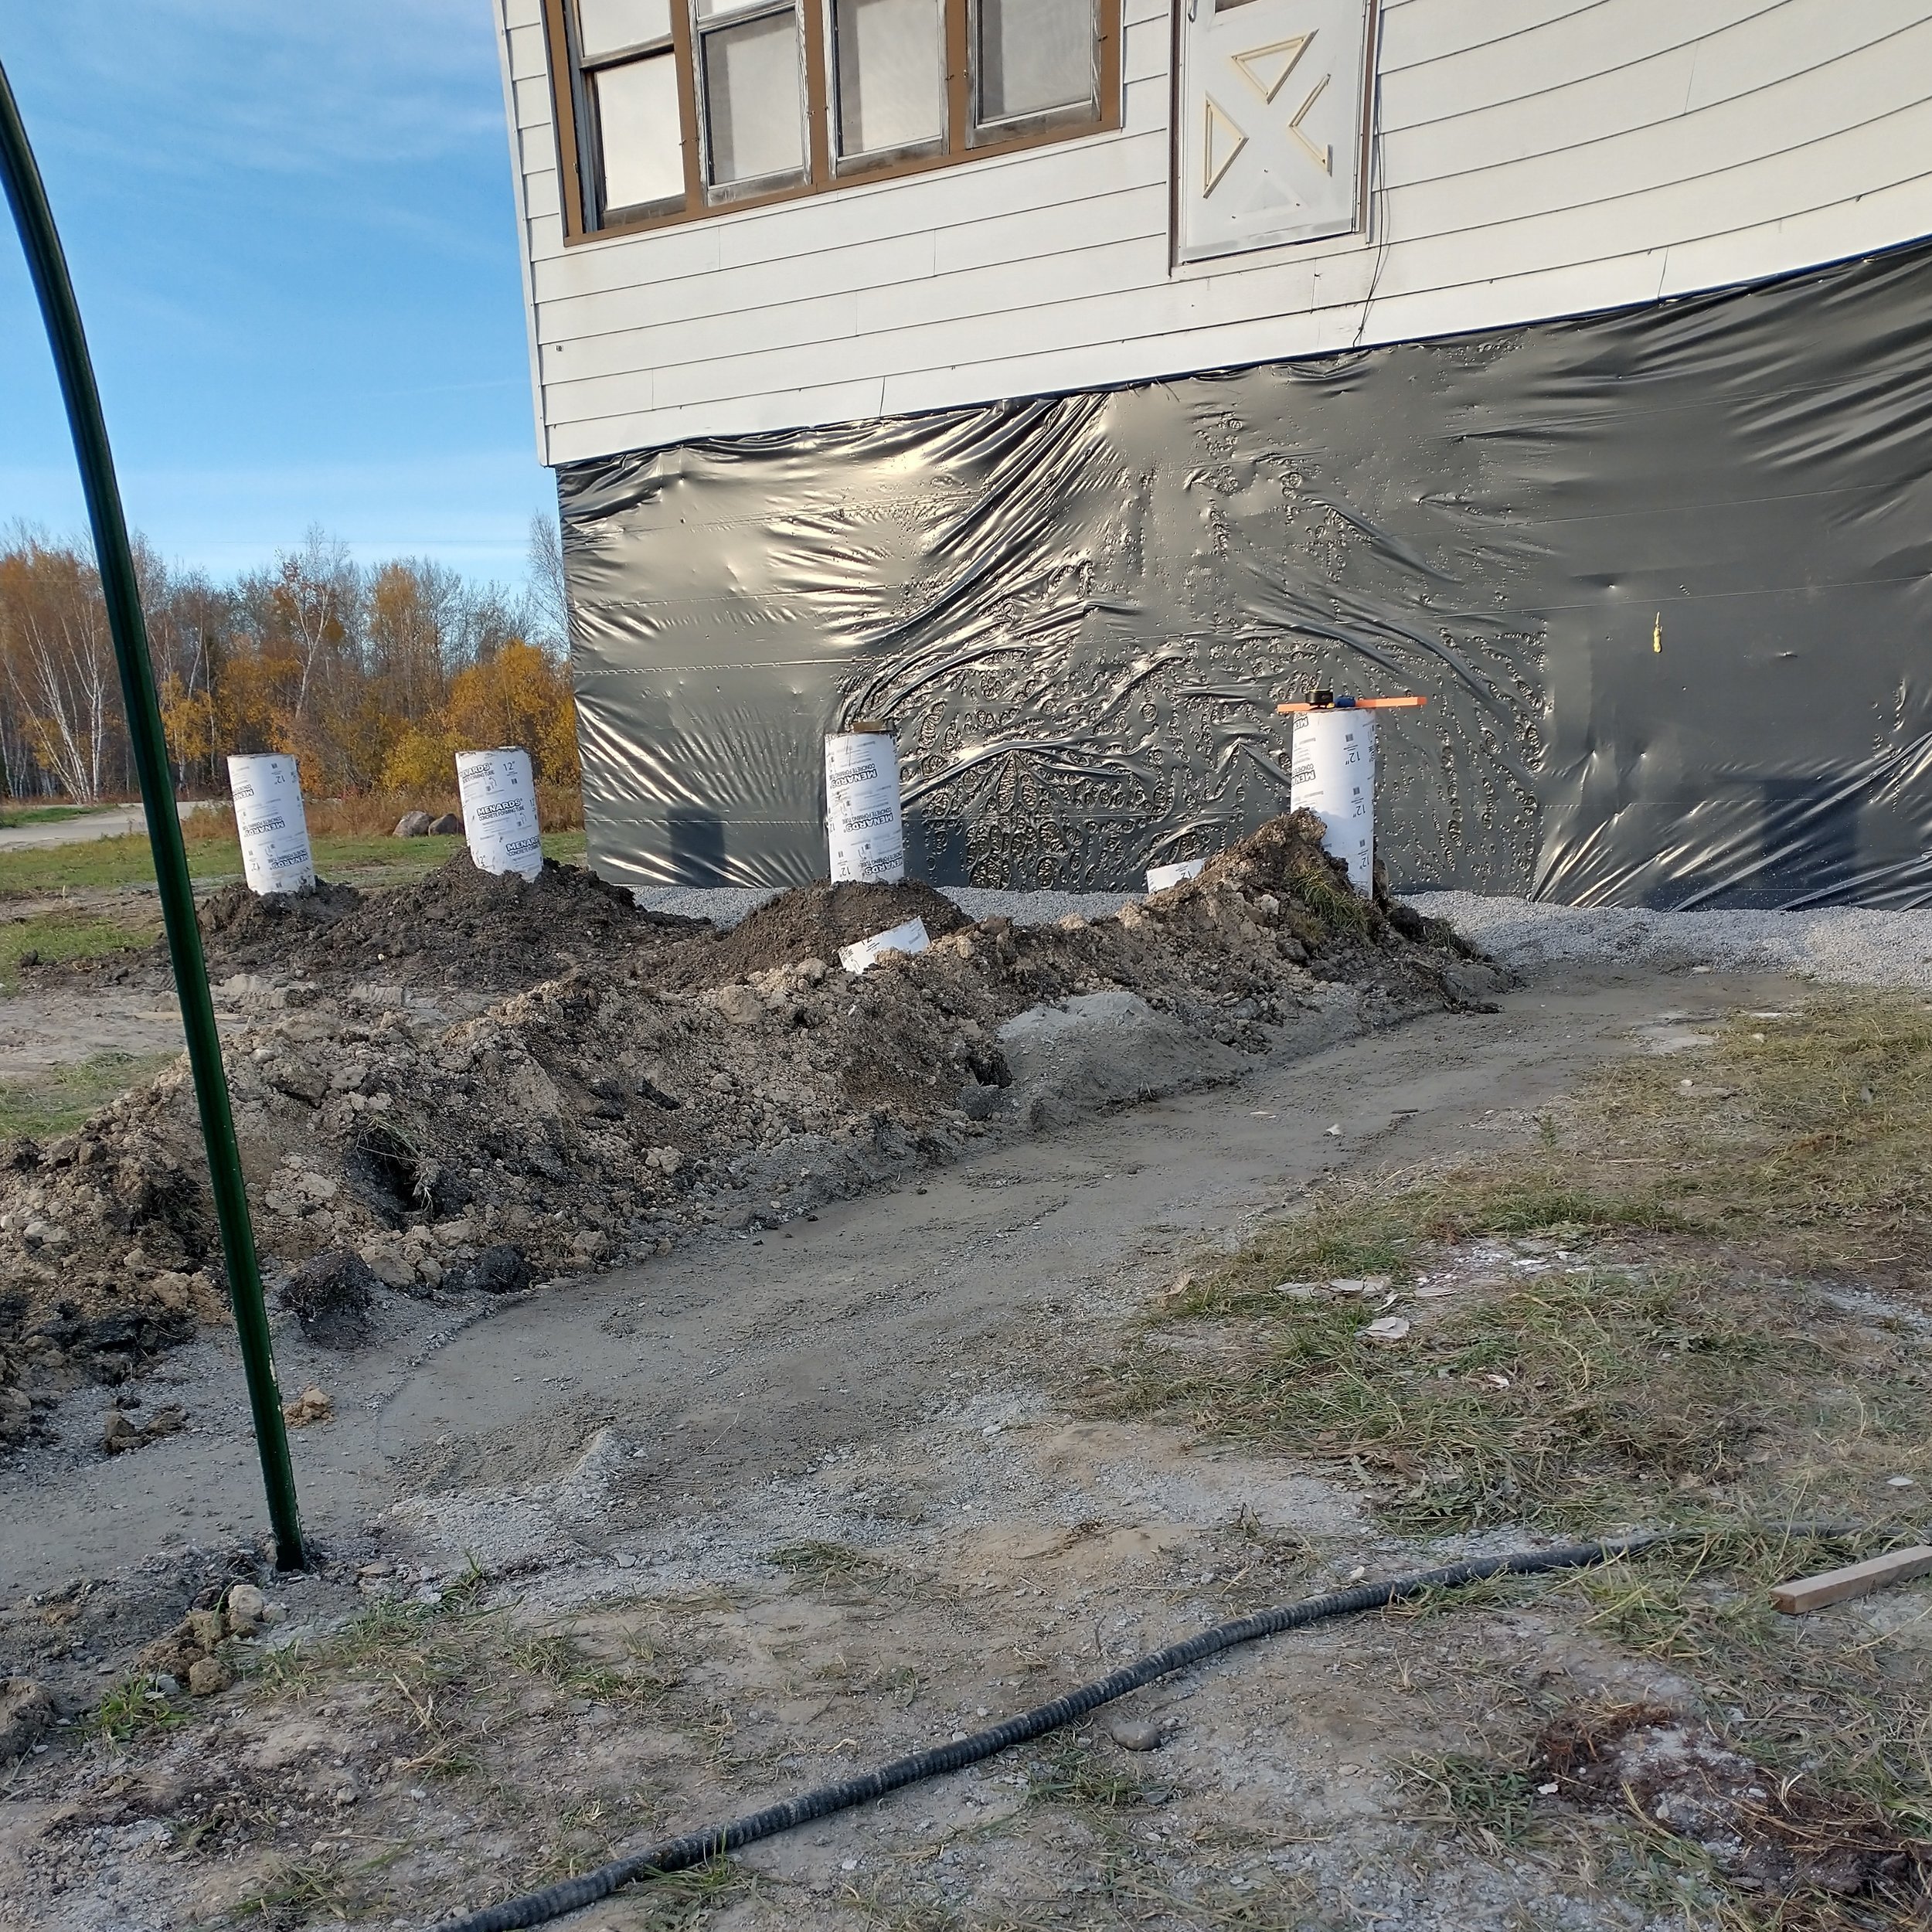
Below, you can see the drain tile wrapping around the house. This allows water to pool up, and the drain tile has a low point with a sump pump that pumps that water away from the house. We live about a mile from the lake, and our land is very wet. So, we’ve been planning for wet springs and what to do with excess water.
You can also see our north/east windows in the corner of the basement. The back-fill will probably come right up to the bottom of each, so from the outside the house will look like it has a basement, but inside the basement, it feels like being in a normal first floor of a house, which is really nice.

Here Seth is prepping to pour concrete for our two decks. We have a 16 foot deck from 2018 that sat in front of our camper at my parents’ house in town. That deck has been on our land since shortly after we bought it, and we’ve used it when we’ve parked on the north end of the property. We’re planning on putting that on the north entry of the house.
On the south end, we’ll be building a new deck, and we’re wrapping it around slightly. We’ll need to get that done soon, before we can move out tub, appliances, or cabinets into the house. My parents, brother, and grandpa were up the day we poured the cement, and we’ve enjoyed getting to work on the house with others. The four of us imprinted our hands on two columns on the north side. I think we’ve left some kind of personal mark like that in every house my parents have built or remodeled, and it was fun for me to have that memory with my own little family.
I’ll have to see if I can find some pictures of the house back-filled before it snowed, because we cut it pretty close. It was already cold out when Seth cut the ditch and he and our friend moved the dirt into place around the house. This spring we’re planning on planting some pine trees along the ditch to help keep the field in tact, so maybe I’ll just have to take some pictures once the snow melts.
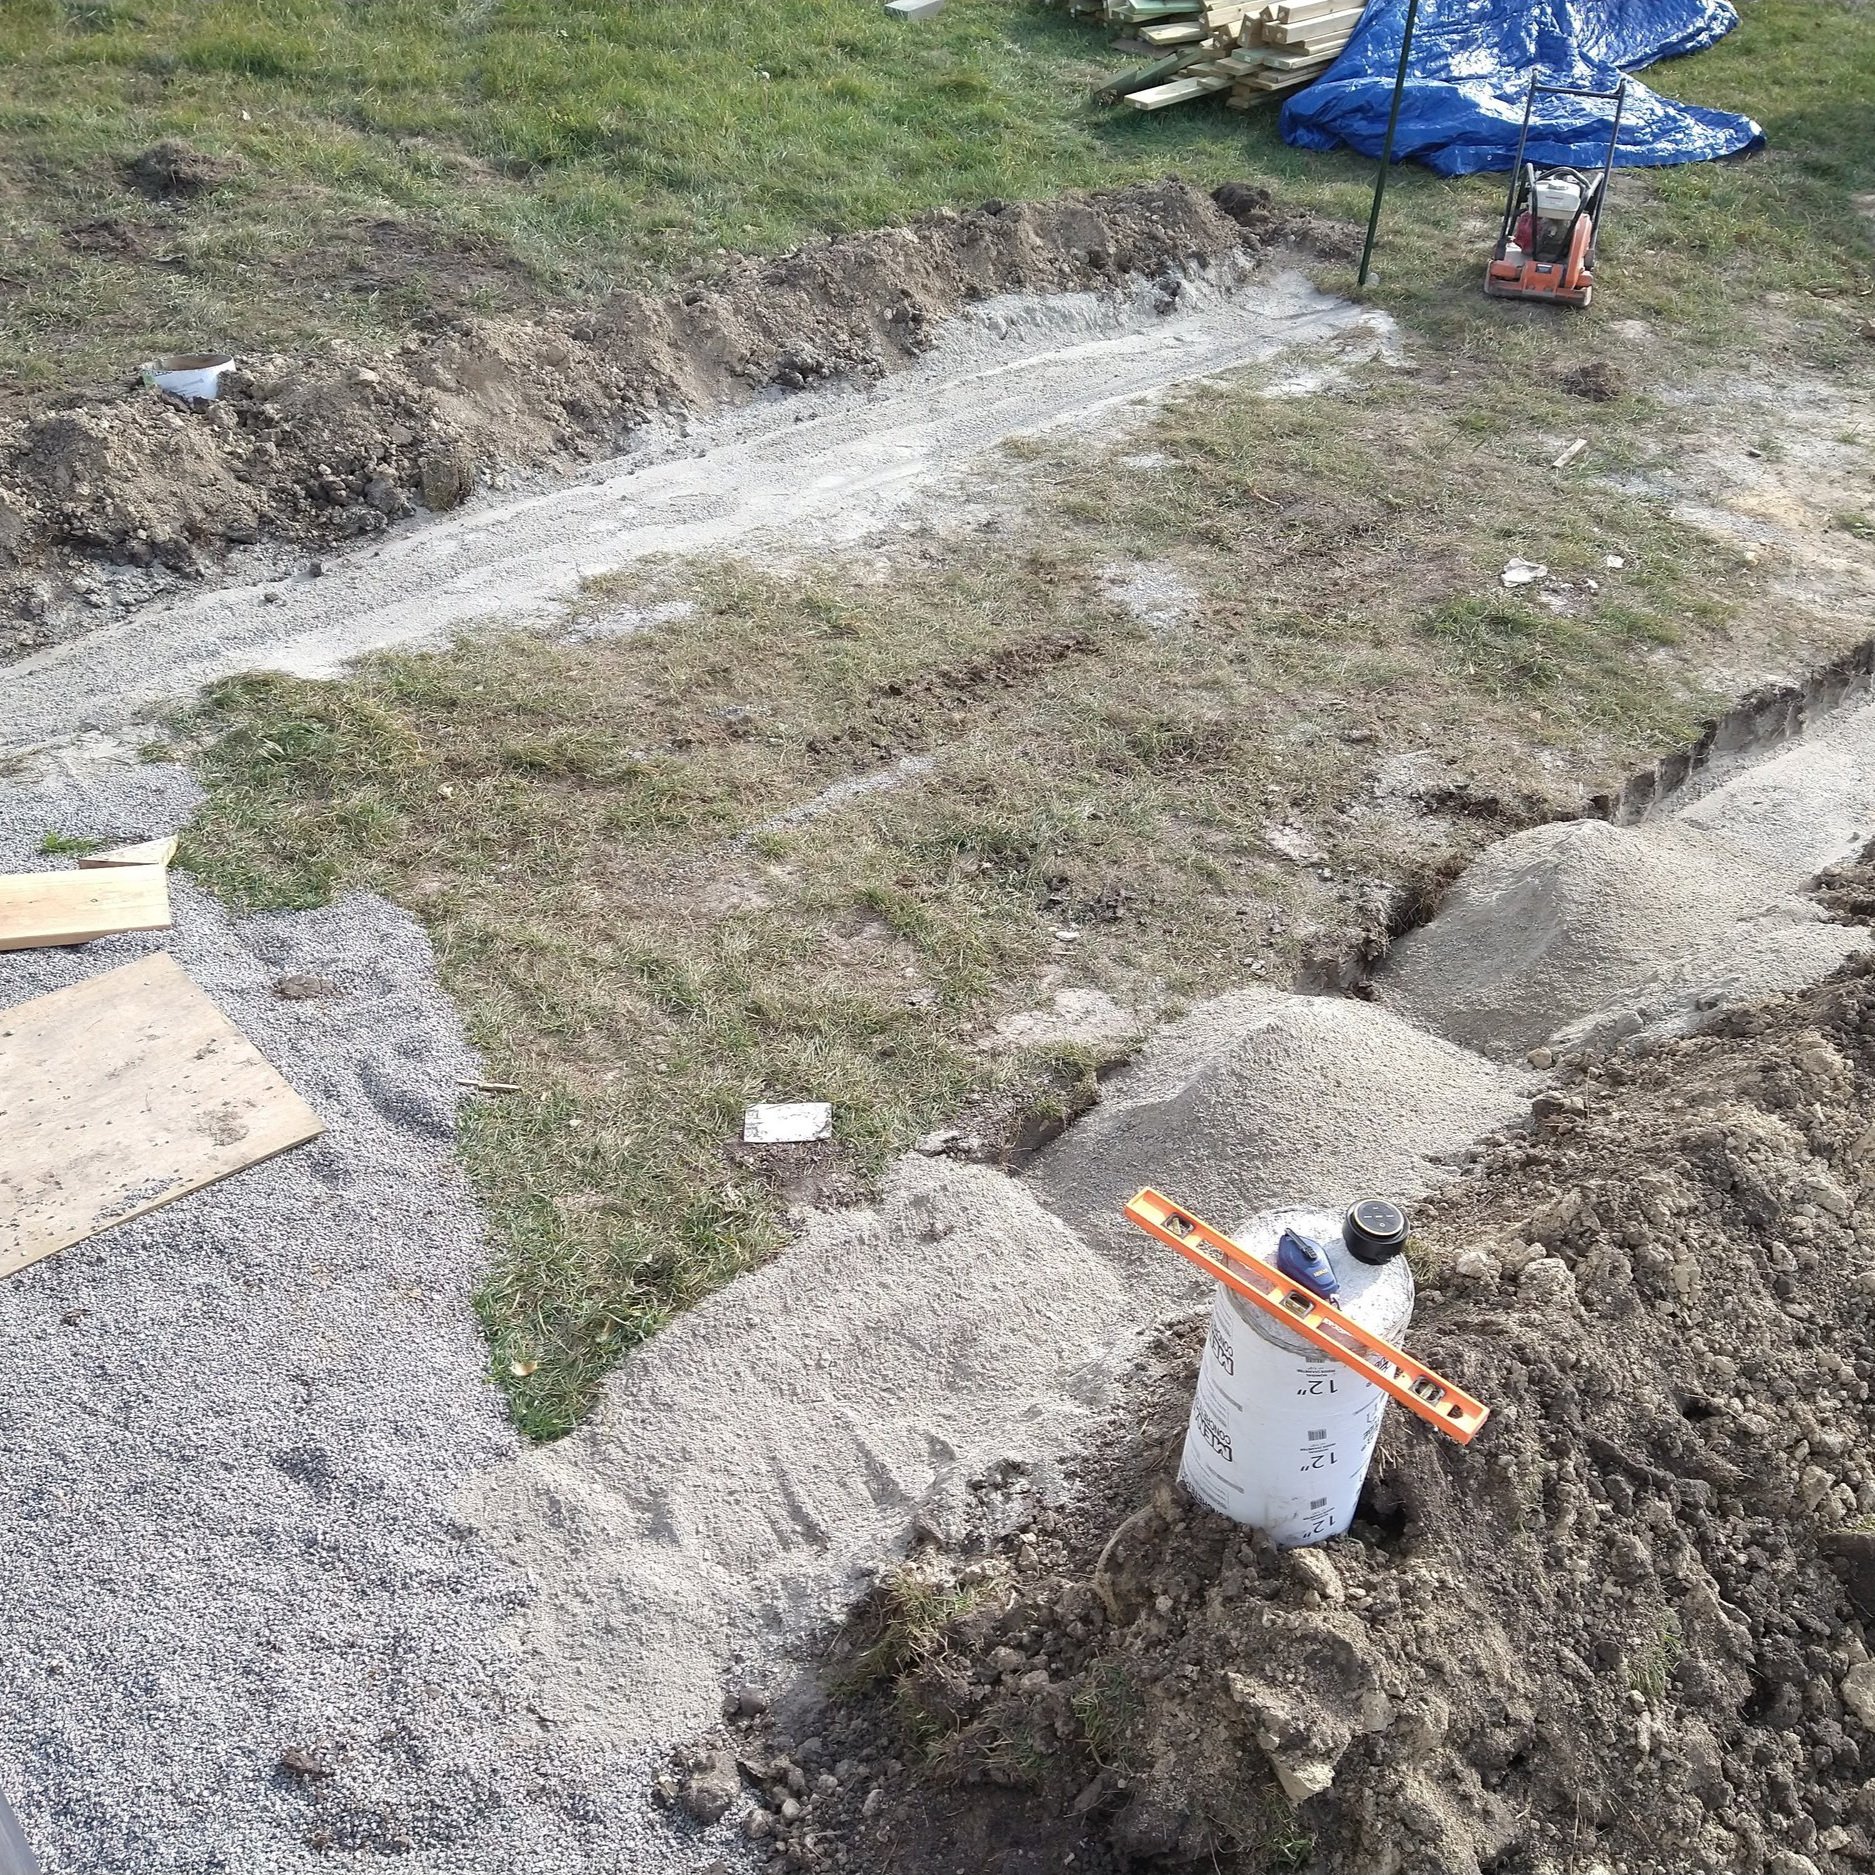
But in order to finish back-filling, we need a retaining wall. Below you can see where Seth cut the foundation for the retaining wall out. You can also see the cement tubing at an angle on both sides. These will be our anchors for the wall, to keep the dirt from pushing it in towards the walkway.

After Seth cut it out, he had a load of crushed gravel hauled in and then layer by layer tamped it in to make a foundation. While Seth and I attended CCU, we both worked for grounds crew over the summer of 2016, and one of the projects we worked on was building a disc golf course. For pads, we built a wooden frame lowered into the ground, and then tamped gravel to make a level surface. We tamped nine 4’ by 8’ pads by hand. In the summer heat. It was awful. So this time around, Seth rented a plate-packer. And it was amazing.
We’re wrapping up electrical, and the electrical and plumbing will be the next house-related blog post. You can look for that early next week! Until then, I hope you enjoy seeing our house come along. It’s been especially helpful, now that the progress feels like it’s slowed down, to look back at these pictures and see just how far we’ve come.